
 English
 Español
 Deutsch
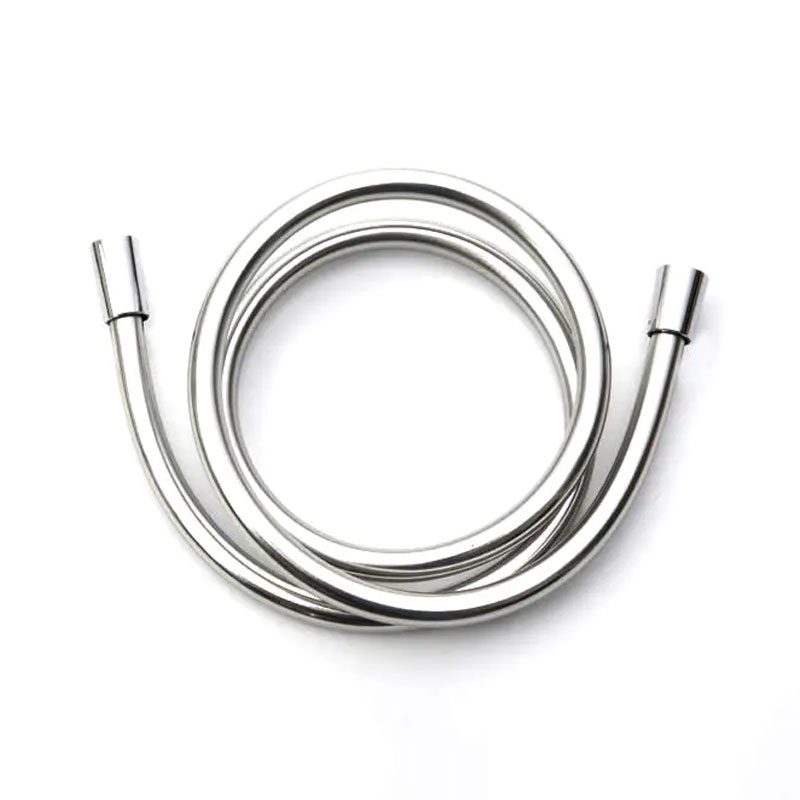
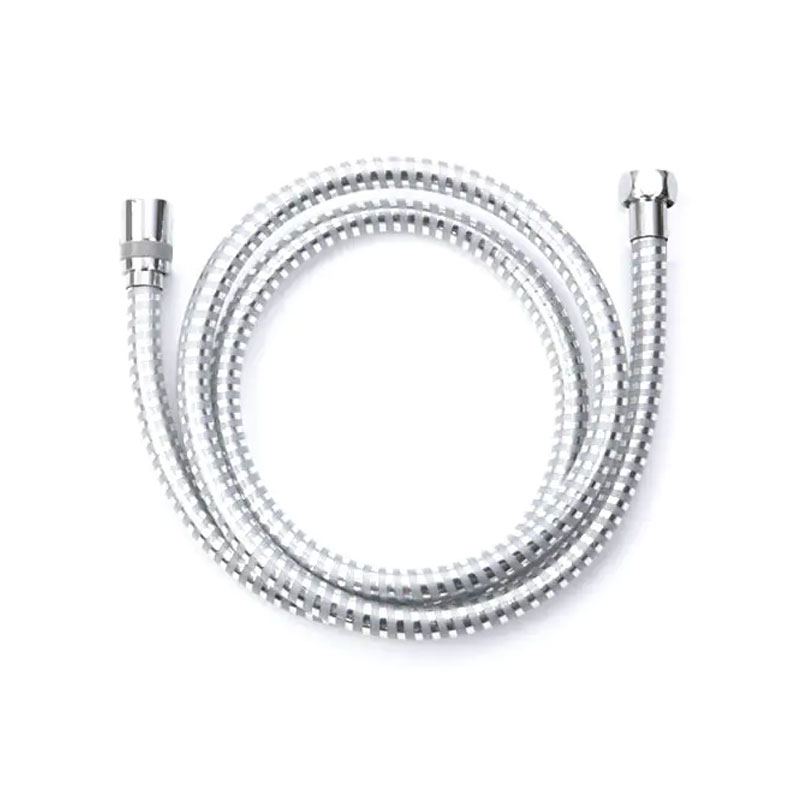
As a manufacturer of sanitary ware hoses, we hear this question from homeowners and plumbers alike: how do I stop my shower hose from leaking? The good news is...
READ MORE
news
How to Change a Shower Hose: A Quick 10-Minute DIY Guide
Update:08-07-2026
Content
- 1 How to Change a Shower Hose: Quick Answer
- 2 Tools and Materials You'll Need
- 3 Step-by-Step: Removing the Old Shower Hose
- 4 Step-by-Step: Installing the New Shower Hose
- 5 Choosing the Right Shower Hose: Size and Connection Type
- 6 Shower Hose Materials Compared
- 7 Choosing the Right Length
- 8 Signs You Need to Replace Your Shower Hose
- 9 Aftercare: Keeping a New Hose Leak-Free
How to Change a Shower Hose: Quick Answer
Changing a shower hose takes about 10 minutes and rarely needs a plumber: unscrew the old hose from the shower head and the water outlet (counter-clockwise), fit a rubber washer into each end of the new hose, screw the new hose on by hand (clockwise) until snug, then run the water to check for leaks. No specialist tools are required for most installations — the connections are designed to be hand-tightened, and pliers or a wrench are only needed as backup if a fitting is stuck.
This is one of the simplest plumbing jobs in the home, and it's worth doing yourself rather than calling a professional: the part itself typically costs very little, and the entire replacement — start to finish, including testing for leaks — usually takes less time than a single shower.
Tools and Materials You'll Need
Before starting, gather everything so the job isn't interrupted halfway through. Most of this list is optional backup equipment rather than strictly required.
- A new shower hose that matches your existing connection size (almost always 1/2 inch)
- Rubber washers (usually included with a new hose, but keep spares on hand)
- An old towel or cloth to lay in the base of the shower or bath to catch drips
- Pliers or an adjustable wrench, only needed if a fitting is stuck
- A rag to wrap around chrome fittings before gripping them with pliers, to prevent scratches
- PTFE (plumber's) tape, optional, for extra insurance against leaks on the threads
Step-by-Step: Removing the Old Shower Hose
- Make sure the shower and the surrounding area are dry, both to get a good grip on the fittings and to avoid slipping while you work.
- Lay a towel in the bottom of the bath or shower tray, since a small amount of residual water will likely drip out as you disconnect the hose.
- Take the shower head out of its holder and unscrew it from the hose (counter-clockwise). This can usually be done by hand; use pliers wrapped in a rag for grip if it's stuck.
- Unscrew the other end of the hose from the water outlet (the shower arm, wall bracket, or riser), also turning counter-clockwise.
- Remove the rubber washers from both ends and keep them aside — if they're still soft and undamaged, they can be reused as a backup seal.
At this point the old hose is fully detached and the job moves on to fitting the replacement.
Step-by-Step: Installing the New Shower Hose
- Press a rubber washer flat into the end of the new hose that will connect to the water outlet. If you'd like extra insurance against leaks, you can double up an old washer with the new one.
- Optional: wrap PTFE tape clockwise around the threads of the water outlet for an additional watertight seal.
- Screw that end of the new hose onto the water outlet by turning it clockwise. It only needs to be hand-tight — tools generally aren't necessary and over-tightening can crack the washer or damage the threads.
- Fit a washer into the other end of the hose and screw it onto the shower head, again hand-tight and clockwise.
- Place the shower head back in its holder.
- Turn the water on and let it run for a few minutes across all temperature settings, checking both connections closely for any sign of dripping.
- If a connection leaks, turn the water off, and use pliers to tighten that fitting slightly — turning just a small amount further, not from scratch. Wrap a rag around the fitting first if it's chrome, to avoid scratching it.
That's the entire process. Most people find that hand-tightening alone produces a leak-free seal, and the whole job — from removing the old hose to confirming the new one doesn't drip — takes well under 15 minutes.
Choosing the Right Shower Hose: Size and Connection Type
Buying the correct replacement hose matters more than it might seem — shower hoses can look identical while having subtly different cone shapes on the connecting ends, and a mismatched fit can cause the shower head to slip during use.
Standard Thread Size
The overwhelming majority of household shower hoses use a 1/2-inch thread on both ends. In the UK and much of Europe this is specified as 1/2" BSP (British Standard Pipe), while in the US and much of North America it's specified as 1/2-inch NPT (National Pipe Thread). Despite the shared nominal 1/2-inch measurement, BSP and NPT threads use a different shape and pitch, so an adapter is needed when mixing standards. A 3/4-inch thread does exist on some high-pressure or older systems but is far less common.
If You're Unsure of Your Size
The simplest way to guarantee a correct fit is to unscrew the old hose and take it with you to the shop, or match it against the product listing before ordering online. Where possible, it's also worth sourcing the original manufacturer's part, since this preserves the intended design and ensures a proper fit into the shower head holder.
Shower Hose Materials Compared
The material a hose is made from affects how long it lasts, how flexible it feels, and how much it costs — so it's worth weighing up before buying a replacement rather than grabbing the cheapest option on the shelf.
| Material | Typical Lifespan | Pros | Cons |
|---|---|---|---|
| Stainless steel | 3–5 years | Durable, corrosion-resistant, handles high pressure | Heavier, less flexible, can scuff |
| Brass | 3–5 years | Durable, resists high water pressure well | Heavier and pricier than plastic |
| PVC / plastic | 1–2 years | Lightweight, flexible, affordable | Can stiffen, crack, or kink over time |
For a hose that needs to last as long as possible with minimal fuss, stainless steel or brass is the better long-term investment. For a lightweight, budget-friendly option that's easy to swap out again in a year or two, PVC is perfectly serviceable.
Choosing the Right Length
Hose length affects how much freedom of movement you have in the shower, and getting it right avoids the common problem of a hose that's either too short to be useful or so long it tangles constantly.
- 1.25m–1.75m — the standard range stocked by most manufacturers and suitable for the majority of households
- 1.60m–1.75m — ideal for most households, offering ample movement space for a comfortable shower
- 2.00m — designed for taller users, or for anyone showering while standing in a bathtub where the faucet sits low
A simple rule of thumb: choose a hose that's roughly 10–30cm longer than the tallest person who'll be using the shower. It's also possible to shorten an overly long hose with clips, but a properly sized hose from the start will perform better than a clipped-down one.
Signs You Need to Replace Your Shower Hose
A shower hose won't last forever, and knowing what to look for means you can replace it before a small drip becomes a bigger problem. The most common causes of a leaking or failing hose fall into a short list:
- Worn or cracked rubber washers — the small gasket inside each connection is the primary seal; when it hardens or splits, water escapes at the fittings even if everything is tightened correctly.
- Cracks or splits in the hose itself — constant exposure to water, temperature changes, and bending eventually causes the hose material to weaken; this type of damage generally can't be repaired and calls for full replacement.
- Rust or limescale buildup on the threads — mineral deposits from hard water prevent the connection from sealing tightly, even with a good washer in place.
- Reduced water flow or pressure — often a sign of limescale building up inside the hose itself, which can sometimes be cleared, but persistent low flow after cleaning usually means it's time for a new hose.
- Visible kinking that won't straighten out — a permanently kinked hose restricts flow and puts ongoing strain on the internal reinforcement, making a future split more likely.
If the leak is only at a connection, replacing just the washer is often enough to fix it — full hose replacement is really only necessary once the hose material itself is cracked, split, or has lost flexibility.
Aftercare: Keeping a New Hose Leak-Free
A little routine maintenance meaningfully extends how long a new hose stays leak-free and performing well, particularly in hard water areas where limescale is the main long-term threat.
- If water flow starts to drop off, disconnect the hose and submerge it in white vinegar for around 30 minutes to dissolve limescale buildup, then use an old toothbrush to remove any loosened residue.
- Clean the small filter washer inside the hose connector every few months to prevent clogging and maintain strong flow.
- Avoid letting the hose sit twisted or kinked between uses, since this stresses the material and can eventually cause a split.
- Periodically check both connections by hand for any looseness, and re-tighten gently if needed rather than waiting for a visible drip to appear.
With this level of care, there's no reason a well-chosen hose can't perform reliably for its full expected lifespan, whether that's one to two years for a budget PVC model or three to five years for a quality stainless steel or brass one.
News
-
-
If you have ever stood in front of a shower hose display wondering whether any of them will fit your bathroom, you are not alone. A shower hose looks like a si...
READ MORE -
To install a shower hose, turn off the water supply, unscrew the old hose from both the shower head and the wall outlet or hose bracket, wrap the threads of th...
READ MORE -
Attaching a shower hose is a five-minute job if you know where the water actually seals. Most people assume the metal threads create the watertight connection....
READ MORE -
Replacing a shower hose is a straightforward DIY job that takes 10 to 20 minutes and requires no specialist plumbing knowledge. You unscrew the old hose at bot...
READ MORE -
Quick Answer No, shower hoses do not fit all showers automatically — but most do, because roughly 90% of the market has standardized around one connector: the ...
READ MORE

Contact us
-

-

+86-574-62321667
-

No.2 Chuangsheng West road, Wuma Industry Area, Lubu Town, Yuyao City, Zhejiang, China
Copyright © 2025 Yuyao Doflex Sanitary Ware Hose Co., Ltd., All Rights Reserved.
 Wholesale Bathroom Shower Hose Manufacturers