
 English
 Español
 Deutsch
If your hair feels brittle and your skin looks dry even after switching to sulfate-free shampoo and moisturizing creams, the problem may not be your products—i...
READ MORE
news
How to Extend Shower Head: 5 Proven Solutions for Better Reach and Comfort
Update:05-11-2026
Content
- 1 Why Extend a Shower Head?
- 2 Know the Standard Fittings Before You Buy
- 3 Method 1: Install a Shower Head Extender Arm
- 4 Method 2: Extend a Fixed Shower Head with a Longer Flexible Hose
- 5 Method 3: Combine an Extension Arm with a Handheld Hose
- 6 Shower Arm Extender vs. Longer Hose: Quick Comparison
- 7 Installation Tips and Common Mistakes to Avoid
- 8 Why a Quality Hose Matters
Some shower heads are mounted too close to the wall, leaving you to squeeze into a narrow spray zone. Others sit at an awkward height, or you simply want the freedom of a handheld spray without replacing the whole system. Extending the shower head is one of the most practical bathroom upgrades, and in most homes it is a straightforward DIY job. With more than twenty years of experience manufacturing shower hoses and connector products, we have seen a wide range of installation scenarios. This guide explains the main ways to extend a shower head, what to look for in the fittings, and how to avoid the mistakes that lead to leaks and early wear.
Why Extend a Shower Head?
There are several common reasons to extend a shower head. Some are purely about comfort: the fixed head may be too high or too low, so water does not hit your shoulders directly. Others are practical: a larger shower head may need more clearance from the wall, or a handheld sprayer is needed for rinsing the tub, cleaning the shower, or washing children and pets.
- To raise the spray height for taller family members.
- To bring the head closer to you in a shallow tub.
- To convert a fixed wall shower into a flexible handheld system.
- To add overhead clearance for a rain head without major plumbing changes.
Most wall-mounted shower outlets use a standard 1/2-inch threaded connection. That standard is exactly why extension arms and longer hoses are so easy to install: the thread size has been consistent for decades, so compatible parts are widely available.
Know the Standard Fittings Before You Buy
Inside the wall, the pipe normally ends in a 1/2-inch male thread. The shower head has a matching female thread. When you remove the shower head, you will see either a short shower arm or a smaller nipple protruding from the wall. To extend the reach, you need a component that has a female connection on one side and a male connection on the other.
For a simple extension of a few inches, a shower arm extender or a longer shower arm works well. For a handheld conversion, a flexible shower hose is the practical choice. Before shopping, measure the distance between the wall and the current shower head. This tells you whether you need an arm, a hose, or a combination of both.
Material matters too. Brass and stainless steel are durable and resist corrosion; PVC and silicone hoses are lightweight and flexible. The finish should also match your bathroom fixtures so the extension looks intentional rather than like an afterthought.
Method 1: Install a Shower Head Extender Arm
A shower head extender arm is the simplest solution when you need extra clearance from the wall. It can add two to eight inches of reach, and it fits directly onto the existing wall pipe. Some arms are straight, while others are angled or adjustable so you can direct the spray exactly where you want it.
Step 1: Remove the Old Shower Head
Protect the surface of the nut with a cloth or rubber pad, then turn the shower head counterclockwise. If the connection is stiff, apply a little penetrating oil and wait a few minutes. Do not use excessive force, because the wall pipe can crack if it is old or corroded.
Step 2: Apply Thread Seal Tape
Clean the exposed male threads with a dry cloth. Wrap PTFE tape around the threads three to five times in the direction that will tighten with the fitting. Applying the tape in the correct direction prevents it from peeling off when you screw on the new arm.
Step 3: Install the Extender Arm
Screw the shower arm extender onto the wall pipe by hand, then use a wrench for a final half turn. It is important not to over-tighten: the rubber sealing washer inside the connection does the job, not brute force. If you feel resistance, check that the tape is not misaligned.
Step 4: Attach the Shower Head
Add a little more PTFE tape to the male end of the extender arm, then screw the shower head onto it. Again, hand tighten first and use a gentle wrench turn only if needed. Turn on the water and check for drips before finishing.
Method 2: Extend a Fixed Shower Head with a Longer Flexible Hose
When a few extra inches are not enough, a longer flexible hose is the better solution. This approach is ideal for handheld showers. You replace the fixed head with a handheld sprayer or use a diverter valve to keep both options. A hose can extend your reach by one to three meters or more, which makes rinsing the tub, washing hair, and cleaning the shower much easier.
Shower hoses are made from different materials, and each has a clear personality. PVC hoses are lightweight and economical. Stainless steel hoses have a classic metallic look and are very resistant to pressure and abrasion. Silicone hoses stay flexible at high temperatures, resist surface cracking, and are available in many colors. If you want a neat and modern finish, a slim hose with chrome or matte details works well.
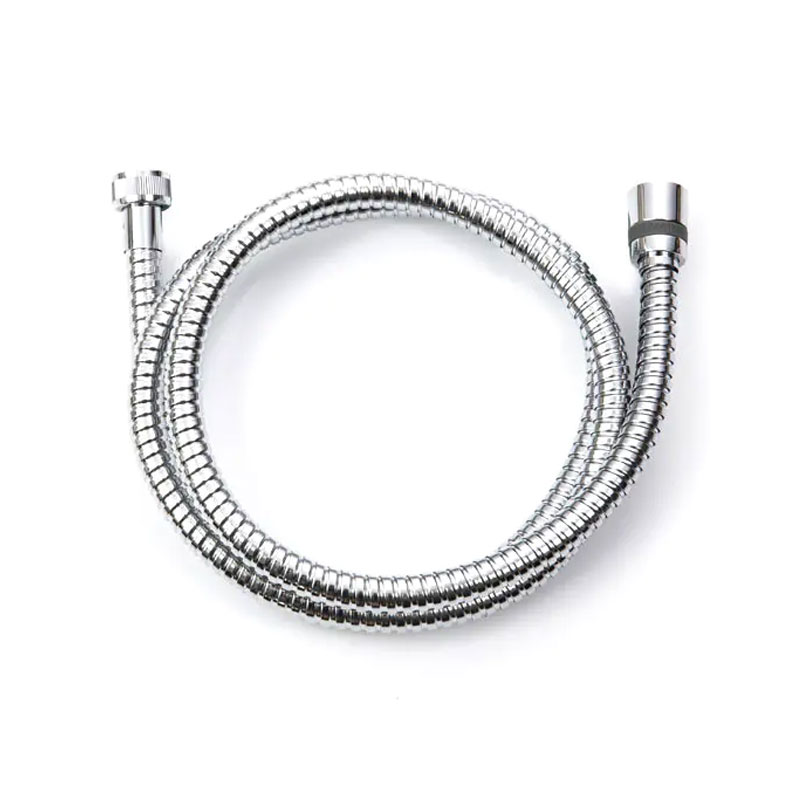
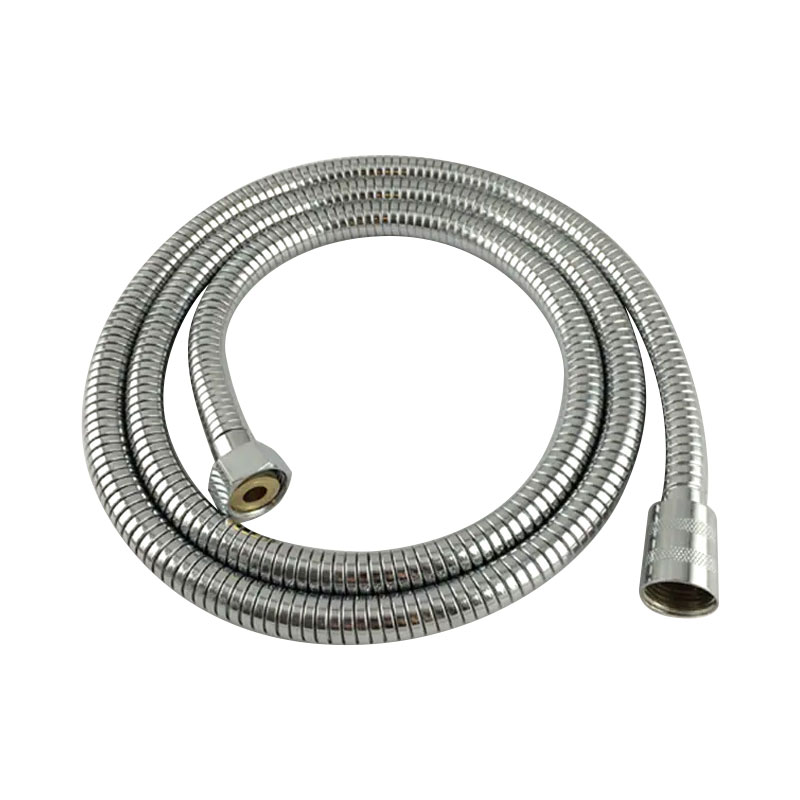 Extensible Shower Hose with Chrome FinishThis extendable stainless steel hose stretches from 1.5 to 2.1 meters, ideal for compact bathrooms. Its double-lock design and brass fittings ensure durability and easy installation.View Product →
One particularly useful design is an extensible shower hose. It stretches when you pull the sprayer toward you, then returns to a shorter, tidy length when the water stops. That feature is excellent for small bathrooms where a permanently long hose can become tangled. Installation is similar to a standard hose swap: remove the old shower head, attach the hose to the wall outlet, attach the handheld sprayer, and test the connection.
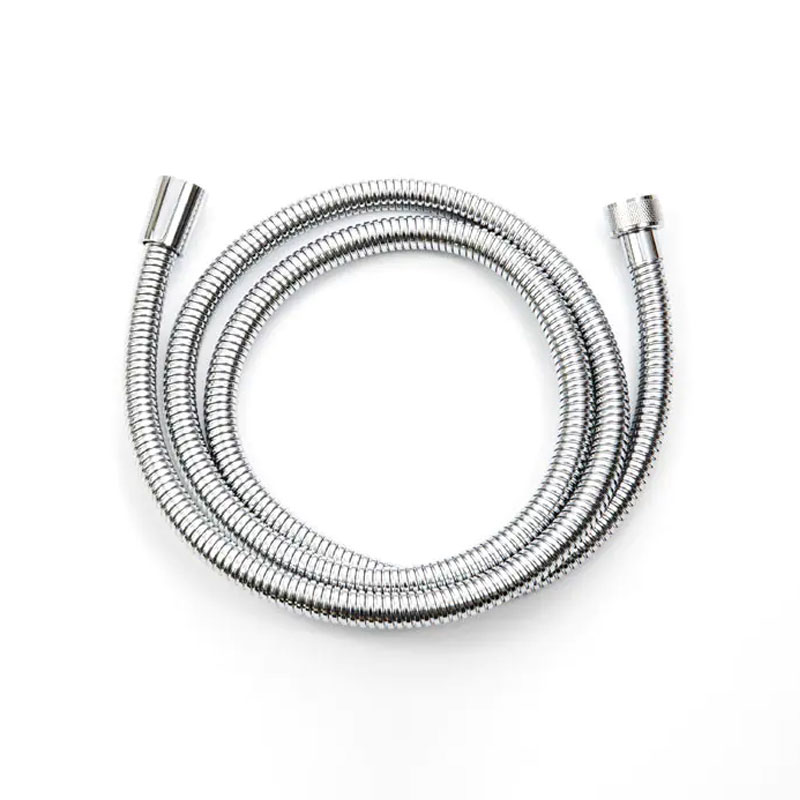
 Slim Extensible Shower Hose for Small SpacesA slimmer version extending to 1.8 meters, this hose suits tight bathrooms while keeping a neat look. Its stainless steel build and chrome finish resist pressure and wear.View Product →
When choosing a longer hose, pay attention to the length of the hose and the type of fittings. Most hoses use standard 1/2-inch connections, but the nuts may be plated brass, stainless steel, or plastic. Plated brass is the most common because it withstands repeated tightening and water pressure without cracking.
Method 3: Combine an Extension Arm with a Handheld Hose
For maximum flexibility, you can use both methods together. A short extension arm moves the fixed head away from the wall, giving you a more comfortable overhead position. A flexible hose then adds a handheld function for targeted rinsing. Many showerheads now include a diverter valve, so you can switch between the fixed spray and the handheld spray without changing the plumbing.
If you choose this combined approach, confirm that the extender arm has a female thread deep enough to accept the hose connector. Some arms are designed for a direct shower head connection and have a shorter female socket; an adapter may be needed. Always test the full assembly before sealing the access panel or finishing the wall.
Shower Arm Extender vs. Longer Hose: Quick Comparison
| Extension Option | Added Reach | Installation Effort | Spray Flexibility | Best If |
|---|---|---|---|---|
| Shower arm extender | 2–8 inches | Low | Fixed angle or adjustable | You want the fixed head closer to you |
| Longer flexible hose | 18 inches to several feet | Low | Full handheld movement | You need to rinse the tub or use a handheld sprayer |
| Arm plus hose combination | A few inches plus flexible reach | Medium | Fixed and handheld together | You want both rainfall and flexible spray options |
Installation Tips and Common Mistakes to Avoid
Most shower head extension problems come from small installation errors. The good news is that they are easy to avoid with a little attention to detail.
- Always use thread seal tape on every male fitting. Even a small gap can produce a steady drip inside the wall.
- Hand tighten first, then use a wrench for only a quarter turn. Over-tightening stresses the threads and can crack plastic fittings.
- If you install a long hose, consider a wall bracket or hose holder to support its weight. A heavy unsupported hose can pull the arm loose.
- Choose an anti-twist hose if you or other users rotate the sprayer frequently. Anti-twist designs prevent the hose from kinking at the connection point.
- Run water at full pressure and check all joints before you close up the access panel or put away your tools.
- If the thread feels loose, make sure you are not mixing 1/2-inch BSP and 1/2-inch NPT threads. Adapters exist, but you need to know which standard your wall outlet uses.
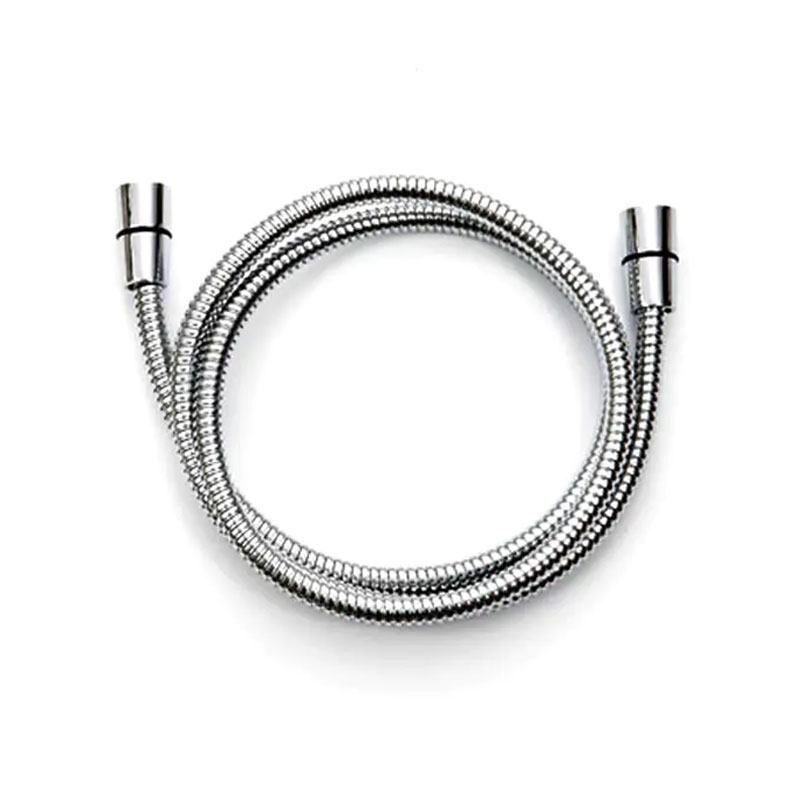
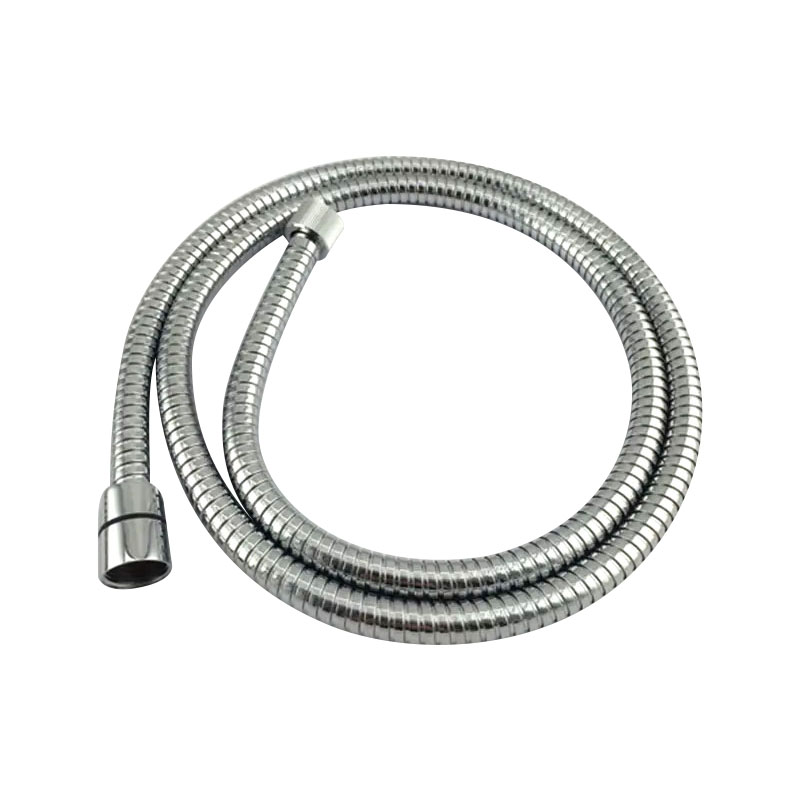 Anti-Twist Shower Hose with Brass NutsDesigned to prevent tangling, this 1.5-meter hose features anti-twist brass nuts and a stainless steel core. Its robust construction handles daily flexing, hot water, and pressure.View Product →
A legitimate concern is durability. Hoses and arms are exposed to daily flexing, hot water, pressure spikes, and cleaning chemicals. A cheap hose may leak after a few months, so it is worth choosing a product that has been tested for pressure and contact with drinking water.
Why a Quality Hose Matters
At our company, we have been manufacturing shower hoses and related connectors since 2004. We have seen how a well-made hose can outlast the fixture it is attached to, and how a poorly made one can cause damage that costs far more to repair than the hose itself. That is why we pay close attention to material selection, thread accuracy, and leak resistance in every production batch. Our certifications, including CE EN1113 and other drinking-water safety standards, reflect the controls we place on the manufacturing process. You can read more about our manufacturing background on our company page.
If you are unsure which hose material or length is right for your bathroom, our bathroom hose selection guide offers a practical comparison of the most common options. It explains the difference between PVC, stainless steel, and silicone hoses, and it helps you avoid the trial-and-error approach that leads to wasted purchases and unnecessary leaks.
Extending a shower head is not a major renovation project. With the right arm, hose, or combination of both, you can improve comfort, reach, and usability in under an hour. Measure your space, choose the fitting that matches your water outlet, and take the time to apply thread tape properly. A little care at the start will give you years of dependable, comfortable showers.
News
-
-
Choosing a new shower head sounds like one of the simplest bathroom upgrades, until you start comparing models. Fixed or handheld? Chrome or matte black? Rain ...
READ MORE -
A handheld shower head is one of the easiest bathroom upgrades there is, and most installations take about fifteen minutes with an adjustable wrench and a roll...
READ MORE -
Few things ruin a shower faster than a spray of water from a hole in the hose. The good news is that you do not have to live with it or call a plumber right aw...
READ MORE -
If you have ever stood in front of a shower hose display wondering whether any of them will fit your bathroom, you are not alone. A shower hose looks like a si...
READ MORE -
First, pay attention to details and service, uninvited consumersFacing the deserted home furnishing market, many sanitary ware companies have seen "sparse" cust...
READ MORE

Contact us
-

-

+86-574-62321667
-

No.2 Chuangsheng West road, Wuma Industry Area, Lubu Town, Yuyao City, Zhejiang, China
Copyright © 2025 Yuyao Doflex Sanitary Ware Hose Co., Ltd. , All Rights Reserved.
 Wholesale Bathroom Shower Hose Manufacturers