
 English
 Español
 Deutsch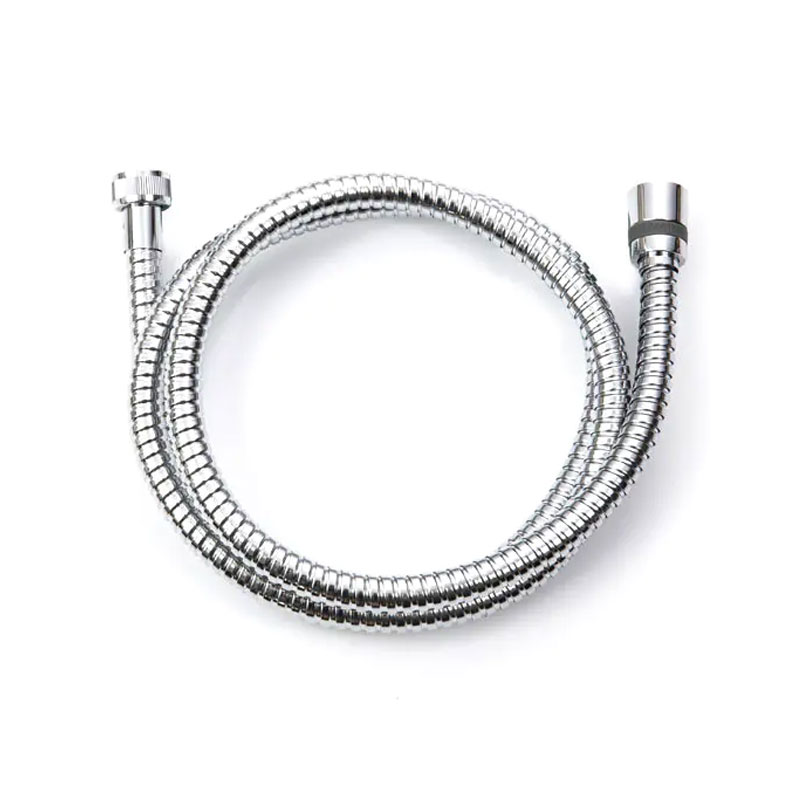
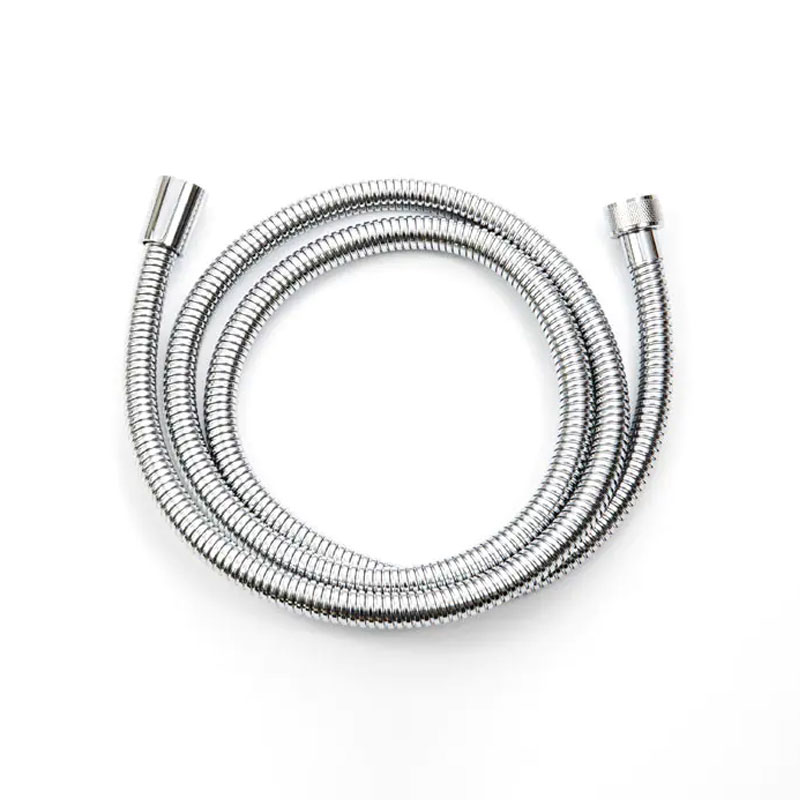
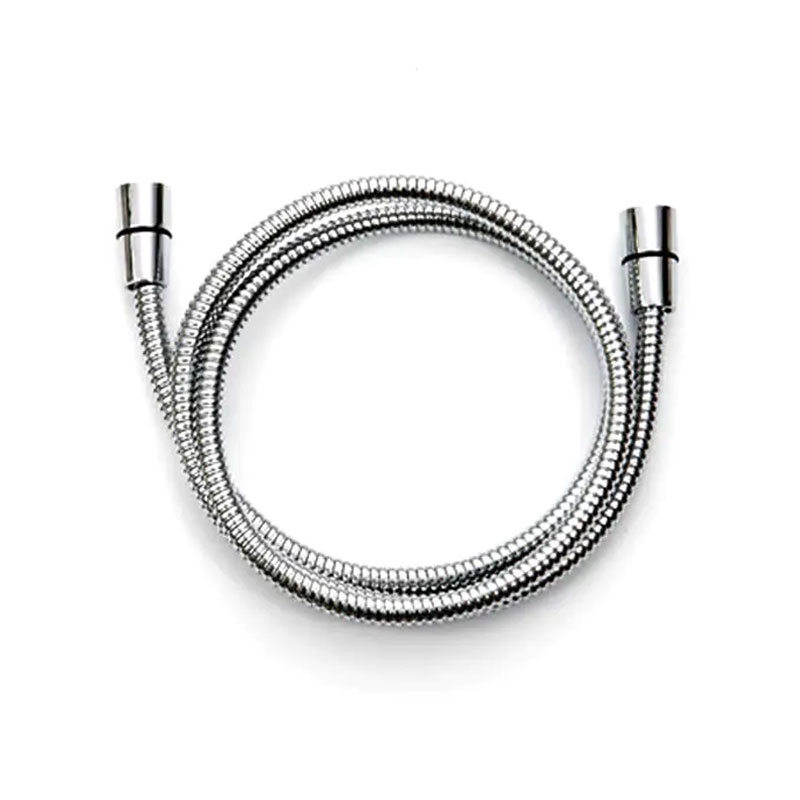
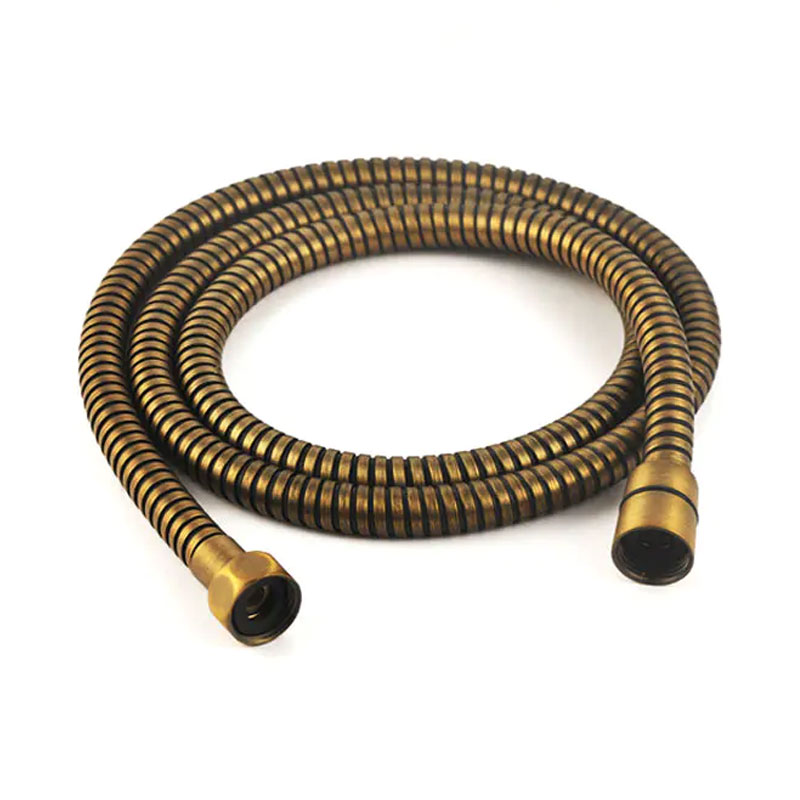
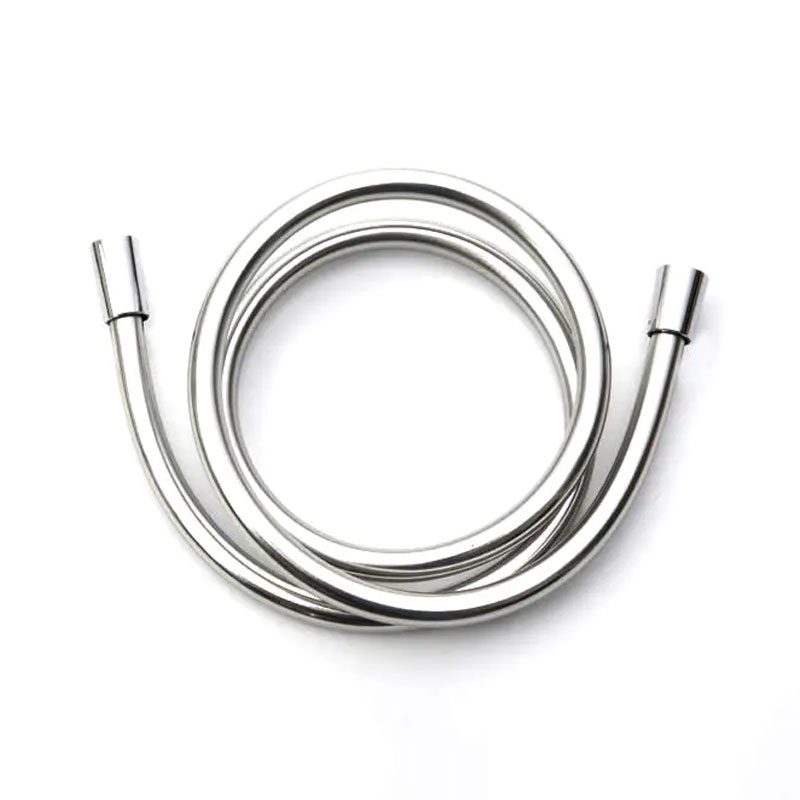
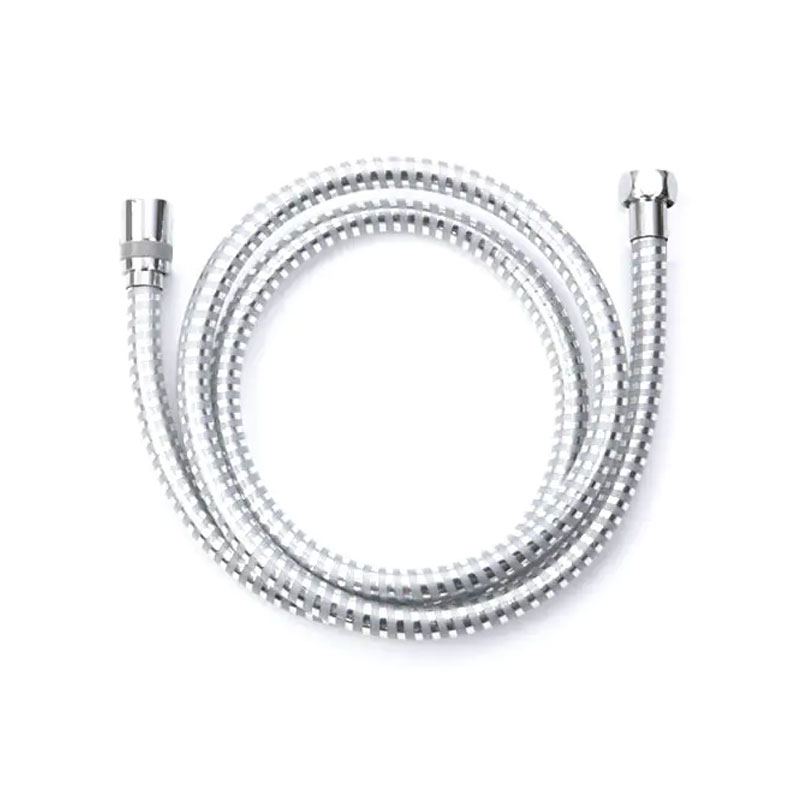
As a manufacturer of sanitary ware hoses, we hear this question from homeowners and plumbers alike: how do I stop my shower hose from leaking? The good news is...
READ MORE
news
How Do You Install a Handheld Shower Head? A Step-by-Step Guide for DIY
Update:14-10-2026
Content
- 1 Before You Start: What You Actually Need
- 2 How Do You Install a Hand Held Shower Head? Step by Step
- 2.1 Step 1: Turn Off the Water and Open the Old Head
- 2.2 Step 2: Remove the Old Hose and Head
- 2.3 Step 3: Clean and Tape the Threads
- 2.4 Step 4: Fit the Holder
- 2.5 Step 5: Connect the Hose to the Outlet
- 2.6 Step 6: Attach the Handset
- 2.7 Step 7: Turn the Water On Slowly and Check
- 2.8 Step 8: Test the Settings and the Movement
- 3 Can You Install One Without Tools?
- 4 Choosing a Hose That Will Still Be Working in Five Years
- 5 Common Problems After Installing a Handheld Shower Head
- 6 Height, Reach, and Comfort: The Details People Forget
- 7 When to Replace the Hose Instead of Reinstalling It
A handheld shower head is one of the easiest bathroom upgrades there is, and most installations take about fifteen minutes with an adjustable wrench and a roll of plumber's tape. If you have ever asked yourself "how do you install a hand held shower head," the short answer is: shut off the water, fit the holder, screw the hose onto the outlet and the handset, then check for leaks. The longer answer involves a few small details that decide whether the job lasts a week or ten years.
We make shower hoses for a living, so we have seen almost every way an installation can go wrong — and most of the time the culprit is the hose connection rather than the shower head itself. Here is how we would walk a friend through it.
Before You Start: What You Actually Need
Gather everything first so you are not climbing down a ladder with wet hands. Most handheld shower head kits include the handset, the hose, and a holder, but it is worth checking the box before you begin.
- New handheld shower head with its hose
- Adjustable wrench or slip-joint pliers
- PTFE thread seal tape (plumber's tape)
- A clean cloth or towel
- Replacement rubber washers, if your kit supplies them
Two measurements matter more than anything else. The first is thread size: most shower arms and hoses use G1/2 threads, but some older fixtures differ. The second is washer type — flat for a flat-seated connection, conical for a tapered one. Fitting the wrong washer is the most common reason a brand new hose drips the moment the water comes on.
How Do You Install a Hand Held Shower Head? Step by Step
Step 1: Turn Off the Water and Open the Old Head
Close the shower valve completely, or shut off the supply if you have access. Open the old shower head to release the water still sitting in the pipe, with a towel underneath. Water always comes out, no matter how careful you are.
Step 2: Remove the Old Hose and Head
Unscrew the hose from the shower arm first, then from the handset, turning counter-clockwise. If the connection has been in place for years it may be stiff; a cloth wrapped around the nut gives you grip without scratching the finish.
Step 3: Clean and Tape the Threads
Wipe the shower arm threads clean, then wrap PTFE tape clockwise around them two or three times. This is not decoration. The tape fills the microscopic gaps between metal threads and is what keeps a joint dry for years.
Step 4: Fit the Holder
Handheld holders come in three common types: screw-mounted, adhesive, and suction. Screw-mounted is the most reliable choice on a wall you can drill. Adhesive pads work well on smooth tile if you clean the surface first and let them cure for the full time stated on the packaging. Suction is fine for renters, but expect to re-press it occasionally. Mount the holder at roughly eye level for the shortest person who uses the shower.
Step 5: Connect the Hose to the Outlet
Seat the washer inside the hose nut and hand-tighten the hose onto the shower arm. Once it feels snug, give it about a quarter turn with the wrench — no more. Over-tightening crushes the washer and can crack the nut, which is a far more expensive problem than a drip.
Step 6: Attach the Handset
Connect the other end of the hose to the handheld shower head the same way, with its washer properly seated. Hang the handset in the holder and check that the hose is not twisted. A twisted hose will kink every time you move the head.
Step 7: Turn the Water On Slowly and Check
Open the valve gradually rather than all at once. Let the water run for a minute, then run a dry finger around both connections. A little moisture from the tap itself is normal; a growing droplet at a nut is not.
Step 8: Test the Settings and the Movement
Cycle through every spray mode and move the head through its full range. Watch the hose where it bends near the outlet. If it pulls tight against the wall or stretches under tension, you may need a longer or more flexible hose.
Can You Install One Without Tools?
Often, yes. If you are swapping a handheld shower head for another with the same thread type, the whole job can be done by hand: unscrew the old hose, screw on the new one, press the holder into place. Many modern kits are designed for exactly this, with rubber-grip nuts and pre-installed washers.
The one step worth keeping is the tape. Even a hand-tightened joint benefits from PTFE tape on the shower arm threads, and it costs almost nothing. Hand-tight plus one firm final turn is usually enough for a leak-free connection.
Choosing a Hose That Will Still Be Working in Five Years
The shower head gets the attention, but the hose does the work. It bends, twists, and holds pressurized water every day, and it is the part most likely to fail first. Three materials cover almost every bathroom:
| Hose type | Feel and flexibility | Best suited to | Watch out for |
|---|---|---|---|
| PVC | Firm, holds its shape | Everyday bathrooms, tighter budgets | Can stiffen in cold rooms over time |
| Silicone | Soft, stays pliable | Hot water, family bathrooms, colour matching | Costs a little more than PVC |
| Stainless steel braided or SUS304 | Smooth, slightly stiffer | High-use showers, hotels, longer spans | Heavier; check the finish matches your handset |
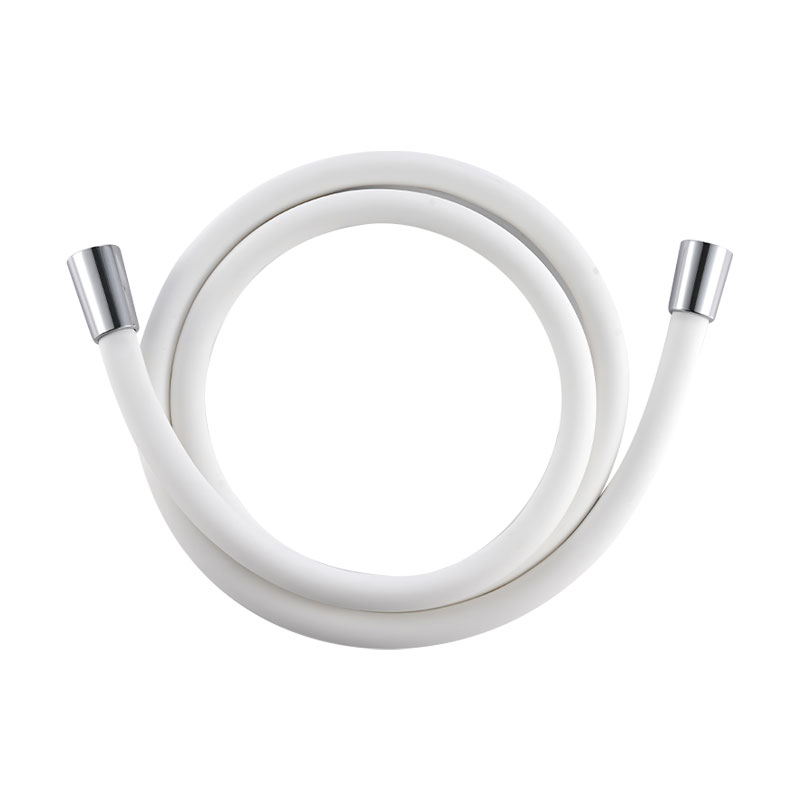 Shower Hose Series and Related Sanitary Hose RangesBrowse Doflex shower hoses in stainless steel, PVC, PU, and silicone, with varied connectors, colors, and custom length options for matching bathroom fittings.View Product →
Our own shower hose range is built around exactly this question — which material suits which bathroom — and every hose is tested for the pressure and temperature it will actually meet in a home. If you are matching an existing chrome handset, look for a hose with a matching nut colour; a silver hose under a gold head is a small detail that never stops being noticeable.
Common Problems After Installing a Handheld Shower Head
If something is not right, it is almost always one of these four things, and each has a simple fix.
Water drips from the hose nut
The washer is missing, seated crooked, or the wrong shape for the seat. Take the connection apart, check the washer, and re-tape the threads.
The hose kinks when you move the head
That usually means the hose was attached with a twist in it, or it is simply too rigid for how you use the shower. Untwist it first. If it still kinks, an anti-twist hose has a swivel joint at each end so the hose rotates freely instead of fighting itself.
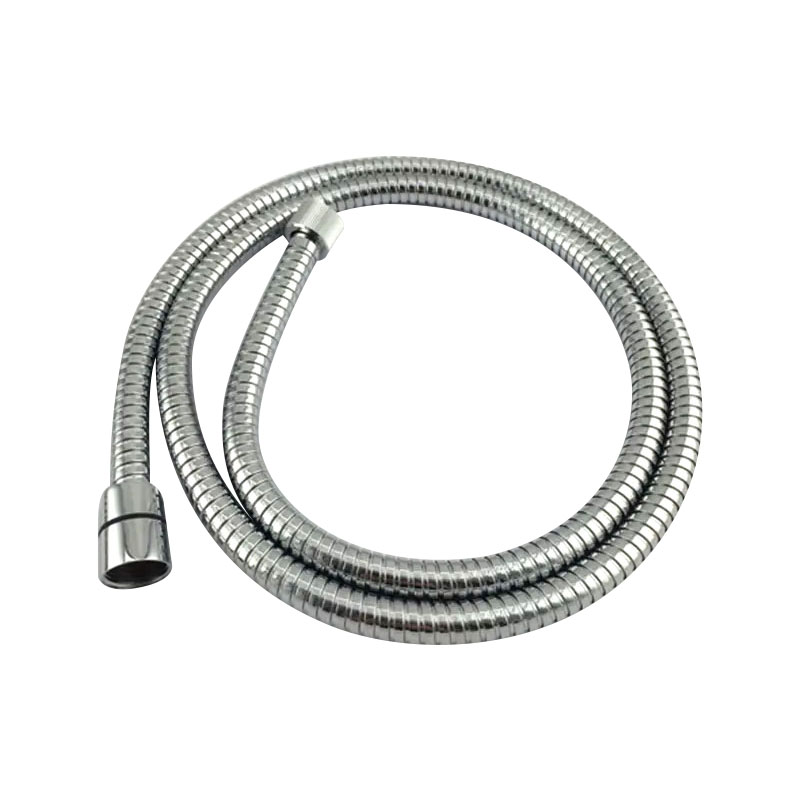 Doflex SH006CR Anti-Twist Chrome Shower Hose1.5 m SUS201 chrome hose with anti-twist brass nuts and inserts, suited to showers where a standard hose twists or kinks.View Product →
The spray is weaker than the old head
Check the flow restrictor inside the new handset — many are fitted at the factory and can be removed where local rules allow. Also confirm the washer has not slipped into the waterway and partly blocked the flow.
The holder will not stay up
Adhesive and suction holders fail on textured, damp, or dusty surfaces. Clean with alcohol, let it dry fully, and press for the recommended time. Where a surface keeps rejecting the holder, a screw-mounted bracket is the permanent answer.
Height, Reach, and Comfort: The Details People Forget
Installation is mechanical; comfort is spatial. A few centimetres make the difference between a shower you enjoy and one you tolerate.
- Mount the holder so the handset sits near eye level for the shortest regular user, usually 1.6 to 1.8 metres from the floor.
- Keep the holder within easy reach if anyone in the household showers while seated.
- Leave a gentle loop in the hose rather than pulling it taut; a hose under constant tension wears at the crimp.
- Check that the handset reaches the far corner of the shower without the hose going straight and tight.
If your shower arm sits high and the tub is deep, a standard 1.5-metre hose can feel short. An extensible hose stretches to reach and then retracts out of the way, which is handy in small bathrooms where a long hose would otherwise coil on the floor.
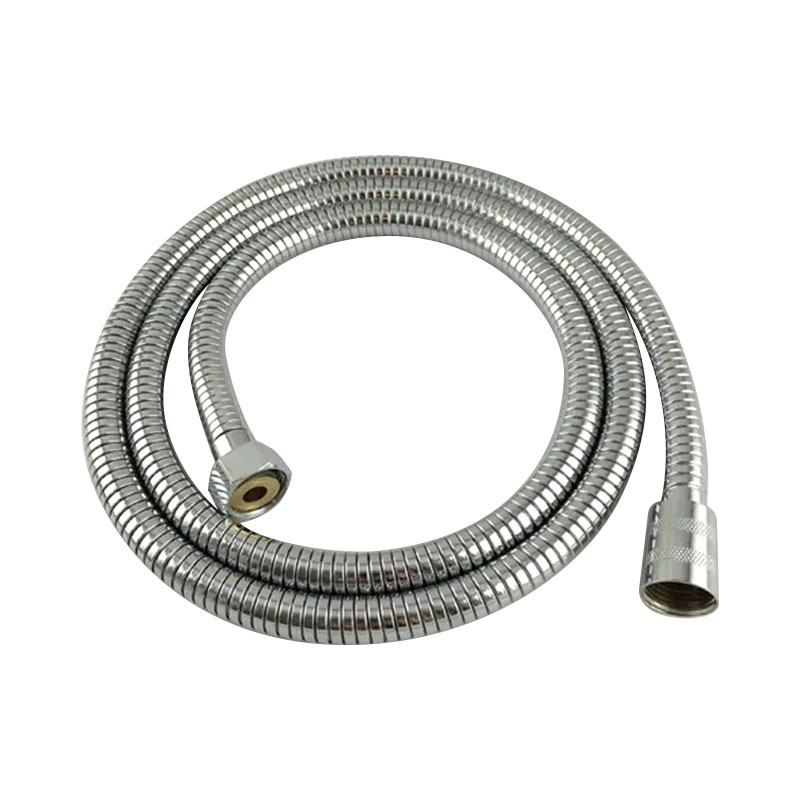 Doflex EX005CR Extensible Chrome Shower HoseExtends from 1.5 m to 2.1 m, with SUS201 double-lock chrome body and brass fittings for bathrooms where a fixed hose feels short.View Product →
When to Replace the Hose Instead of Reinstalling It
Once a hose has seen several years of service, putting it back on is often a false economy. Replace it if you notice any of the following:
- Visible cracks, bulges, or flat spots where the hose bends
- A bulge or fraying right behind the nut, which is where failures begin
- Water seeping from the hose body itself rather than the connection
- A hose that has hardened and no longer hangs in a smooth curve
- Green or white corrosion on the metal fittings
If you are unsure which material or standard fits your setup, our guide to shower hose types, materials and standards walks through each option, including the standards that matter for drinking-water contact and European markets.
Installing a handheld shower head is a genuinely beginner-friendly job, and the part that decides whether it works is the connection between the hose and the outlet. Tape the threads, seat the washer correctly, tighten by hand and then just a little more, and the whole thing should stay dry for years.
We have been making shower hoses and kitchen hoses in Yuyao, on China's east coast, since 2004, and our products end up in bathrooms around the world. If you would like to know more about the people behind the hoses, you can read a little about us — or simply enjoy your new shower.
News
-
-
To install a shower hose, turn off the water supply, unscrew the old hose from both the shower head and the wall outlet or hose bracket, wrap the threads of th...
READ MORE -
Attaching a shower hose is a five-minute job if you know where the water actually seals. Most people assume the metal threads create the watertight connection....
READ MORE -
Replacing a shower hose is a straightforward DIY job that takes 10 to 20 minutes and requires no specialist plumbing knowledge. You unscrew the old hose at bot...
READ MORE -
If you have ever stood in front of a shower hose display wondering whether any of them will fit your bathroom, you are not alone. A shower hose looks like a si...
READ MORE -
How to Change a Shower Hose: Quick Answer Changing a shower hose takes about 10 minutes and rarely needs a plumber: unscrew the old hose from the shower head a...
READ MORE

Contact us
-

-

+86-574-62321667
-

No.2 Chuangsheng West road, Wuma Industry Area, Lubu Town, Yuyao City, Zhejiang, China
Copyright © 2025 Yuyao Doflex Sanitary Ware Hose Co., Ltd., All Rights Reserved.
 Wholesale Bathroom Shower Hose Manufacturers