
 English
 Español
 Deutsch
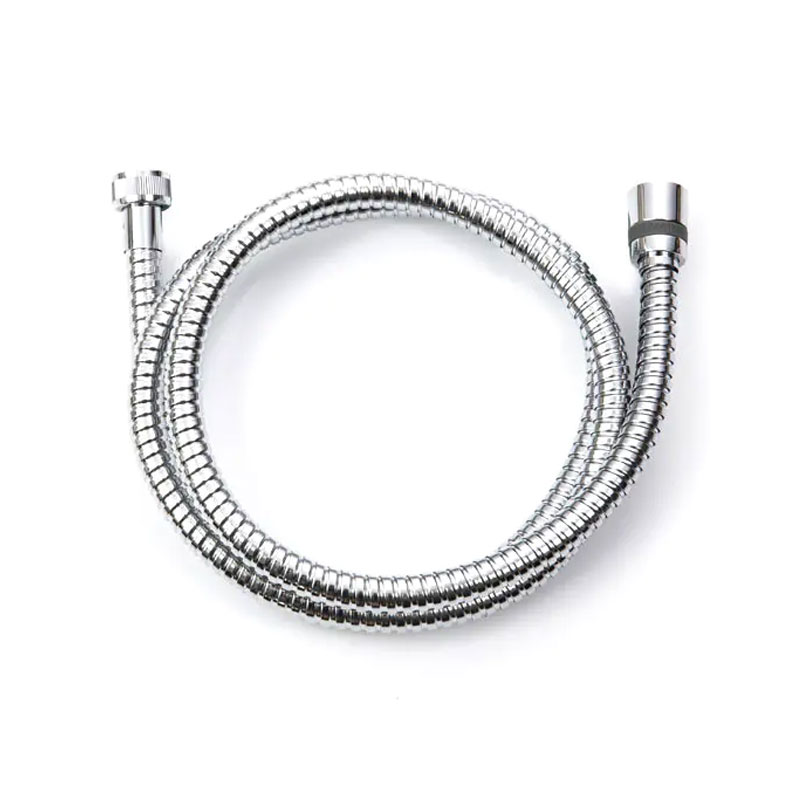
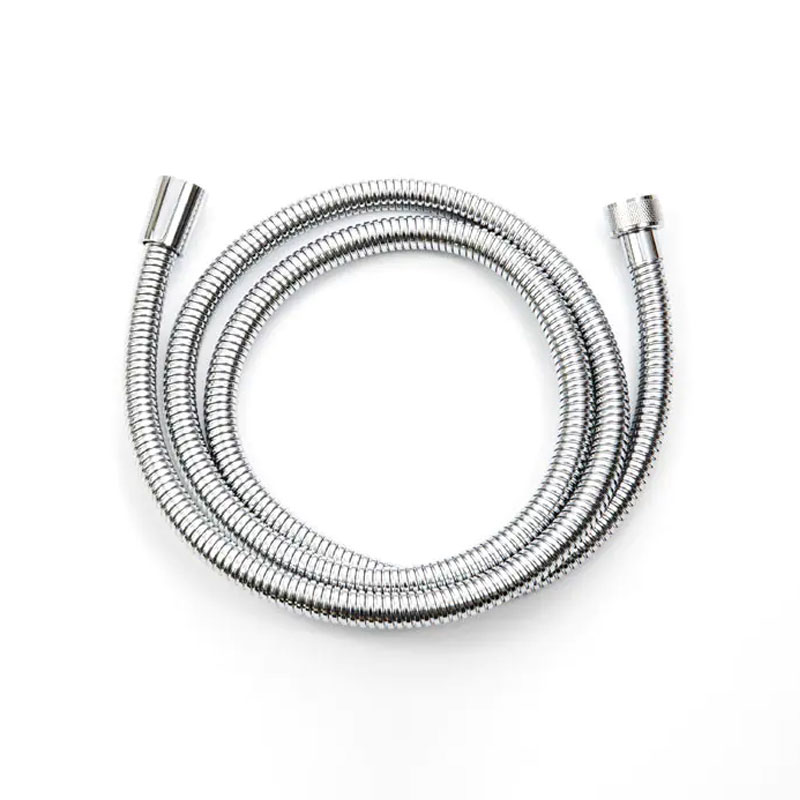
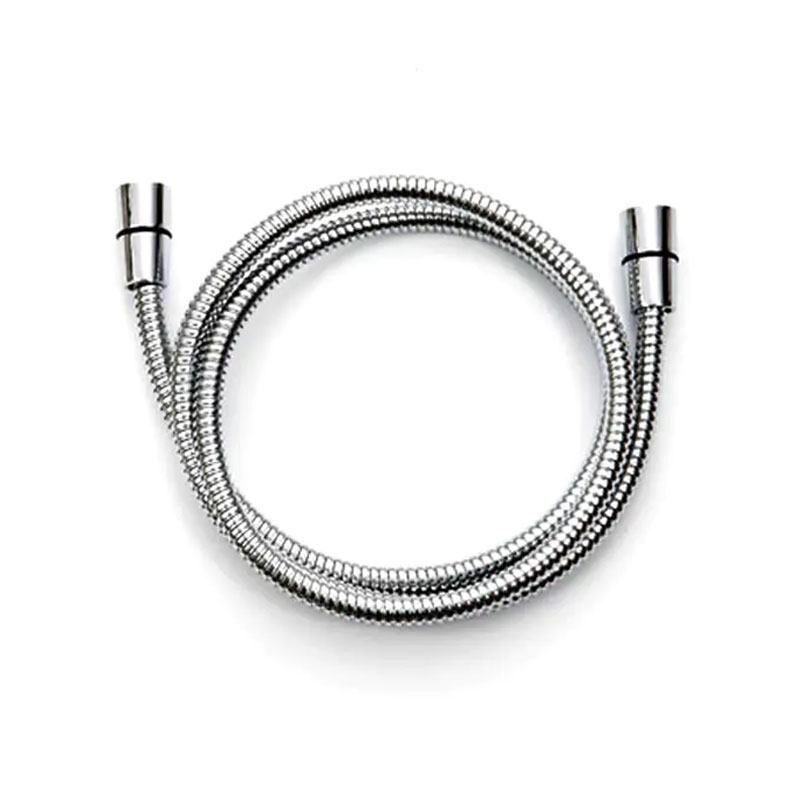
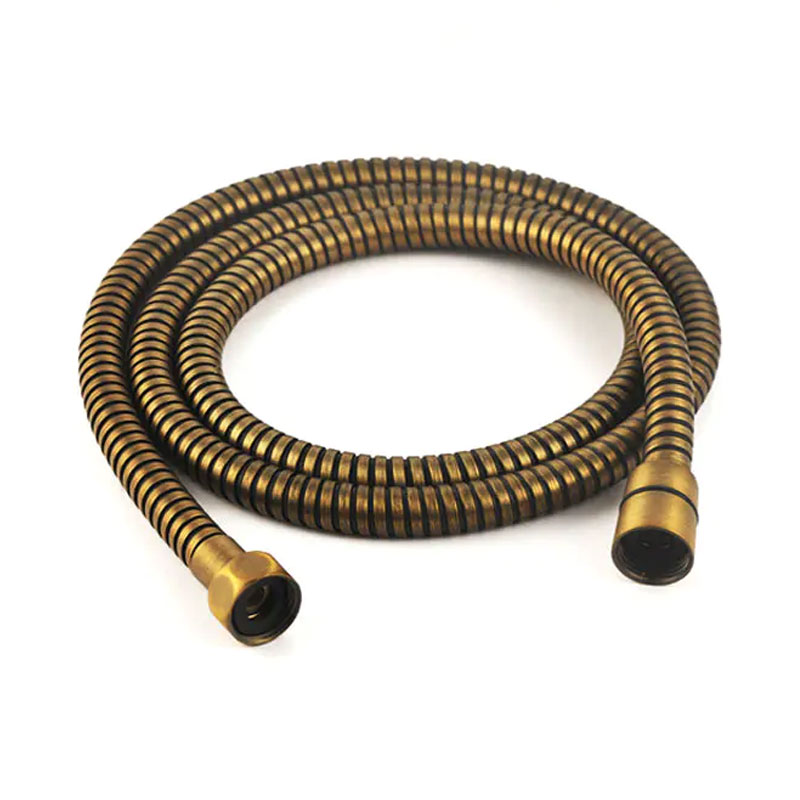
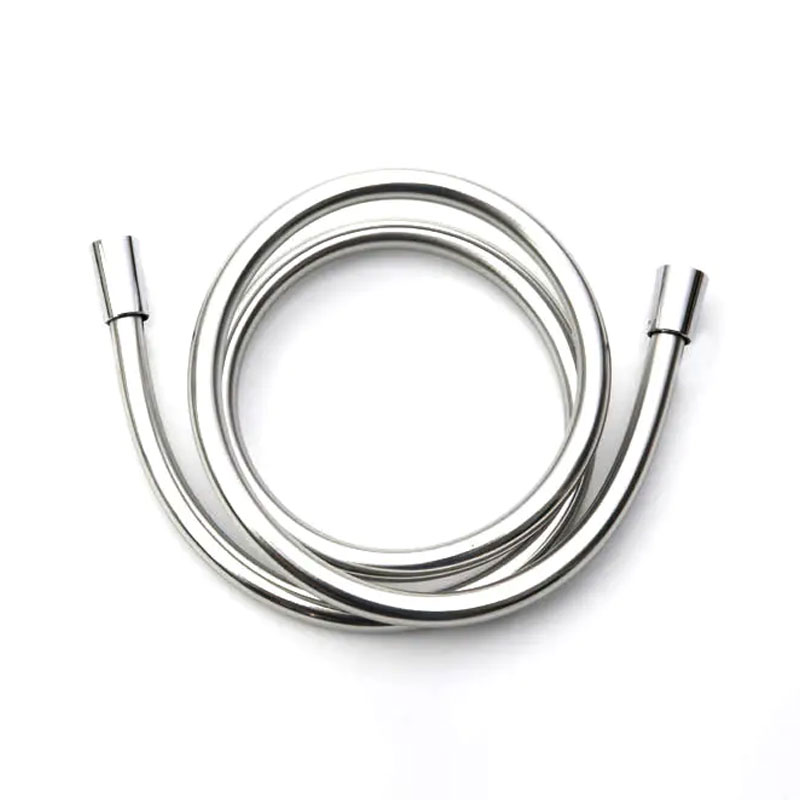
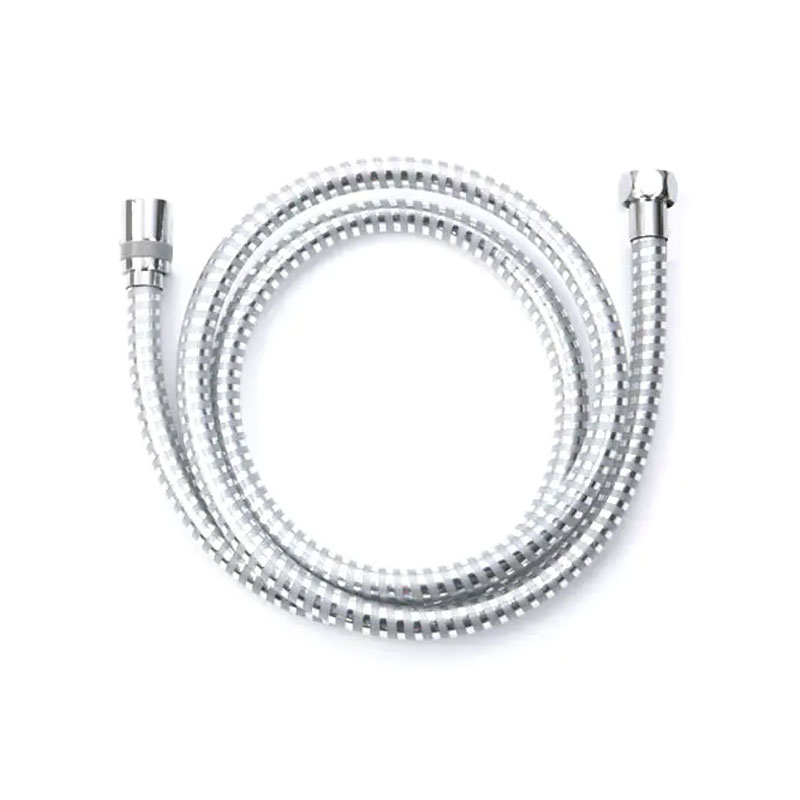
As a manufacturer of sanitary ware hoses, we hear this question from homeowners and plumbers alike: how do I stop my shower hose from leaking? The good news is...
READ MORE
news
How to Fix a Hole in Your Shower Hose: DIY Repair and Replacement Guide
Update:02-11-2026
Content
Few things ruin a shower faster than a spray of water from a hole in the hose. The good news is that you do not have to live with it or call a plumber right away. In our years of manufacturing shower hoses, we have seen every kind of leak, from tiny pinholes to cracked fittings. Here is how to fix a hole in a shower hose quickly, and how to know when it is time for a replacement.
First, Find Out Where the Water Is Coming From
Before you reach for tape or a wrench, take a close look at the hose. Turn off the water supply and dry the outside of the hose with a towel. Then run your fingers along the whole length, including both ends.
- Check the connections first. Many apparent “holes” are actually loose nuts or worn rubber washers inside the coupling. If the drip is near the shower head or the wall mount, tightening the nut or swapping the washer may solve the problem.
- Look at the middle section. If water sprays from the shaft of the hose, the outer cover or the inner tube has a hole.
- Inspect under bright light. A small pinhole can be hard to see when the hose is wet. Gently bend the hose and look for tiny tears or bubbles.
For a quick test, plug one end of the hose with your thumb and hold the other under a faucet. Any escaping water will show you the exact spot.
Quick Temporary Fixes for a Small Hole
If the hole is small and you need a few more showers before a replacement arrives, these temporary fixes can help. They are not permanent solutions, but they can stop the spray for a day or two.
- Waterproof tape: Wrap several layers of waterproof or silicone repair tape tightly around the hole. This works best on straight sections without too much bending.
- Silicone sealant: Clean and dry the area, then apply a generous layer of silicone sealant. Wait for it to cure before turning the water back on.
- Epoxy putty: Press a small piece of epoxy putty over the hole and smooth it out. Let it harden completely.
- Heat shrink tube: Cut a piece of heat shrink tube long enough to cover the damaged area, slide it over the hose, and heat it with a hair dryer until it shrinks firmly around the leak.
| Temporary Fix | How to Apply | Expected Durability |
|---|---|---|
| Waterproof tape | Wrap tightly around the dry hose | A few days to a week |
| Silicone sealant | Coat the hole, let it cure | A week or less |
| Epoxy putty | Press and smooth over the hole | Several days |
| Heat shrink tube | Slide over damage and heat | Several days to a few weeks |
Important: These are emergency patches. The hole will probably open up again, so plan to replace the hose soon.
When Repair Isn’t Worth It: Replacing the Hose
We understand the temptation to extend the life of a favourite hose, but a hole that appears in the middle of the hose is usually a sign that the inner tube has weakened. Patching it can hide the problem, but water pressure can turn a small tear into a burst within weeks.
Replacing a shower hose is also more affordable than most people think. A new hose costs a fraction of what a plumber charges, and installation takes less than ten minutes. More importantly, a new hose ensures:
- Reliable water flow without unexpected spraying
- No risk of corrosion or bacteria inside a damaged inner tube
- Proper flexibility that reduces strain on the shower head and wall outlet
If the hole is longer than about a quarter of an inch, or if you see several holes and cracking, do not patch it. Replace the hose.
Step-by-Step Shower Hose Replacement Guide
Replacing the hose is a straightforward job. You only need an adjustable wrench and a roll of thread seal tape (commonly called plumber’s tape).
- Turn off the water supply. Close the shut-off valve near the shower or the main water valve.
- Remove the old hose. Use the wrench to loosen the nuts at both ends. One end connects to the shower head, the other to the wall pipe.
- Clean the threads. Wipe the threads on the shower head and the wall outlet to remove old tape and debris.
- Wrap the thread seal tape. Wrap two or three turns of plumber’s tape clockwise around the male threads of both connections.
- Attach the new hose. Screw the nuts on by hand first to avoid cross-threading, then tighten gently with the wrench. Do not overtighten.
- Turn the water back on. Open the valve gradually and check for drips. If you see a small leak, tighten the nut a little more.
A quick tip from our workshop: when you hand-tighten the nuts, they should turn smoothly. If they catch, loosen and realign them. Forcing the thread is the most common cause of leaks at a new connection.
Choosing a Better Shower Hose the Next Time
If you are reading this because you have already replaced a holey hose before, consider upgrading the material. The inner tube and the outer cover determine how long the hose stands up to hot water, bending, and water pressure.
- Silicone hoses stay flexible even in high heat, resist cracking, and are easy to clean. They are a good pick for daily family showers.
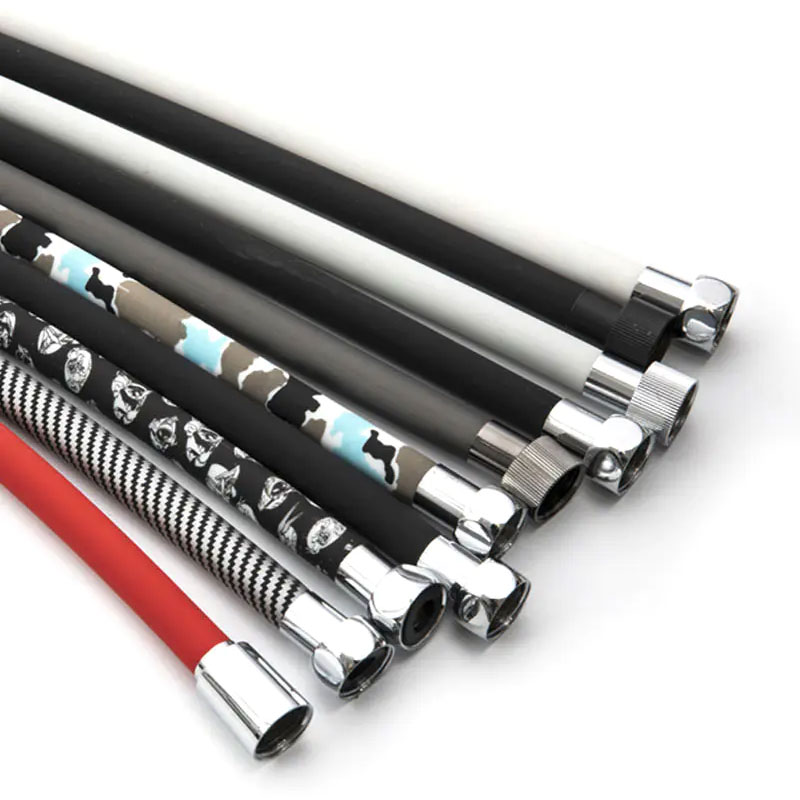 Silicon Shower Hose with Durable FlexibilityUpgrade to this silicon hose for smooth movement and long-lasting performance, ideal for daily shower use with CE and ISO9001 certifications.View Product →
A silicone hose can give you smooth movement and a long lifespan.
- Stainless steel hoses offer excellent durability and a classic metal look. The steel braided sleeve protects against cuts and accidental crushing.
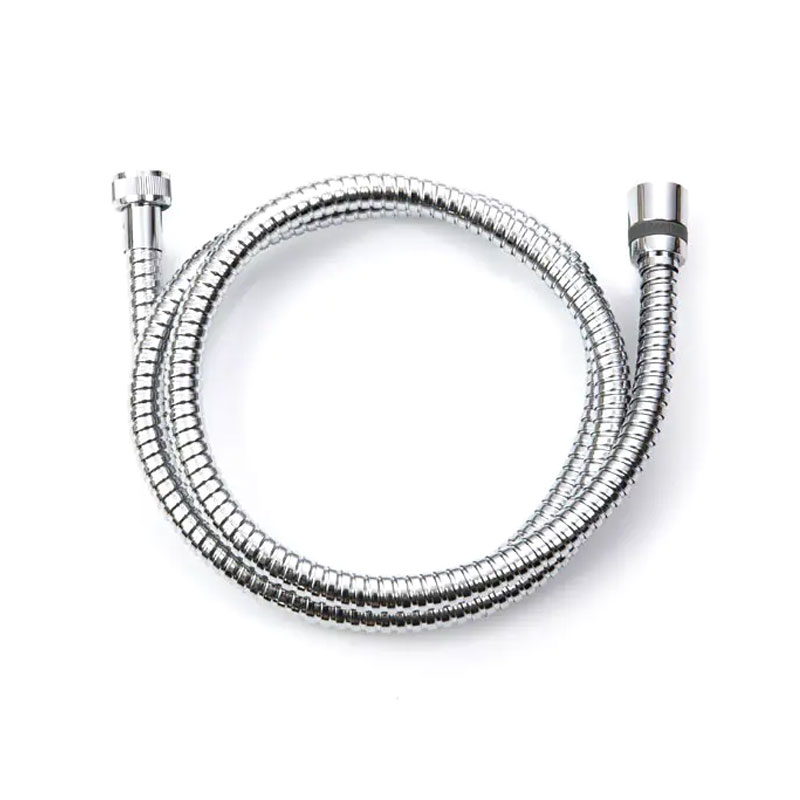 Stainless Steel Shower Hose for Frequent UseChoose this stainless steel option for a sturdy hose that withstands frequent use and rough handling, backed by CE and ISO9001 certifications.View Product →
A stainless steel hose is a strong choice if you want something that handles frequent use and rough handling.
- PVC hoses are lightweight and budget-friendly. They work well in many standard setups, but they may harden over time if the water is very hot.
 PVC Shower Hose – Cost-Effective ReplacementA budget-friendly PVC hose that provides reliable water delivery with minimal fuss, perfect for simple replacements in bathroom or kitchen setups.View Product →
For a cost-conscious replacement, a PVC hose gets the job done with minimal fuss.
Whichever material you choose, check that the connections are the standard G1/2 size used in most bathrooms, and look for certificates that confirm the materials are safe for drinking water. If you are still unsure, our guide to choosing a bathroom hose walks through all the important points.
Preventing Small Holes Before They Start
A little daily care goes a long way. Most holes in shower hoses do not happen by accident; they are the result of stress, heat, and poor water quality.
- Avoid sharp bends. Never kink the hose when you hang it over the shower arm. A tight bend puts pressure on the same spot every day.
- Keep a reasonable water pressure. Very high pressure can stress the inner tube. If your pressure is above the recommended range, use a pressure reducer.
- Check the hose every few months. Look for dull spots, tiny cracks, or sticky areas that might signal weak material.
- Replace when you notice stiffness. A stiff hose is more likely to crack, especially in cold weather or after extended heat exposure.
If you explore different options, our shower hose series includes various lengths and finishes; replacing a worn hose with a good quality one is the ultimate fix.
Frequently Asked Questions
Can I use super glue to fix a hole in a shower hose?
Super glue is not flexible, and water pressure will break the bond quickly. Silicone sealant or epoxy putty is better for a temporary fix.
How long does a shower hose last?
Most hoses last between two and five years depending on material, water quality, and how often you bend them. Silicone hoses tend to last longer than standard PVC hoses.
What should I do if the hole is on the metal nut?
If the leak comes from the connector itself, replace the hose. The nut is usually not repairable at home, and a new hose is a clean solution.
Now you have a clear path: diagnose the hole, apply a quick patch if necessary, replace the hose, and choose a material that will stand up to your daily routine. A well-chosen hose can make your shower safer and more comfortable for years.
News
-
-
How to Change a Shower Hose: Quick Answer Changing a shower hose takes about 10 minutes and rarely needs a plumber: unscrew the old hose from the shower head a...
READ MORE -
Whether you are replacing a cracked hose at home or specifying components for a new bathroom, the length of a standard shower hose is one of those details that...
READ MORE -
If your kitchen braided hose is leaking, the fix usually takes under 30 minutes and costs $5–$30—depending on whether you need a washer replacement or a full h...
READ MORE -
To install a shower hose, turn off the water supply, unscrew the old hose from both the shower head and the wall outlet or hose bracket, wrap the threads of th...
READ MORE -
Choosing a new shower head sounds like one of the simplest bathroom upgrades, until you start comparing models. Fixed or handheld? Chrome or matte black? Rain ...
READ MORE

Contact us
-

-

+86-574-62321667
-

No.2 Chuangsheng West road, Wuma Industry Area, Lubu Town, Yuyao City, Zhejiang, China
Copyright © 2025 Yuyao Doflex Sanitary Ware Hose Co., Ltd. , All Rights Reserved.
 Wholesale Bathroom Shower Hose Manufacturers