
 English
 Español
 Deutsch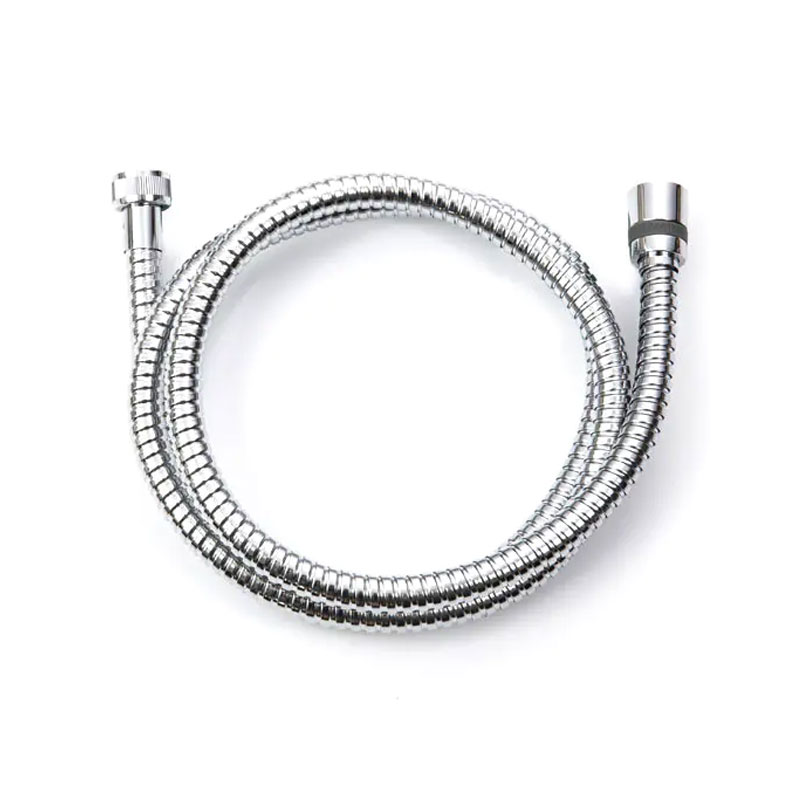
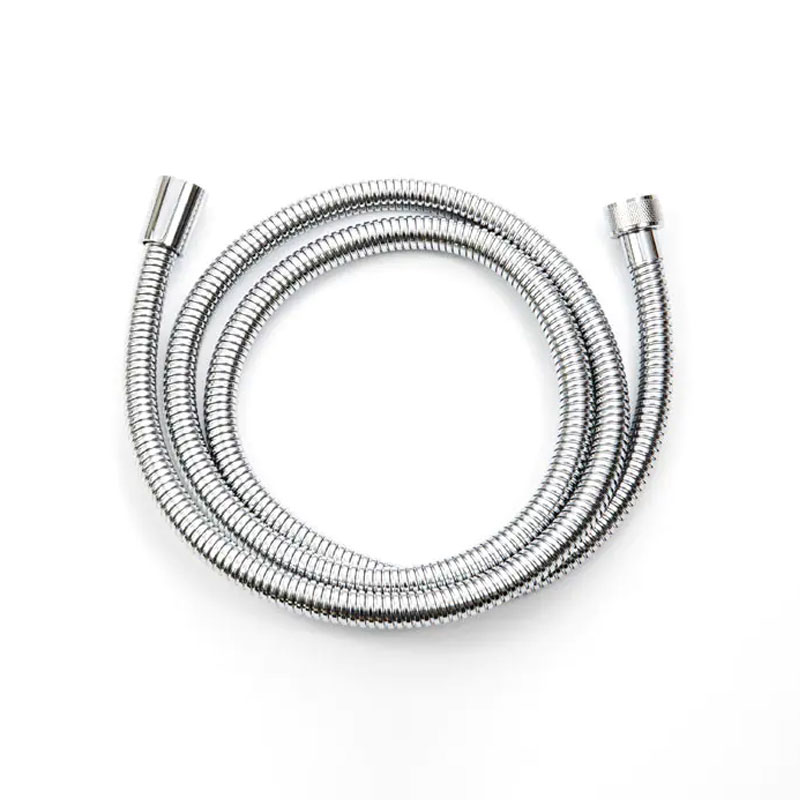
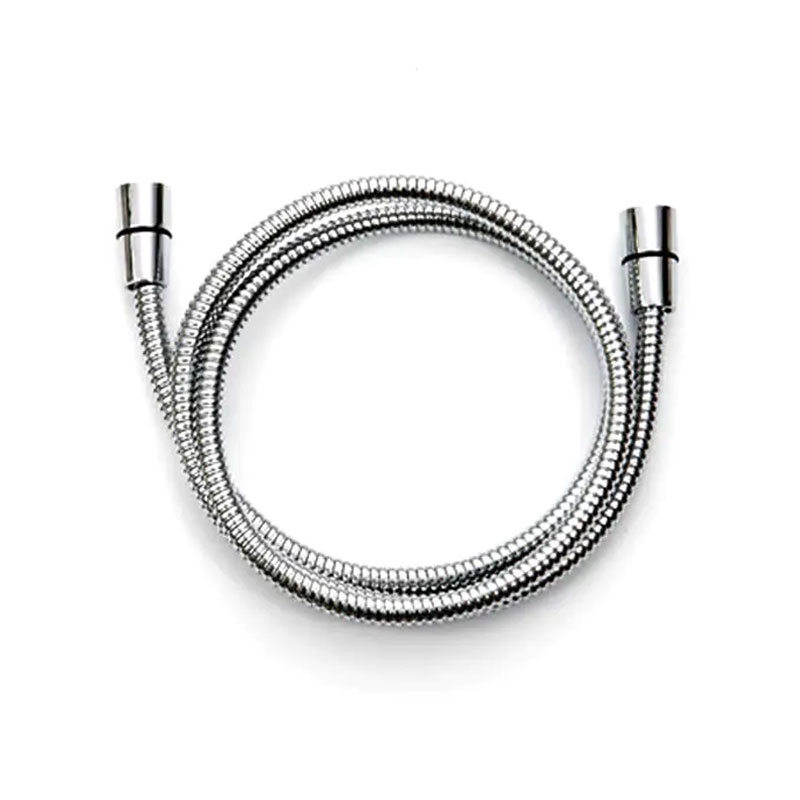
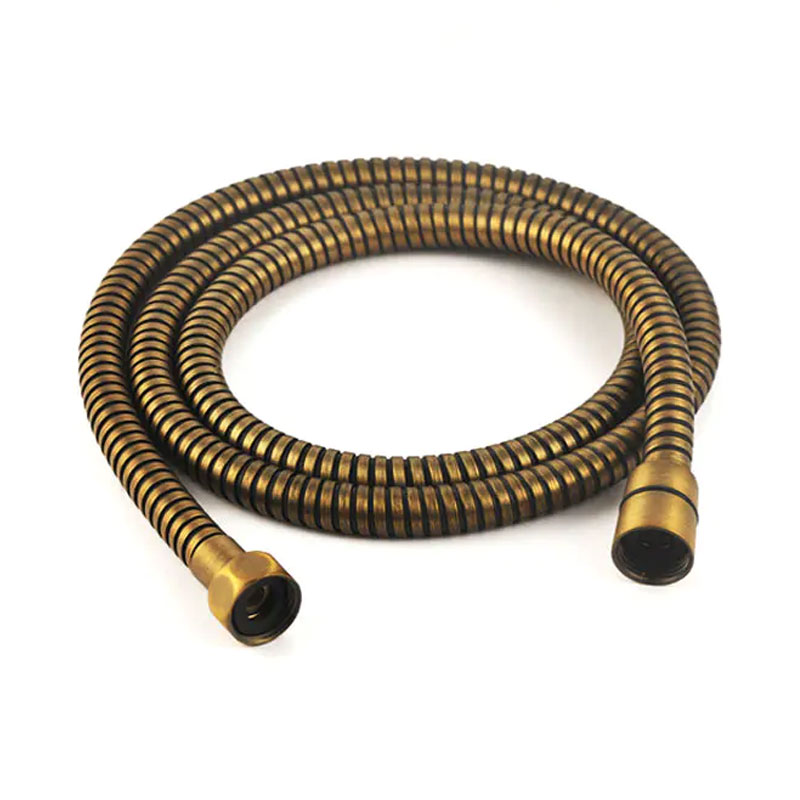
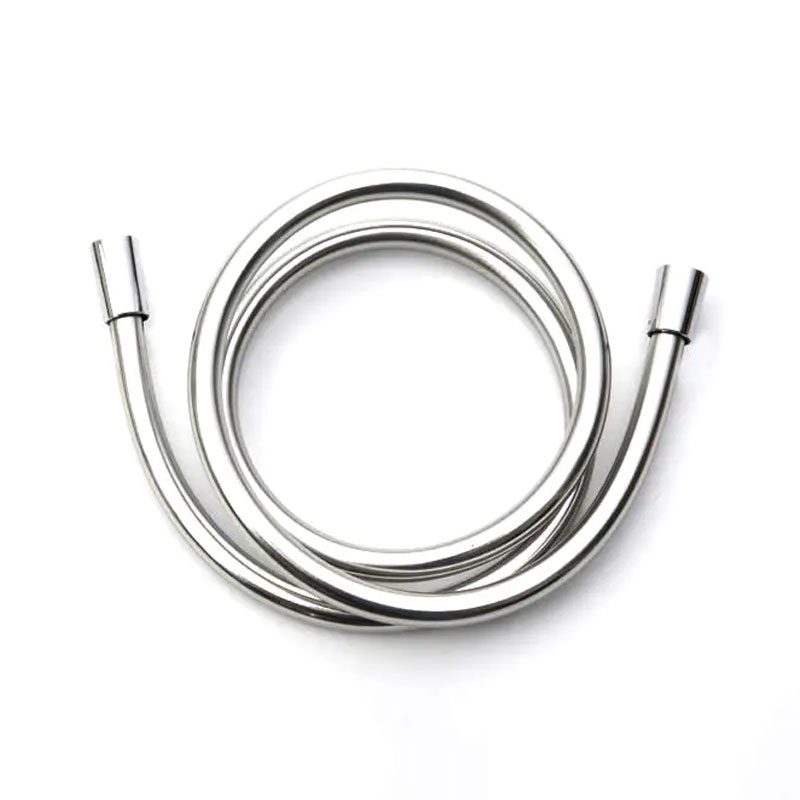
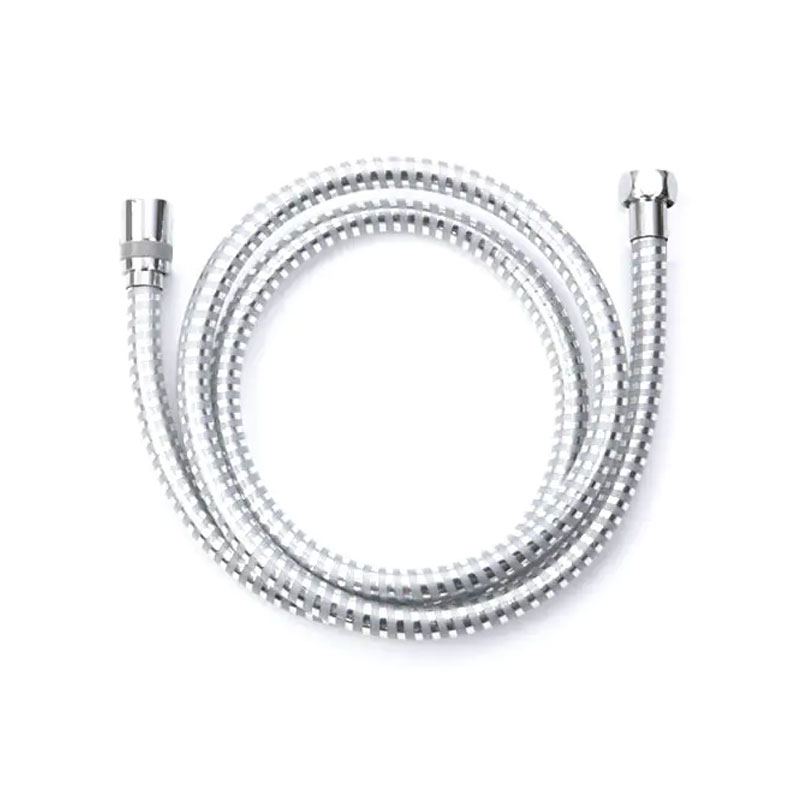
To install a shower hose, turn off the water supply, unscrew the old hose from both the shower head and the wall outlet or hose bracket, wrap the threads of th...
READ MORE
news
How Do I Stop My Shower Hose From Leaking? A Step-by-Step DIY Fix Guide
Update:30-09-2026
Content
- 1 First, Confirm Where the Water Is Escaping
- 2 Three Common Causes You Should Rule Out First
- 3 How to Stop a Shower Hose Leak in Six Steps
- 4 What to Do When the Inner Tube Is the Problem
- 5 When Replacement Is the Better Option
- 6 What to Look For When Buying a New Shower Hose
- 7 How to Keep Your Next Shower Hose Leak-Free
As a manufacturer of sanitary ware hoses, we hear this question from homeowners and plumbers alike: how do I stop my shower hose from leaking? The good news is that a leaking shower hose is rarely a complicated plumbing problem. It is usually a loose nut, a worn washer, a damaged O-ring, or a hose that has finally reached the end of its service life. In most cases, you can stop the drip yourself with basic tools and a little patience.
First, Confirm Where the Water Is Escaping
Before you buy anything or take the hose apart, dry all of the connection points with a towel and run the shower for a few seconds. Look for water dripping at the shower arm, at the hand shower connection, or along the length of the hose itself. The right fix is often obvious once you know the leak's origin.
| Leak location | Most likely cause | Quick fix |
|---|---|---|
| Shower arm to hose connection | Loose nut, missing washer, or damaged thread | Tighten by hand, replace the washer, and reseat with PTFE tape |
| Hose to hand shower connection | Worn O-ring, cross-threading, or damaged swivel | Replace the O-ring, clean the threads, and reconnect carefully |
| Along the hose body | Split inner tube, cracked PVC, or torn outer braid | Replace the hose, or trim the inner tube only if enough spare length exists |
If water drips from the shower head even when the shower is off, the problem may be the shower valve cartridge or diverter rather than the hose. Fixing the hose will not stop that kind of leak, so this check saves you from unnecessary work.
Three Common Causes You Should Rule Out First
Once you know where the water is coming from, match the symptom to the cause. These are the three problems we see most often in leaking shower hoses.
Loose fittings
The nut that holds the hose to the shower arm or hand shower can work loose over time, especially if the hose twists during use. If you see water at a threaded connection, try tightening the nut by hand first. If the leak stops, you have found the problem. Avoid overtightening; you can crush a washer or crack a plastic nut.
Worn washers and O-rings
The seal between the hose and the shower head depends on a small rubber washer or O-ring. Hot water and minerals in hard water make these parts hard, flat, or brittle. If the washer looks deformed, replace it with the same size and shape. A flat rubber washer, a cone washer, and an O-ring are not always interchangeable, so match the original seal.
A damaged hose body
A leak that appears in the middle of the hose, or anywhere along the braided cover, means the inner tube has split or the outer layer has failed. You might be able to dry it off and finish one shower, but for a long-term solution, replacement is the safer route.
How to Stop a Shower Hose Leak in Six Steps
For a standard leak at either connection point, follow this sequence. It takes less than half an hour and does not require special plumbing skills.
- Turn off the water. Close the shower valve or the main stopcock before loosening anything. Do not try to repair a connection while water is moving through it.
- Gather your parts. You need an adjustable wrench, PTFE tape, a clean cloth, and replacement washers or O-rings that match the connection.
- Unscrew the leaking connection. Hold the hose nut with one hand and the shower arm or hand shower with the other. Turn counter-clockwise, and use the cloth to protect the surface finish.
- Inspect and replace the seal. Check the flat washer or O-ring. If it is misshapen, replace it. If the threads are dirty, clean them and wrap the male thread with two or three turns of PTFE tape.
- Reconnect and tighten carefully. Screw the nut on by hand until it seats, then tighten only a quarter turn with the wrench. Over-tightening is a common cause of new leaks.
- Test the repair. Turn the water on slowly and check both ends. If the leak has moved, you may have the wrong washer or a damaged thread.
If the leak stops, you are done. If it continues, read the next section before ordering a replacement hose.
What to Do When the Inner Tube Is the Problem
Some flexible shower hoses use an inner tube that can pull back from the nut after years of exposure to heat or twisting. Instead of leaking around the outside of the nut, water runs along the inner tube and escapes from the connection. If the hose has enough spare length, you can sometimes extend the inner tube slightly, trim a clean square end, and reattach the nut so the washer can seat properly.
Remove only a small amount of the inner tube. If the tube is too short or the outer cover is already damaged, trimming will not fix the leak and the hose should be replaced. This repair works best on a hose with a flexible inner tube and a serviceable outer nut, not on a hose with cracked plastic or rusted fittings.
When Replacement Is the Better Option
If the hose is cracked, kinked, or leaking from more than one place, replacement is usually faster and safer than repeated repairs. Look for a hose with corrosion-resistant nuts, a smooth swivel, and the correct length. A metal outer braid can protect the inner tube from abrasion, while a flexible inner core keeps water flowing smoothly.
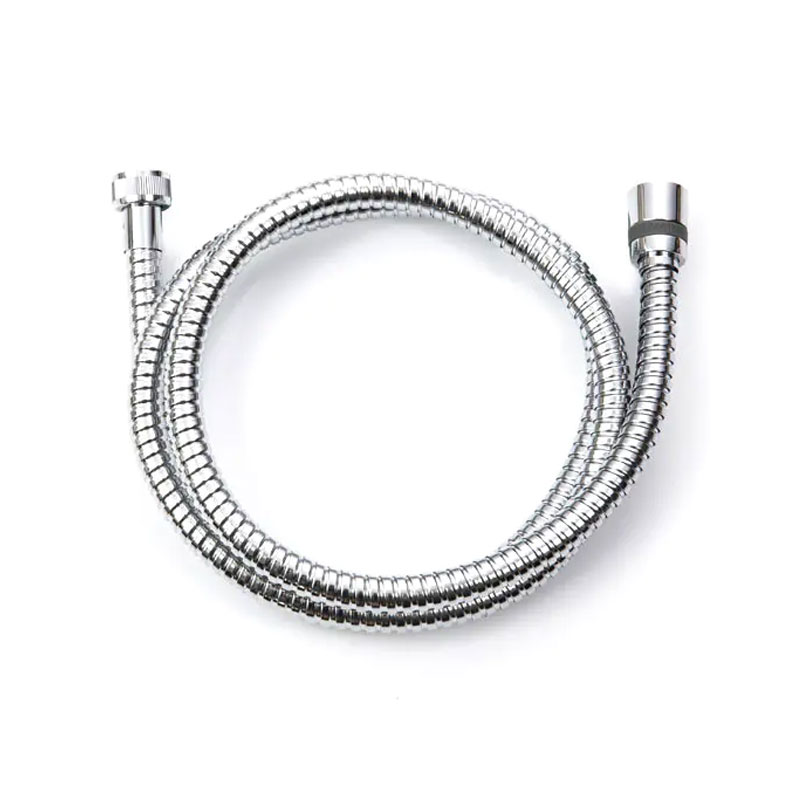 Stainsteel Shower Hose with Durable Metal BraidThis shower hose features a metal outer braid and corrosion-resistant nuts, making it a reliable replacement when your current hose leaks or kinks.View Product →
What to Look For When Buying a New Shower Hose
Not all shower hoses are built the same way. The two most important parts are the inner tube and the connection nuts. A hose may look strong on the outside, but if the inner tube is thin or the nuts are made of weak metal, it will leak sooner.
Material matters
Stainless steel braided hoses offer good resistance to abrasion and look neat in most bathrooms. PVC hoses are lightweight and affordable, but they can harden and crack after prolonged exposure to heat. Silicone hoses stay flexible in hot water and are available in many colours, which makes them a popular choice for visible installations. Choose the material that matches your water temperature, usage habits, and design preferences.
Connection quality
Check the nut shape, thread finish, and how smoothly the swivel moves. A well-made nut should seat against the shower arm or hand shower without resistance. If the swivel feels rough, the hose may be difficult to install and more likely to leak at the connection.
If you want to compare materials side by side, our complete professional guide to shower hose types and materials explains the options in detail.
How to Keep Your Next Shower Hose Leak-Free
Once the leak is fixed, a little prevention goes a long way. Avoid hanging heavy items on the hose, do not let it twist sharply, and support the hand shower when it is not in use.
If the old hose leaked because the connections worked loose during every shower, choose an anti-twist design that holds the nut more securely.
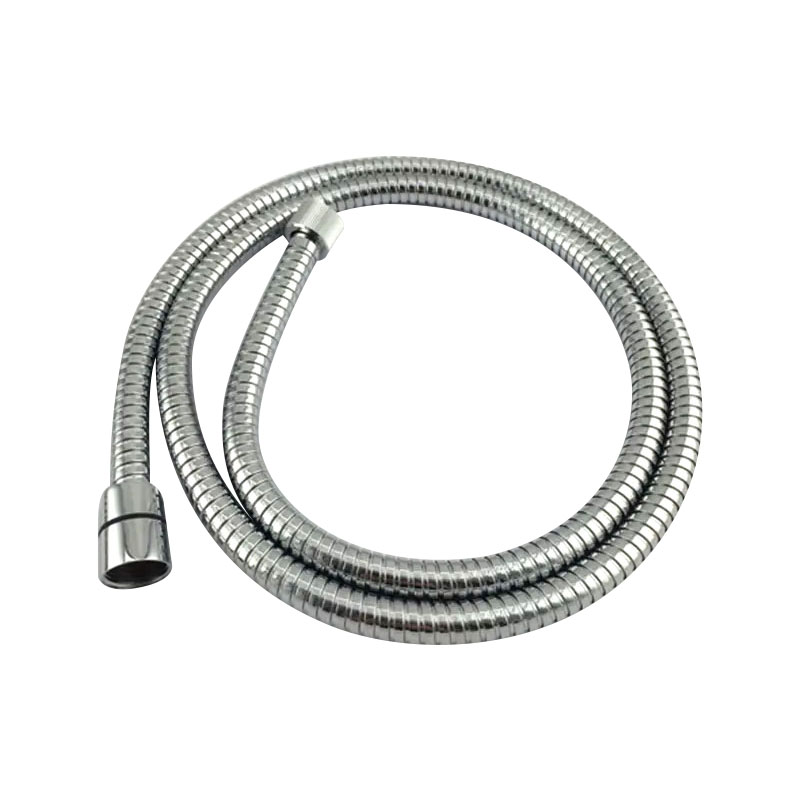 Anti-Twist Shower Hose with Brass NutsDesigned with anti-twist brass nuts and a chrome finish, this 1.5-meter hose prevents connection loosening during showers, reducing leak risks.View Product →
A simple yearly check of the washers takes less than a minute and can prevent the most common type of shower hose leak. If the rubber seals look flat or cracked, replace them before they start to drip.
News
-
-
Attaching a shower hose is a five-minute job if you know where the water actually seals. Most people assume the metal threads create the watertight connection....
READ MORE -
Replacing a shower hose is a straightforward DIY job that takes 10 to 20 minutes and requires no specialist plumbing knowledge. You unscrew the old hose at bot...
READ MORE -
How to Change a Shower Hose: Quick Answer Changing a shower hose takes about 10 minutes and rarely needs a plumber: unscrew the old hose from the shower head a...
READ MORE -
A quality kitchen braided hose lasts 8 to 12 years under normal household conditions, and up to 15 years with excellent water quality and low usage stress — fa...
READ MORE -
The short answer is mostly yes, but not always. Most shower hoses are built around a standard 1/2-inch BSP (British Standard Pipe) thread at both ends, so a re...
READ MORE

Contact us
-

-

+86-574-62321667
-

No.2 Chuangsheng West road, Wuma Industry Area, Lubu Town, Yuyao City, Zhejiang, China
Copyright © 2025 Yuyao Doflex Sanitary Ware Hose Co., Ltd., All Rights Reserved.
 Wholesale Bathroom Shower Hose Manufacturers