
 English
 Español
 Deutsch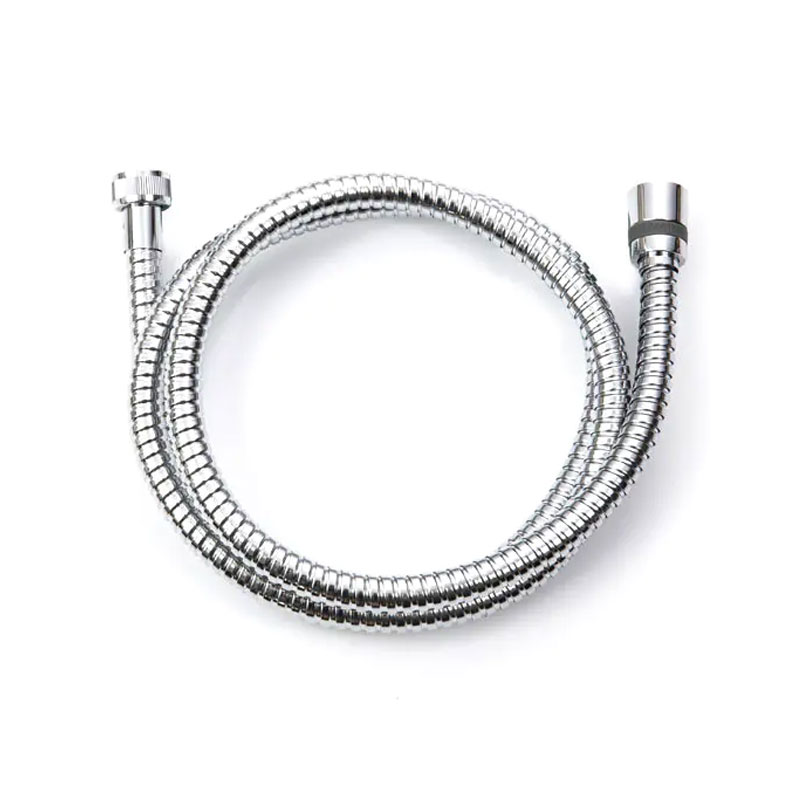
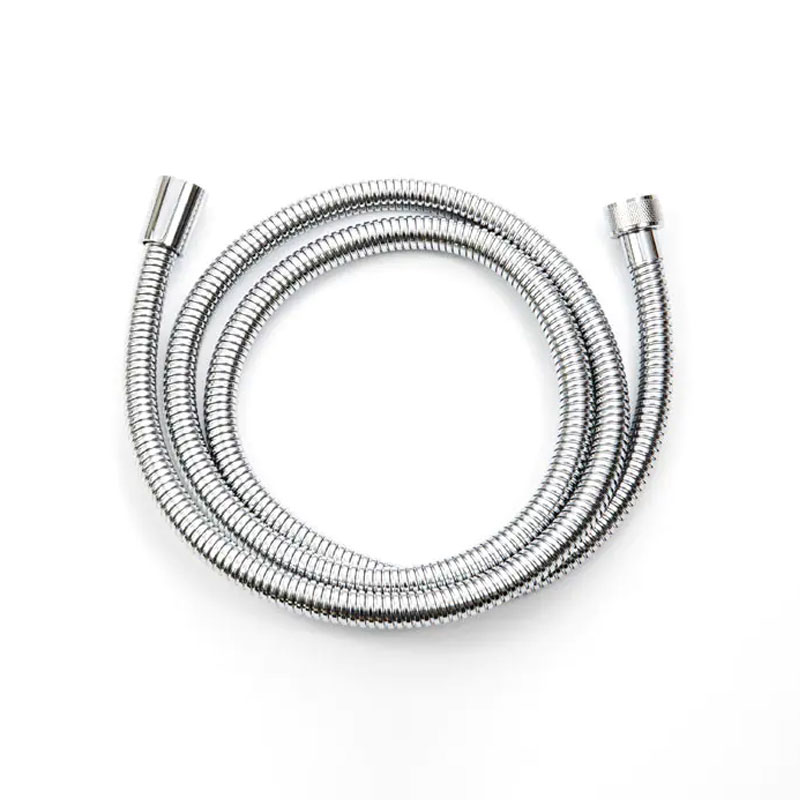
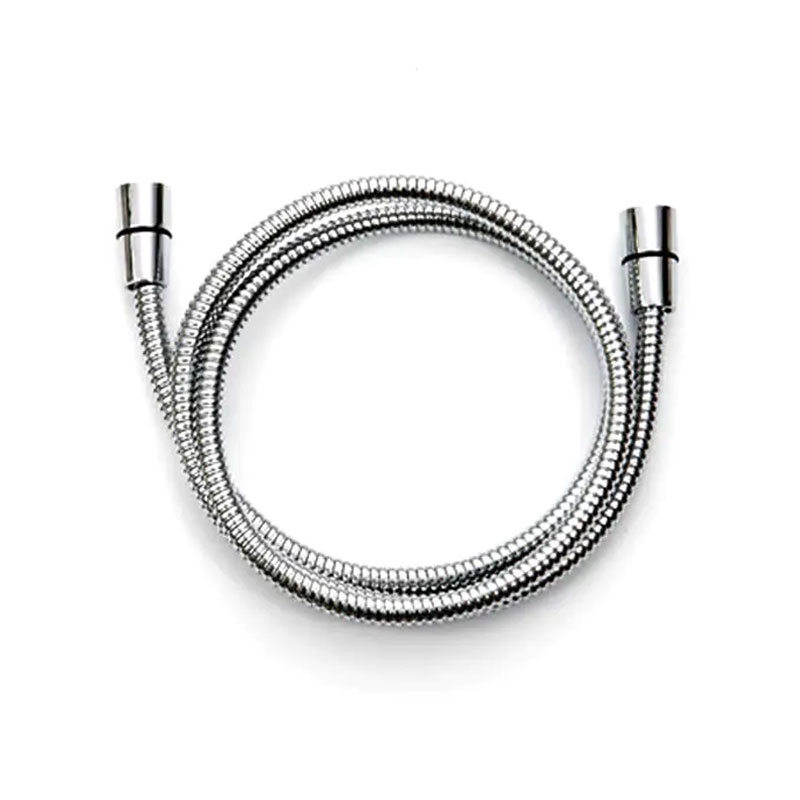
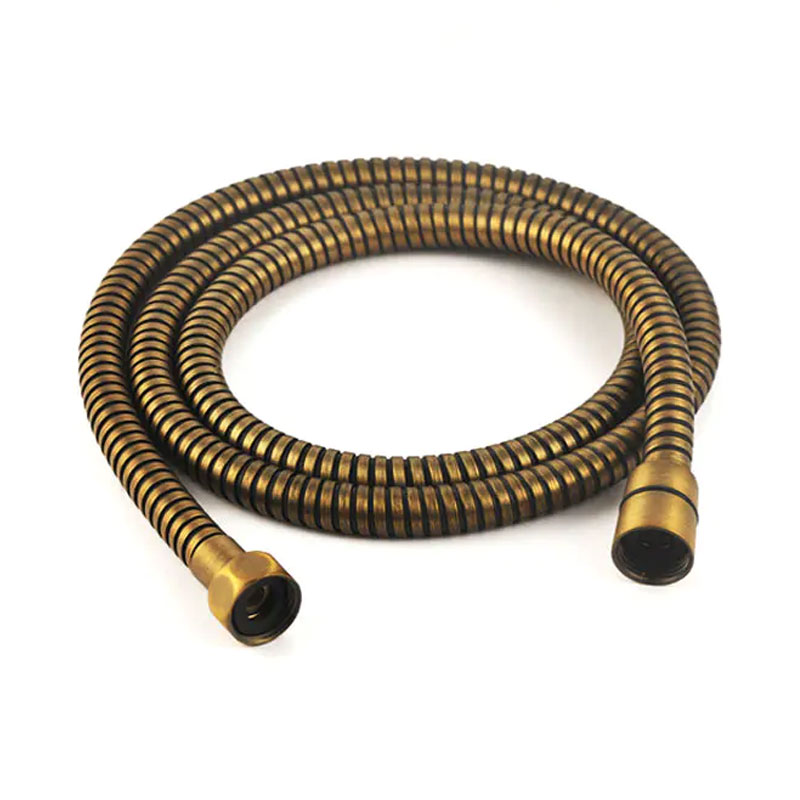
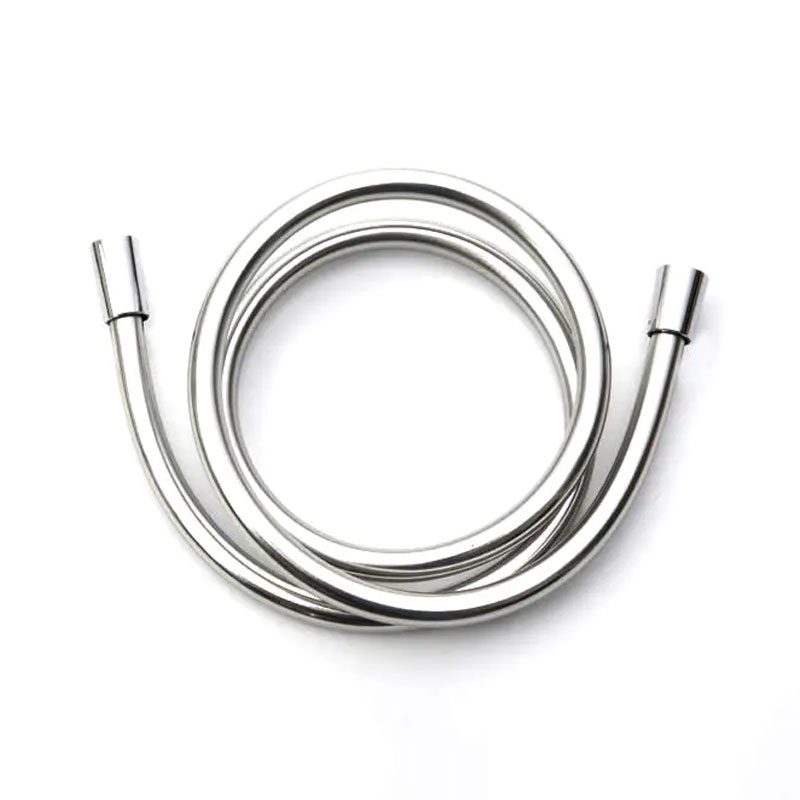
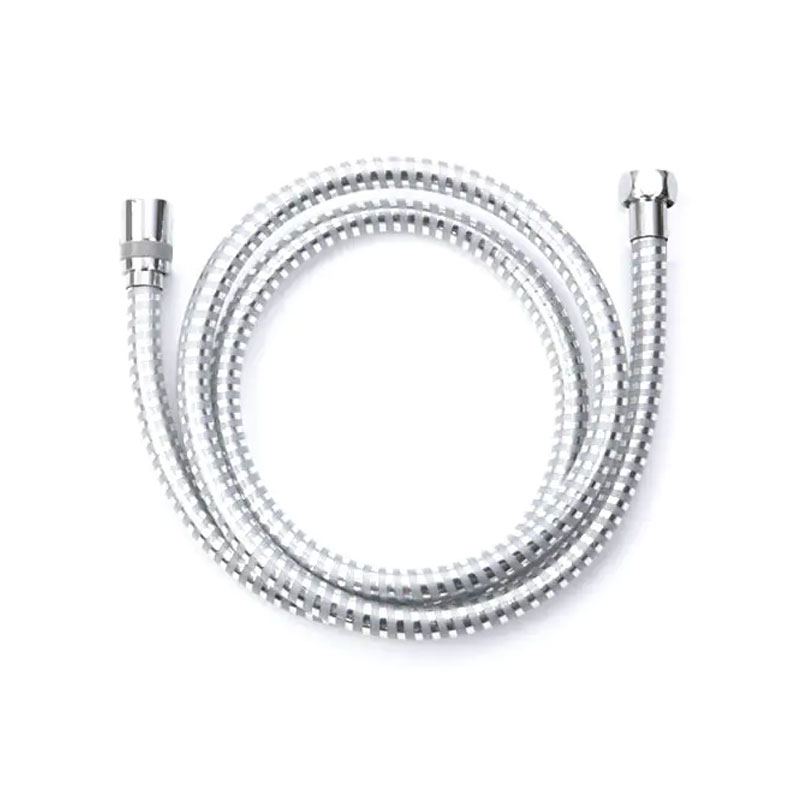
To install a shower hose, turn off the water supply, unscrew the old hose from both the shower head and the wall outlet or hose bracket, wrap the threads of th...
READ MORE
news
How to Attach a Shower Hose Correctly: The Complete Step-by-Step Guide
Update:12-08-2026
Content
Attaching a shower hose is a five-minute job if you know where the water actually seals. Most people assume the metal threads create the watertight connection. They do not. The rubber washer inside the nut does that job, and how you treat that washer determines whether the new hose leaks on day one or stays dry for years.
After more than twenty years of manufacturing flexible hoses at our own facility, we see the same fitting errors show up in complaints year after year: cross-threaded nuts, missing washers, and overtightened connections. The hose itself is rarely the problem. This guide walks through the correct attachment sequence, explains the mistakes that force people to redo the job, and covers what to check if you are also choosing a replacement hose.
What You Need Before You Start
Before touching the old hose, gather three tools: an adjustable wrench with protected jaws, a clean dry cloth, and PTFE thread seal tape. You should also confirm that the new hose has a rubber washer pre-installed in each swivel nut, because most quality hoses do. Missing or damaged washers account for a large share of "new hose leaks" returns, even though the hose itself was fine.
Almost every standard shower hose on the market uses a G1/2 (half-inch BSP) female thread on both ends. One end connects to the shower arm coming out of the wall, and the other end connects to the handheld shower head. Since both ends have the same thread size and pitch, the hose direction does not matter; you can install it either way around.
How to Attach a Shower Hose in Five Steps
1. Remove the Old Hose
Hold the shower arm steady with one hand and turn the hose nut counterclockwise with the wrench. If the nut resists, apply a little penetrating oil and wait a few minutes rather than forcing it. After the wall connection is free, unscrew the handheld shower head from the upper end. Work carefully near polished chrome and brushed surfaces, because scratches in a bathroom are difficult to hide.
2. Clean the Threads and Inspect the Washer
Wipe the shower arm threads with the dry cloth to remove old sealing tape, mineral scale, and debris. Then look inside the swivel nut on the new hose. The rubber washer must sit flat in its recess. If it is crooked, loose, or missing on one side, the connection will drip under pressure. Adjust it with your fingers before you continue.
3. Hand-Tighten the Hose to the Shower Arm
Push the hose nut onto the shower arm and turn it clockwise by hand. A properly aligned nut should spin smoothly through the first several rotations. If it begins to resist before it is fully home, stop, back it off halfway, and restart straight. Forcing it through will damage the fine threads. When the nut is hand-tight, give it a quarter turn with the wrench. Extra torque beyond that point does not improve the seal; it deforms the washer and can crack a plastic nut.
4. Connect the Handheld Shower Head
Repeat the same sequence at the upper end of the hose. Thread the nut onto the handheld shower head by hand, then snug it with a quarter turn. While tightening, hold the hose body so it does not spin with the nut. A twisted hose creates permanent stress at the kink point and will fight you every time you dock the shower head.
5. Open the Water and Inspect Both Ends
Turn on the supply valve slowly and watch both connections for about a minute. A steady drip means the washer is not seated or the nut is not tight enough. Shut off the water, loosen the nut, check the washer, and retighten. If both ends stay dry, the installation is complete.
Every hose we manufacture is pressure-tested before it leaves the factory. That test checks the tube and the fittings, not the end user's installation. The guidance above is the same advice we give to wholesale customers who install hundreds of hoses per month: respect the washer, respect the threads, and never exceed a quarter turn past hand-tight.
Why New Shower Hoses Leak: Fitting Mistakes to Avoid
When a brand-new hose leaks, the failure is almost never the tube. It is one of these five fitting errors:
- Overtightening the nut. Extra torque flattens the rubber washer and reduces its ability to seal. Tighten just a quarter turn past hand-tight.
- Cross-threading. Starting the nut at an angle damages the fine G1/2 threads and makes a full seal impossible. Always start the threads by hand.
- A misaligned or missing washer. A washer sitting sideways can never seal evenly. Inspect it before installation, not after the first drip appears.
- Too much PTFE tape. Tape is necessary only for tapered NPT threads. On a G1/2 hose with a rubber washer, thick tape can prevent the nut from seating deeply enough to compress the washer.
- Twisting the hose body during assembly. Rotating the whole tube while tightening the nut adds permanent stress and shortens the service life of the hose.
Shower Hose Thread Sizes and Connection Standards
Shower hose fittings look interchangeable, but forcing a mismatched thread is one of the fastest ways to ruin the connection. Most replacement hoses sold for bathroom use follow a single standard, but exceptions appear with bidet sprayer kits, kitchen pull-out hoses, and imported shower systems.
| Thread type | Where you see it | Installation impact |
|---|---|---|
| G1/2 BSP | Standard handheld shower hoses and fixed shower arms | Universal fit for ordinary bathroom installations; no adapter needed |
| G3/4 BSP | Some oversized hoses, certain bidet sprayer kits, and high-flow setups | Larger diameter; use a reducer unless the hose ships with the matching nut |
| 1/2" NPT | Legacy plumbing in some North American systems | Tapered thread that seals by thread deformation; do not force a BSP hose into it |
If you are replacing an existing hose, the safest guide is the feel of the threads. When the new nut runs smoothly by hand from the first rotation, the thread standard is correct; if it does not, stop before using force.
Longer hoses, such as 1.5 m or 2 m models, use the same fitting and the same technique. The extra length simply means more hose to route, so keep the curve gentle near the shower arm to avoid putting sideways force on the nut.
Choosing the Right Hose for Your Installation
The attachment method stays the same for every hose, but the material determines how it handles heat, pressure, cleaning chemicals, and twisting motion. Three families cover most residential and light commercial installations.
Silicone Shower Hoses
Silicone stays flexible in hot water, resists cracking and hardening over time, and holds colour well even with repeated exposure to bathroom cleaning products. If you want a hose that remains pleasant to handle for years, a silicone shower hose is the most dependable option in this category. For a practical view of how silicone compares with PVC under long-term heat and moisture, our article on the practical differences between silicone and PVC shower hoses explains which material resists cracking and hardening better over time.
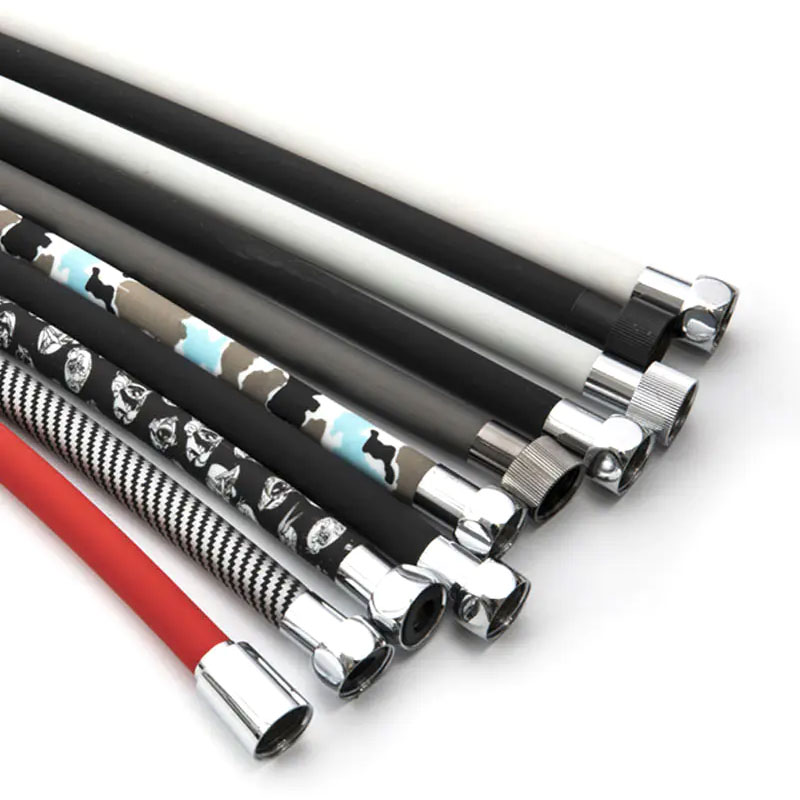 Wholesale Silicon Shower Hose Suppliers, China Factory - Yuyao Doflex Sanitary WYuyao Doflex Sanitary Ware Hose Co., Ltd. is China wholesale Silicon Shower Hose Suppliers and Factory,View Product →
Stainless Steel Shower Hoses
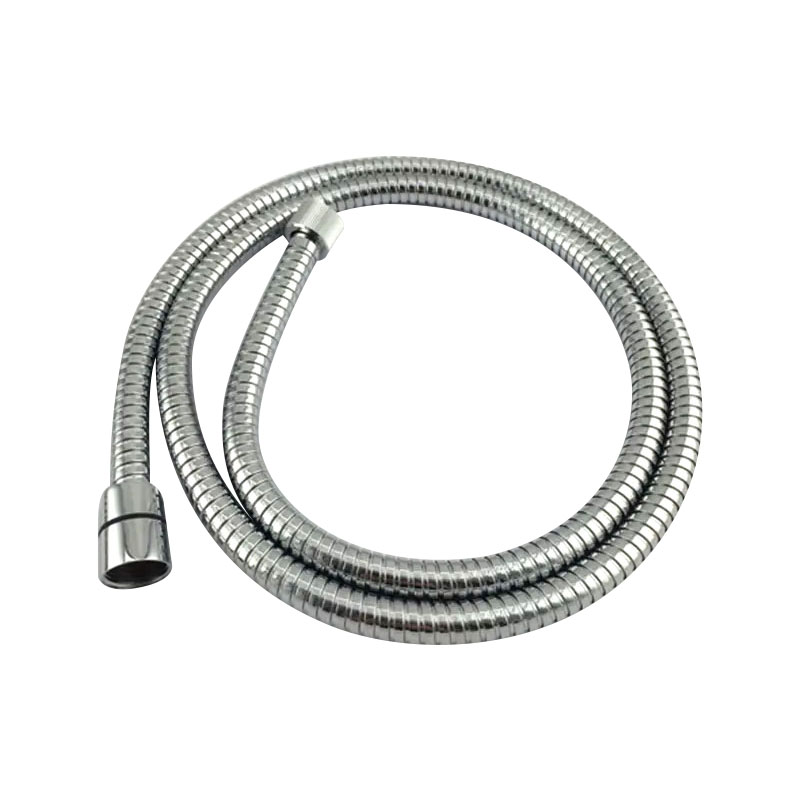
A stainless steel shower hose is the default when the hose stays fully visible and receives a lot of handling. The metal outer sheath resists rubbing against tile edges and shower caddies, while the inner tube carries the water and keeps the braid dry. Check the nut material as well: brass nuts with a chrome finish hold up better than thin plated zinc if you need to remove and reattach the hose for regular cleaning.
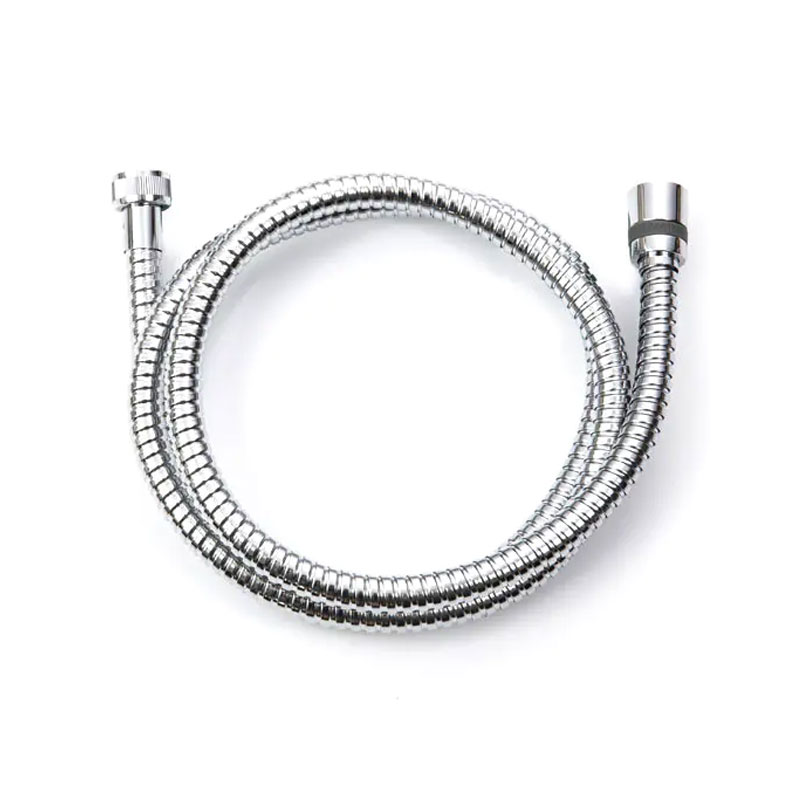 Wholesale Stainsteel Shower Hose Suppliers, China Factory - Yuyao Doflex SanitarYuyao Doflex Sanitary Ware Hose Co., Ltd. is China wholesale Stainsteel Shower Hose Suppliers and Factory,View Product →
PVC Shower Hoses
PVC remains the most economical option and works acceptably in a guest bathroom that sees lighter use. The trade-offs are lower heat tolerance, a gradual loss of flexibility over time, and a tendency to develop tiny internal cracks near the fittings after a few years. In daily-use bathrooms, PVC usually needs replacing sooner than silicone or stainless steel.
For a structured overview of materials, certifications, and selection criteria, the complete professional guide to shower hose types, materials, and standards covers the technical details in more depth.
When to Replace Instead of Reattach
Careful reattachment cannot repair a hose that has reached the end of its service life. Replace the hose if you notice cracking at the fitting necks, exposed or rusted wire on a stainless model, a persistent rubber smell from the inner tube, or stiffness that does not go away in warm water. Kinks in the connection area also deserve attention, because repeated bending in the same spot creates a weak point that eventually turns into a leak.
One design change directly addresses the twisting movement that wears hoses out. An anti-twist shower hose lets the swivel end absorb the rotation of the handheld shower head so the tube stays relaxed. If you keep replacing standard hoses that fail at the shower head end, this option usually delivers a noticeably longer service life.
 Wholesale Anti Twist Shower Hose Suppliers, China Factory - Yuyao Doflex SanitarYuyao Doflex Sanitary Ware Hose Co., Ltd. is China wholesale Anti Twist Shower Hose Suppliers and Factory, Model: SH006CR Name: ANTI TWIS...View Product →
If you are still deciding between lengths, fittings, and materials, the bathroom hose selection guide walks through those choices and the fitting details that matter during installation.
News
-
-
Replacing a shower hose is a straightforward DIY job that takes 10 to 20 minutes and requires no specialist plumbing knowledge. You unscrew the old hose at bot...
READ MORE -
A shower hose is one of the most frequently replaced yet most overlooked components in any bathroom system. From residential retrofits to large-scale hospitali...
READ MORE -
How to Change a Shower Hose: Quick Answer Changing a shower hose takes about 10 minutes and rarely needs a plumber: unscrew the old hose from the shower head a...
READ MORE -
If your hair feels brittle and your skin looks dry even after switching to sulfate-free shampoo and moisturizing creams, the problem may not be your products—i...
READ MORE -
If your kitchen braided hose is leaking, the fix usually takes under 30 minutes and costs $5–$30—depending on whether you need a washer replacement or a full h...
READ MORE

Contact us
-

-

+86-574-62321667
-

No.2 Chuangsheng West road, Wuma Industry Area, Lubu Town, Yuyao City, Zhejiang, China
Copyright © 2025 Yuyao Doflex Sanitary Ware Hose Co., Ltd., All Rights Reserved.
 Wholesale Bathroom Shower Hose Manufacturers