
 English
 Español
 Deutsch
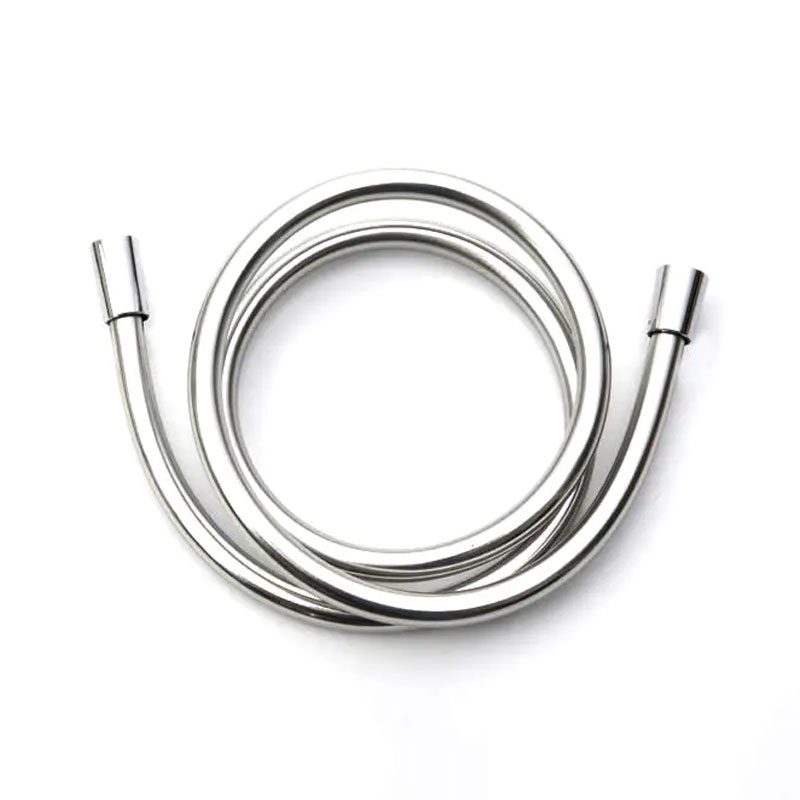
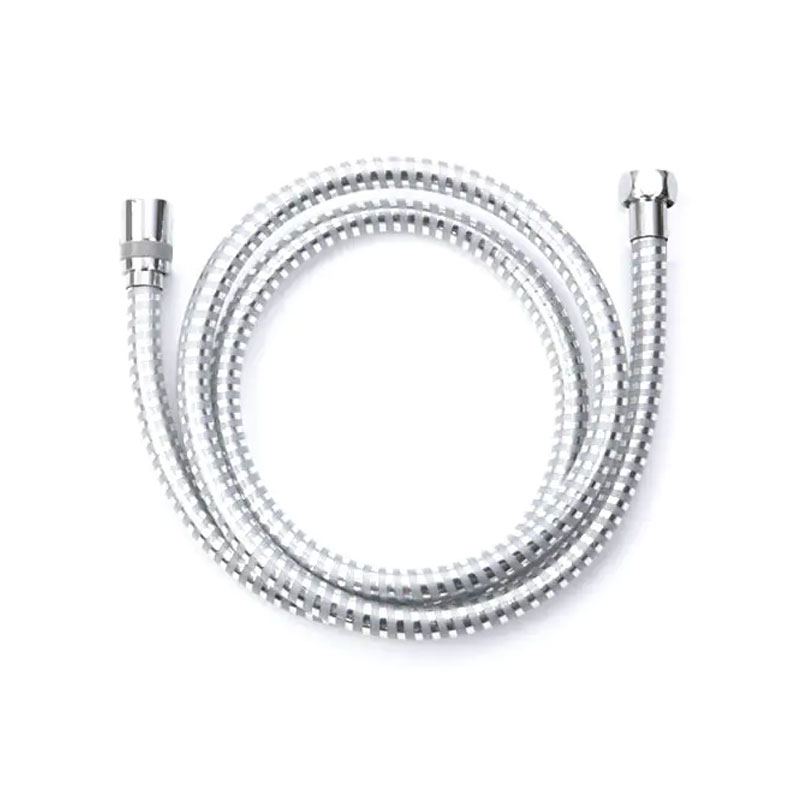
Attaching a shower hose is a five-minute job if you know where the water actually seals. Most people assume the metal threads create the watertight connection....
READ MORE
news
How to Replace a Shower Hose: A Step-by-Step Guide to a Leak-Free Fit
Update:05-08-2026
Content
Replacing a shower hose is a straightforward DIY job that takes 10 to 20 minutes and requires no specialist plumbing knowledge. You unscrew the old hose at both ends, wrap the threads with PTFE tape, and screw on the new one — that's the core of it. The trickier part is knowing which hose to buy, how to handle stubborn fittings, and what to check afterwards to prevent leaks. This guide covers all of that in practical detail.
When to Replace Your Shower Hose
A shower hose doesn't last forever. Most standard hoses have a functional lifespan of 3 to 7 years, depending on water quality, frequency of use, and build material. Hard water areas accelerate deterioration significantly — limescale deposits can clog the internal bore and corrode the metal end fittings within 2 to 3 years.
Replace your shower hose if you notice any of the following:
- Visible cracks, kinks, or bulges in the hose body.
- Dripping or weeping water from either end fitting.
- Reduced water pressure that isn't caused by the showerhead.
- Discolouration, mould growth, or a persistent musty smell.
- Metal braiding that is frayed, rusted, or separating from the fittings.
Even without visible damage, replacing an ageing hose every 5 years is good practice, particularly if your shower is used daily.
Choosing the Right Replacement Shower Hose
Before buying, you need to confirm three things: the fitting size, the hose length, and the material. Getting any of these wrong means the hose won't fit or won't last.
Fitting Size
The vast majority of shower hoses sold in the UK and Europe use a ½ inch BSP (British Standard Pipe) thread at both ends — this is the standard for most mixer showers, electric showers, and thermostatic bar valves. In the US, the standard is also ½ inch NPT (National Pipe Thread), which is not directly interchangeable with BSP without an adapter. Check your existing hose or the connection points on your shower valve and handset to confirm before purchasing.
Hose Length
Standard shower hoses come in lengths of 1.25 m, 1.5 m, 1.75 m, and 2.0 m. The most common domestic choice is 1.5 m, which suits most over-bath and cubicle shower setups. If the hose needs to reach from a low-mounted valve to overhead use, opt for 1.75 m or 2.0 m. Measure the distance from your shower valve outlet to where the handset hangs when in use — add at least 30 cm for comfortable movement.
Hose Material
The outer material determines durability, flexibility, and hygiene:
- PVC / plastic hoses — the cheapest option, prone to kinking and cracking within 2–3 years. Best avoided for regular use.
- Stainless steel braided hoses — the most popular choice; resistant to kinking, pressure-rated up to 8–10 bar, and durable. Mid-range cost, widely available.
- Anti-twist / anti-kink hoses — feature an internal spring or dual-layer construction that prevents rotation during use, reducing wear on fittings.
- Antibacterial hoses — incorporate silver-ion or antimicrobial inner linings that inhibit bacterial growth (including Legionella), recommended in healthcare environments or for vulnerable users.
| Hose Type | Typical Lifespan | Approximate Cost (UK) | Best For |
|---|---|---|---|
| PVC / Plastic | 1–3 years | £3–£8 | Temporary or low-budget use |
| Stainless Steel Braided | 5–8 years | £8–£20 | Most households |
| Anti-Twist / Anti-Kink | 6–10 years | £12–£25 | Daily heavy use |
| Antibacterial | 5–8 years | £15–£35 | Healthcare, elderly, or immunocompromised users |
Tools and Materials You Need
This job requires minimal equipment. Gather the following before you start:
- Adjustable spanner or slip-joint pliers — for loosening the old fittings if hand-tight isn't enough.
- PTFE thread seal tape — essential for creating a watertight seal on the threaded connections.
- Cloth or old towel — to protect chrome fittings from tool marks and to catch residual water.
- Replacement shower hose — correct size and length as discussed above.
- Rubber sealing washers — most new hoses include these, but check. These are critical — missing washers cause immediate leaks.
You do not need to turn off the main water supply for this job, as the connection points are on the shower valve outlet and the handset — neither of which is under mains pressure when the shower is off.
How to Replace a Shower Hose: Step-by-Step
Follow these steps in order for a clean, leak-free result.
Turn Off the Shower and Release Pressure
Make sure the shower is switched off at the valve. Turn on the shower briefly after switching off to release any residual water pressure in the hose — this prevents a spray of water when you disconnect it. Place a towel on the shower tray to catch any drips.
Unscrew the Hose from the Handset
Hold the shower handset firmly in one hand and twist the hose connector anti-clockwise with the other. Most connections are hand-tight and will loosen easily. If the fitting is stiff, wrap a cloth around it and use adjustable pliers — do not apply force directly to chrome fittings with bare pliers, as this causes scratching and can crack the nut. Once loose, pull the hose away and note the rubber washer inside the fitting — set it aside or discard it if replacing with a new one.
Unscrew the Hose from the Shower Valve
Locate the connection point at the shower valve or bar — this is where the hose attaches to the water outlet. Again, turn anti-clockwise to remove. This end may be tighter if it hasn't been disturbed in years. Use the same cloth-wrapped pliers method if necessary. Remove the old washer from this fitting too.
Clean the Threads
Before fitting the new hose, wipe the exposed threads on both the valve outlet and the handset inlet with a damp cloth to remove limescale, old PTFE tape residue, and debris. This ensures a proper seal with the new hose. If limescale is heavy, a brief application of white vinegar on a cloth will dissolve it — rinse with water before proceeding.
Apply PTFE Tape to the Threads
Wrap PTFE tape clockwise around the male threads — the threads on the valve outlet and the handset inlet — 3 to 4 times. Stretch the tape slightly as you wrap so it sits into the thread profile. PTFE tape fills micro-gaps in the thread and creates a watertight seal. Do not skip this step even if the new hose fittings look like they'll seal without it — it significantly reduces the chance of a slow leak developing over time.
Note: Some plumbers argue that rubber washers alone are sufficient for hose connections and PTFE is unnecessary. This is a valid view for perfect, undamaged threads, but PTFE tape adds an inexpensive layer of insurance that causes no harm.
Fit the New Rubber Washers
Insert a new rubber washer into each end of the new hose — one at the valve end, one at the handset end. Most replacement hoses include two washers in the packaging. Ensure the washer sits flush inside the fitting and isn't twisted or doubled over. A correctly seated washer does the majority of the sealing work at hose connections.
Connect the New Hose
Screw one end of the new hose onto the shower valve outlet, turning clockwise by hand until finger-tight, then give it a further half to three-quarter turn with pliers (cloth-wrapped). Repeat for the handset connection. Do not overtighten — the rubber washer compresses to form the seal, and excessive force can crack plastic fittings or distort the washer.
Test for Leaks
Turn the shower on to full pressure and check both connection points carefully. Run your finger around each fitting — you're feeling for moisture, not just looking. Let the shower run for at least 60 seconds at full pressure before declaring it leak-free. If there is a slow drip, turn the shower off, dry the fitting, and tighten by a further quarter turn before testing again.
Common Problems and How to Fix Them
The Old Hose Won't Budge
Corroded or heavily calcified fittings can be extremely tight. Apply a small amount of penetrating oil (such as WD-40) to the joint and leave it for 10–15 minutes before attempting again. If the fitting still won't move and you're risking damage to the valve body, stop — at this point a plumber with proper tools is the safer option rather than risk snapping a valve outlet.
Leak at the Valve End After Fitting
If water drips from the valve connection even after tightening, the most likely cause is a missing, damaged, or incorrectly seated rubber washer. Turn off the shower, remove the hose end, check the washer, reseat or replace it, and refit. Rarely, the valve outlet thread itself may be damaged — in this case, a thread repair kit or replacement valve is needed.
The New Hose Doesn't Fit
If the hose connector won't thread onto the valve, you likely have a non-standard fitting. Some continental European showers use 3/8 inch BSP or metric M15 threads. Check your shower's documentation or measure the thread diameter — a thread gauge costs under £5 from a plumbing supplier. Adapter fittings are available for most non-standard sizes.
Hose Keeps Kinking During Use
Kinking is a sign that the hose is either too short for your setup, or is a low-quality PVC type. Upgrade to a longer anti-kink or stainless steel braided hose. Persistent kinking at the connection point usually means the fitting isn't swivelling freely — unscrew, clean, and reseat the connection to restore free rotation.
How to Make Your Shower Hose Last Longer
A few simple habits extend hose life considerably:
- Don't hang the handset by the hose. Always replace the handset in its holder — using the hose itself as a hook puts constant strain on the end fittings.
- Descale regularly in hard water areas. Soaking the hose ends in a 50/50 white vinegar and water solution for 30 minutes every 3 months removes limescale before it causes damage.
- Don't coil the hose tightly when storing. A loose hang or a large-radius coil prevents kink stress points from forming in the hose wall.
- Check the connections annually. Catching a very slow weep early — before it becomes a drip — allows a simple tightening fix rather than a full replacement.
- Install a water softener if you are in a hard water area (above 200 mg/L calcium carbonate). This is the single most effective step for extending the life of all shower components, including hoses, valves, and showerheads.
When to Call a Plumber Instead
Hose replacement is well within DIY capability, but there are situations where professional help is the right call:
- The valve outlet thread is visibly stripped or cracked — forcing a hose onto a damaged thread risks water damage behind the wall.
- The shower valve itself is leaking, not just the hose connection — this requires internal valve work.
- You are unable to turn off the water supply and the shower valve doesn't isolate water flow independently.
- The shower is an electric unit and there is any sign of water reaching the electrical housing — this is a safety emergency requiring immediate isolation at the consumer unit.
A plumber's call-out for a straightforward hose and valve fitting job typically costs £60 to £120 in the UK, so the DIY saving is real — but not at the expense of safety or risking more serious water damage.
News
-
-
To install a shower hose, turn off the water supply, unscrew the old hose from both the shower head and the wall outlet or hose bracket, wrap the threads of th...
READ MORE -
How to Change a Shower Hose: Quick Answer Changing a shower hose takes about 10 minutes and rarely needs a plumber: unscrew the old hose from the shower head a...
READ MORE -
Quick Answer No, shower hoses do not fit all showers automatically — but most do, because roughly 90% of the market has standardized around one connector: the ...
READ MORE -
If your kitchen braided hose is leaking, the fix usually takes under 30 minutes and costs $5–$30—depending on whether you need a washer replacement or a full h...
READ MORE -
If your hair feels brittle and your skin looks dry even after switching to sulfate-free shampoo and moisturizing creams, the problem may not be your products—i...
READ MORE

Contact us
-

-

+86-574-62321667
-

No.2 Chuangsheng West road, Wuma Industry Area, Lubu Town, Yuyao City, Zhejiang, China
Copyright © 2025 Yuyao Doflex Sanitary Ware Hose Co., Ltd., All Rights Reserved.
 Wholesale Bathroom Shower Hose Manufacturers