
 English
 Español
 Deutsch
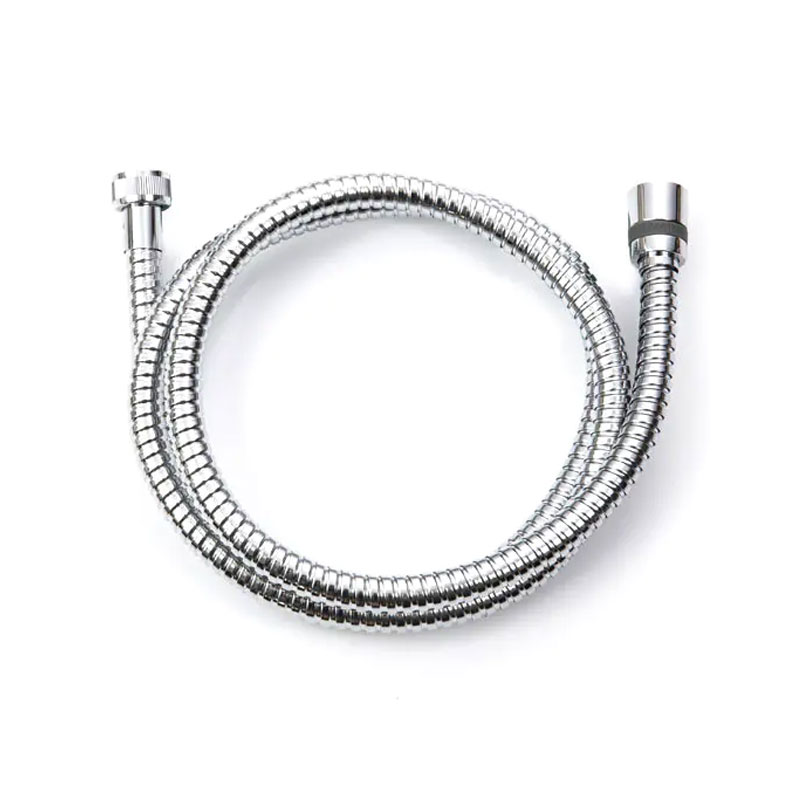
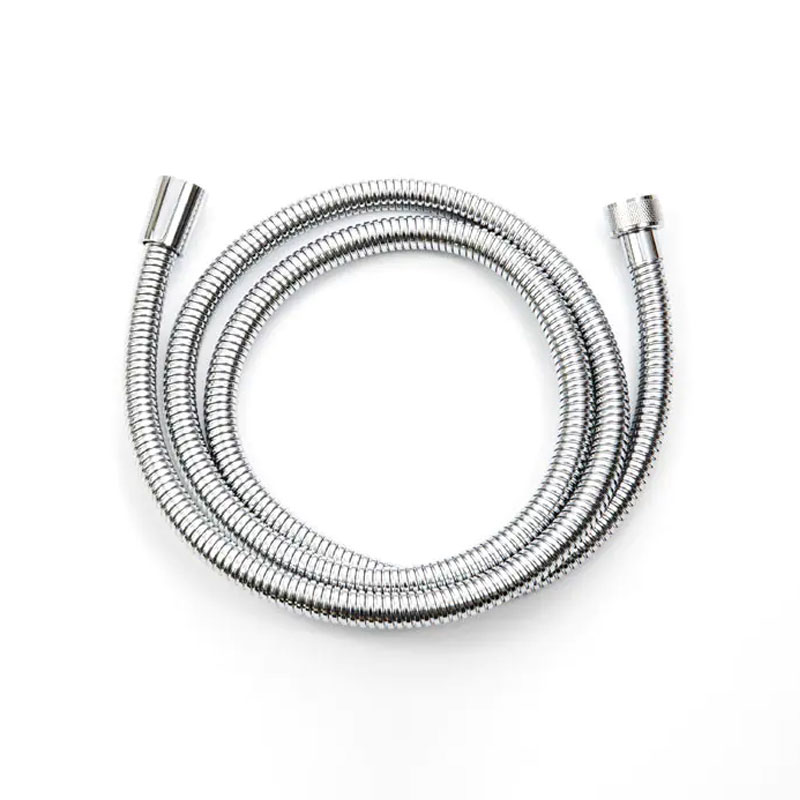
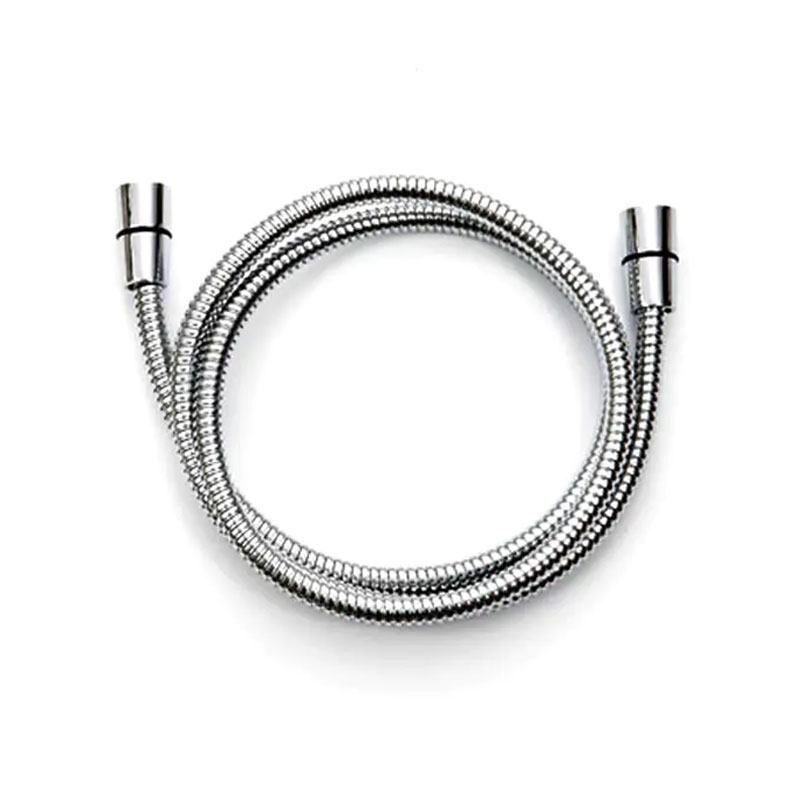
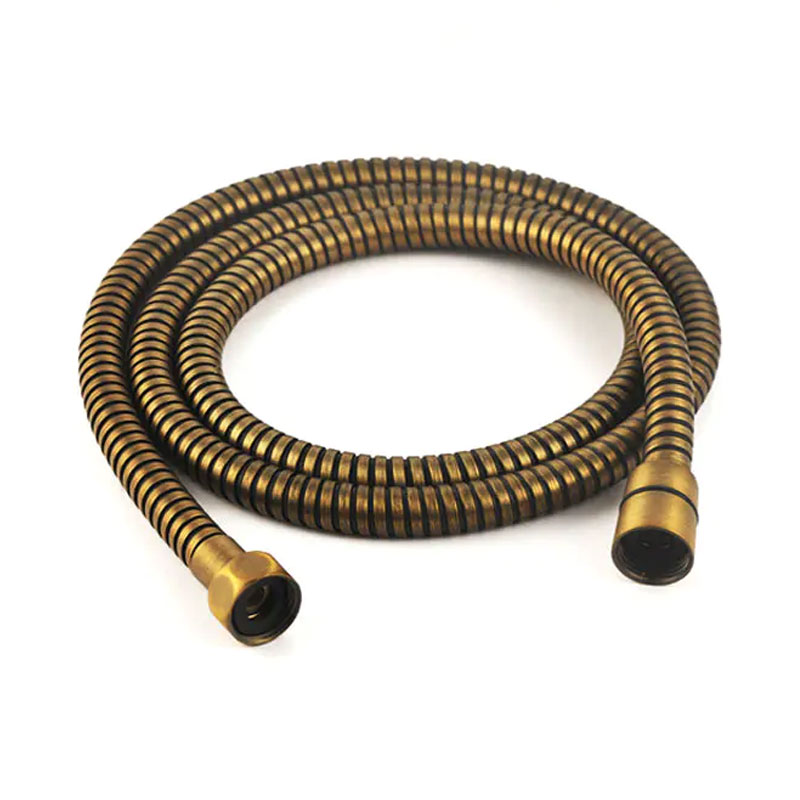
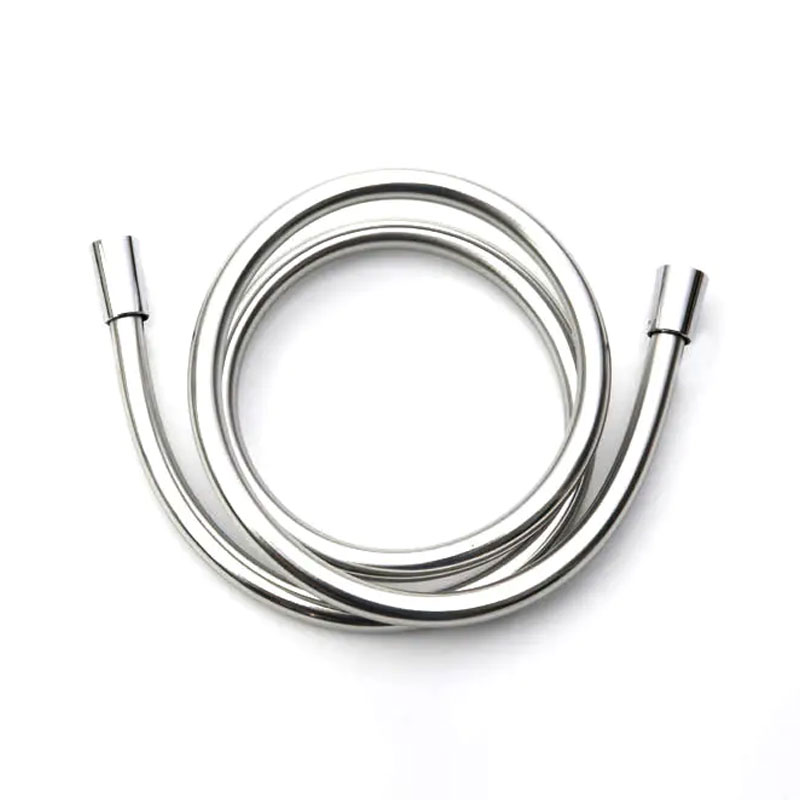
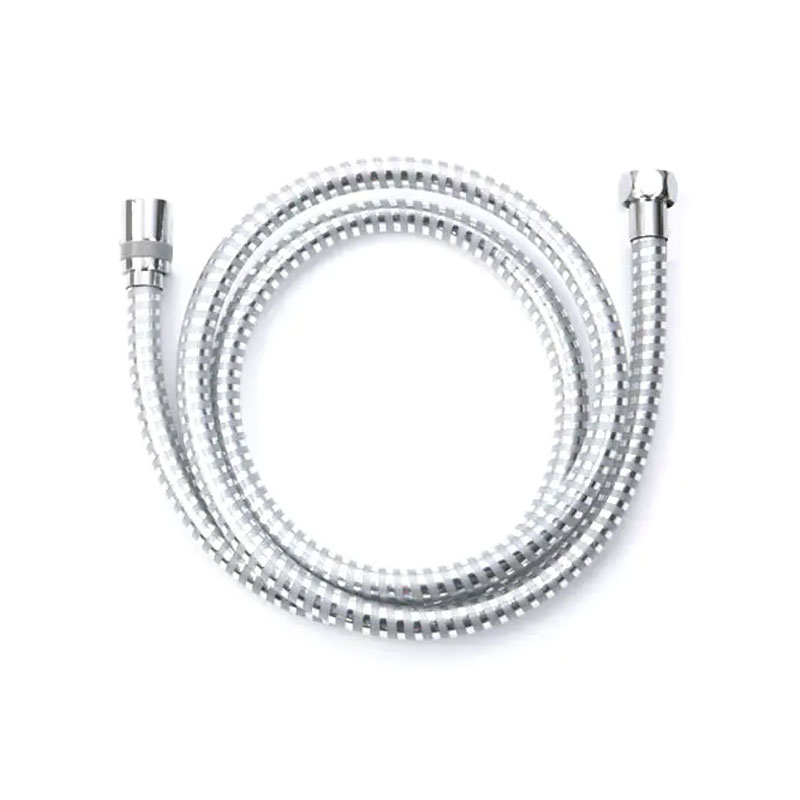
A handheld shower head is one of the easiest bathroom upgrades there is, and most installations take about fifteen minutes with an adjustable wrench and a roll...
READ MORE
news
How to Install a Shower Head Slide Bar: Step-by-Step Guide for Beginners
Update:12-11-2026
Content
A slide bar, often called a slide rail or riser rail, fixes a small but annoying problem in almost every bathroom: a handshower holder sits at one fixed height, and hardly anyone in the house is exactly that height. With a rail, the handshower travels up and down, so a child can pull it down to their level and a tall adult does not have to stoop.
Fitting one is a genuinely manageable job. Most rails go up in well under an hour with a drill, a spirit level and a bit of patience. What decides whether the installation still feels solid two years later is not the rail itself, but the wall behind the tile and the fixings you choose for it. Here is the whole process in the order we would actually do it.
Before You Start: Tools, Parts and Planning
Unpack the rail first and lay everything out on a towel. Most kits contain the bar, two wall brackets, a sliding handshower holder, decorative escutcheons, and a small bag of screws, usually wood screws plus wall plugs. Look at that bag closely: those fixings were chosen for an average wall, not for yours.
- Drill with a tile bit of 6–8 mm and a masonry bit if the wall is solid
- Spirit level, pencil and masking tape
- Stud finder, or a thin pilot bit to test what is behind the surface
- Screwdriver or bit driver, plus an adjustable wrench for the hose nuts
- Neutral-cure silicone sealant and a dry rag
- Safety glasses, and a vacuum or cloth for the dust
Choose the height while the bar is still in your hands
Tape the assembled bar to the wall with the handshower sitting in the holder, and slide the holder through its full travel. As a rough starting point, the holder should be around eye level for the shortest regular user at the low end, and comfortably below shoulder height for the tallest at the top. Many installers simply aim for 5–10 cm above the shoulder of whoever showers most often.
Then do the job most people skip: hang the hose on the wall outlet and check it still reaches the holder at the top of the rail with a little slack left over. A hose pulled tight at the top is the single most common reason a new rail feels wrong on day one. Also look for conflicts before drilling: the outlet position, a tub spout, a glass door swing, a shelf or a towel rail.
Installing the Slide Bar, Step by Step
Step 1: Mark the bracket centres
Set the holder to your chosen height, then use a level to transfer that position to the wall and mark the centre of each bracket. The top bracket normally sits above the holder and the bottom bracket below it, so measure from the actual bar rather than guessing. Drill a small pilot hole first if you are unsure about the substrate; a 5/16 inch test hole is a quick way to find out whether there is a stud behind the tile.
Step 2: Check the wall and pick the fixings
Tap along the wall and run a stud finder across the area. Timber studs, tile over board, solid masonry and painted plasterboard all behave differently, and the right anchor matters more than any other decision in this job. For solid masonry, a plastic plug and screw is enough. For tile over a cavity, you need an anchor that opens behind the board. A self-adhesive rail is an option in a rental where drilling is not allowed, but it only holds on smooth, sound surfaces and is not suitable for a heavy handshower.
| Wall construction | Best fixing | What to watch for |
|---|---|---|
| Timber stud behind tile or board | Wood screw into the stud (5/16 in pilot hole) | The strongest option available; locate the stud before you drill anything else |
| Tile over plasterboard or cement board | Toggle bolt or heavy-duty hollow-wall anchor | The anchor must open behind the board, so the hole has to be wide enough to pass it through |
| Solid masonry or concrete | Masonry plug with the screw supplied | Drill the tile without hammer action, then change bits for the block behind it |
| Painted plasterboard, no tile | Self-drilling toggle anchor | Not ideal in a wet zone; seal the penetration carefully and check the load |
Step 3: Drill through the tile
Stick a square of masking tape over each mark; it stops the bit wandering on a glossy glaze and catches a good share of the dust. Drill slowly, without hammer action, and let the bit do the cutting rather than pressure. Keep the holes at least a few centimetres away from a tile edge or grout line, because tiles crack at their weakest point, not at the point you aimed for. Back the bit out every few seconds to clear the dust, and vacuum the area before you go further.
Step 4: Fit the brackets and hang the bar
Insert the anchors, then screw the brackets on loosely. Place the level against the bar, check it is plumb, and only then tighten both brackets fully. Snug is enough; over-tightening cracks tiles and crushes the escutcheon. A small bead of silicone around each screw before final tightening keeps water from tracking down into the wall, which is a slow and expensive leak to discover later.
Step 5: Connect the hose and handshower
Slide the holder onto the bar and fit the end caps. Thread the conical nut onto the handshower with its washer in place, then the other end onto the wall outlet. Hand-tighten both, then a small extra nip with a cloth-wrapped wrench; a quarter turn past hand-tight is plenty, and more than that flattens the washer and starts a drip.
Step 6: Test, seal and clean up
Turn the water on and watch both joints for a few minutes. Run the holder up and down the bar and check it grips at every position. Wipe everything dry, apply silicone around the escutcheons if they do not have a rubber gasket, and leave it to cure for the period stated on the tube before heavy use.
Choosing a Hose That Suits a Slide Bar
A rail changes how the hose behaves. Because the handshower now travels, the hose needs more slack than it did with a fixed holder, and the bottom of the rail is where kinks tend to form. That is why a 1.5 m hose is often a little short for a rail system, while a 2 m hose or an extensible design gives you the extra reach without a loop of surplus hose hanging around the tub.
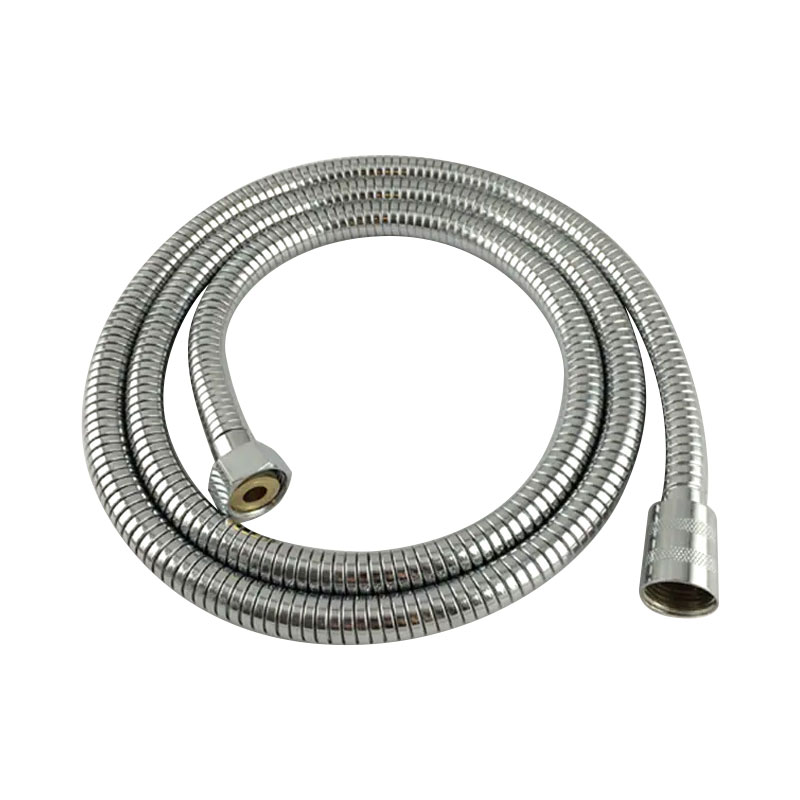 Extensible Shower Hose for Rail SystemsExtends from 1.5 m to 2.1 m with brass nuts and SUS201 construction, giving rail-mounted handshowers extra reach without surplus hose.View Product →
Twist is the other thing worth designing out. A hose that swivels freely at the handshower end will not coil up on itself when someone turns the spray head, and an anti-twist structure keeps the outer surface from tightening into a spiral over months of use.
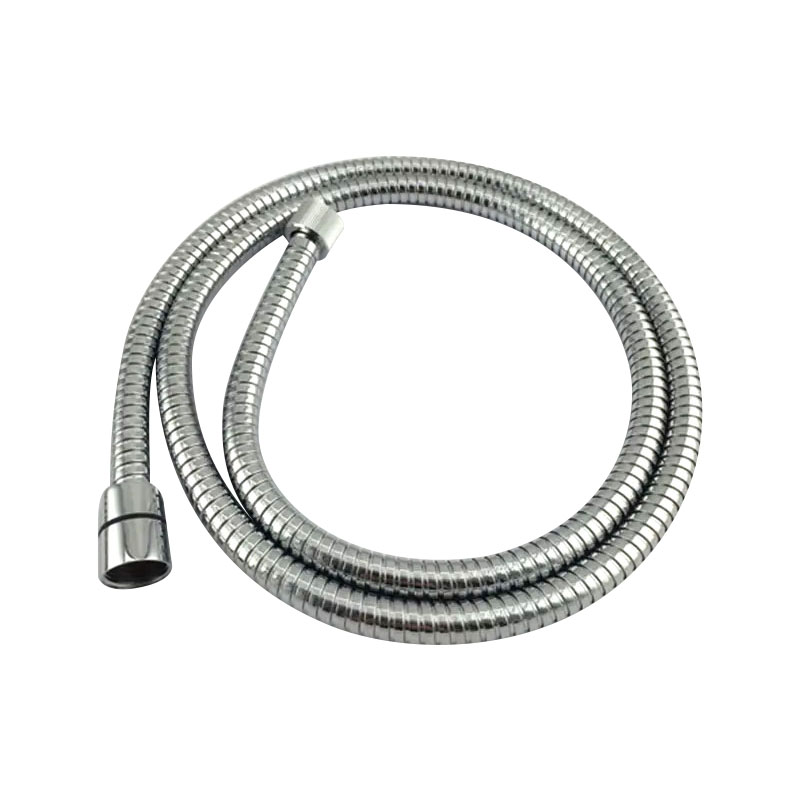 Anti-Twist Shower Hose with Brass NutsA 1.5 m SUS201 chrome hose with anti-twist brass nuts and insert, designed to resist coiling when the handshower swivels.View Product →
Material affects feel as much as lifespan. Silicone stays soft when the water runs hot and does not harden the way some cheaper coverings can, PVC is the economical choice for a guest bathroom, and stainless steel suits a busy family shower. Colour is now part of the decision too, since a rail and hose are visible in the room rather than hidden behind a panel, and a matte black or brushed finish is often chosen to match the rail and the fittings.
 Black Silicone Shower Hose with Anti-Twist NutA 1.5 m black silicone hose with brass anti-twist nuts and 304 stainless steel sleeve, meeting EN1113 for shower use.View Product →
If you want to compare materials, standards and thread types in more depth before buying, our guide to shower hose types, materials and standards covers the details that are hard to judge from a listing photo.
Small Problems That Show Up Later
- The holder slides down on its own: the friction collar is loose or worn; most holders have a small screw or tension ring underneath that can be tightened.
- The bar wobbles: one bracket is not biting into solid material. Move the fixing into a stud or switch to a proper hollow-wall anchor.
- Water weeps at a nut: a washer is missing, doubled or seated crooked. Take the joint apart rather than tightening harder.
- The hose kinks at the bottom of the rail: it is too short for the travel. A longer or extensible hose solves it properly.
- A hairline crack appears around a hole: usually drilling too close to a tile edge, or using hammer action on the glaze.
None of this is difficult, but the order matters: measure the people who will use the shower, check what the wall is made of, then drill once and drill properly. Do that and the rail will feel like it was always part of the bathroom. As a manufacturer of shower hoses, we spend most of our working hours on the part of this job that gets least attention, so if you are weighing up materials, finishes or lengths, the shower hose series is a good place to see how the options compare.
News
-
-
To install a shower hose, turn off the water supply, unscrew the old hose from both the shower head and the wall outlet or hose bracket, wrap the threads of th...
READ MORE -
Attaching a shower hose is a five-minute job if you know where the water actually seals. Most people assume the metal threads create the watertight connection....
READ MORE -
Replacing a shower hose is a straightforward DIY job that takes 10 to 20 minutes and requires no specialist plumbing knowledge. You unscrew the old hose at bot...
READ MORE -
As a manufacturer of sanitary ware hoses, we hear this question from homeowners and plumbers alike: how do I stop my shower hose from leaking? The good news is...
READ MORE -
A shower with body jets can turn a daily rinse into something closer to a spa treatment, but the installation is not simply a matter of adding a few extra nozz...
READ MORE

Contact us
-

-

+86-574-62321667
-

No.2 Chuangsheng West road, Wuma Industry Area, Lubu Town, Yuyao City, Zhejiang, China
Copyright © 2025 Yuyao Doflex Sanitary Ware Hose Co., Ltd. , All Rights Reserved.
 Wholesale Bathroom Shower Hose Manufacturers