
 English
 Español
 Deutsch
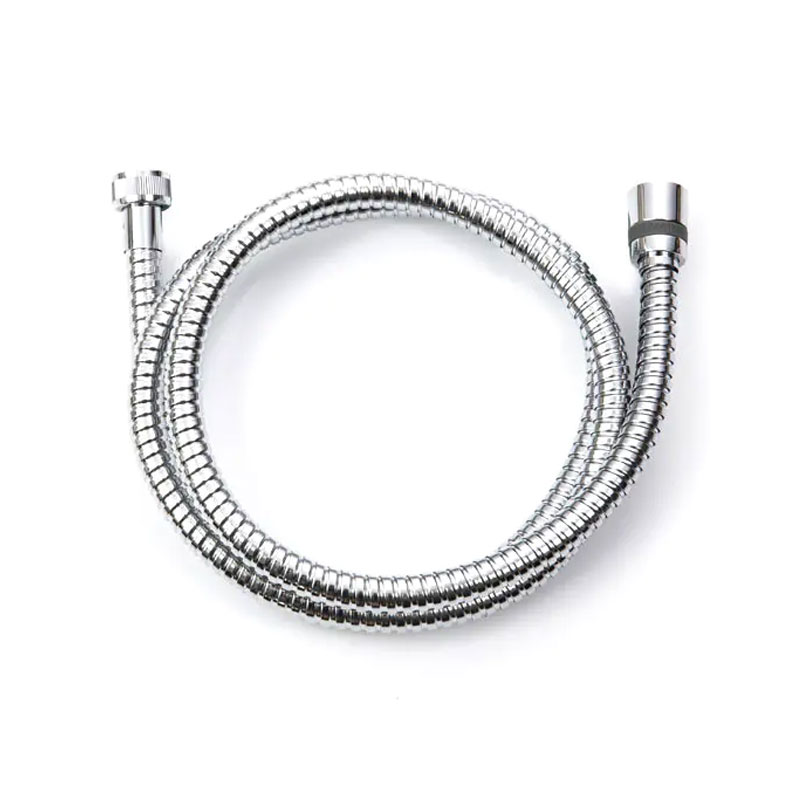
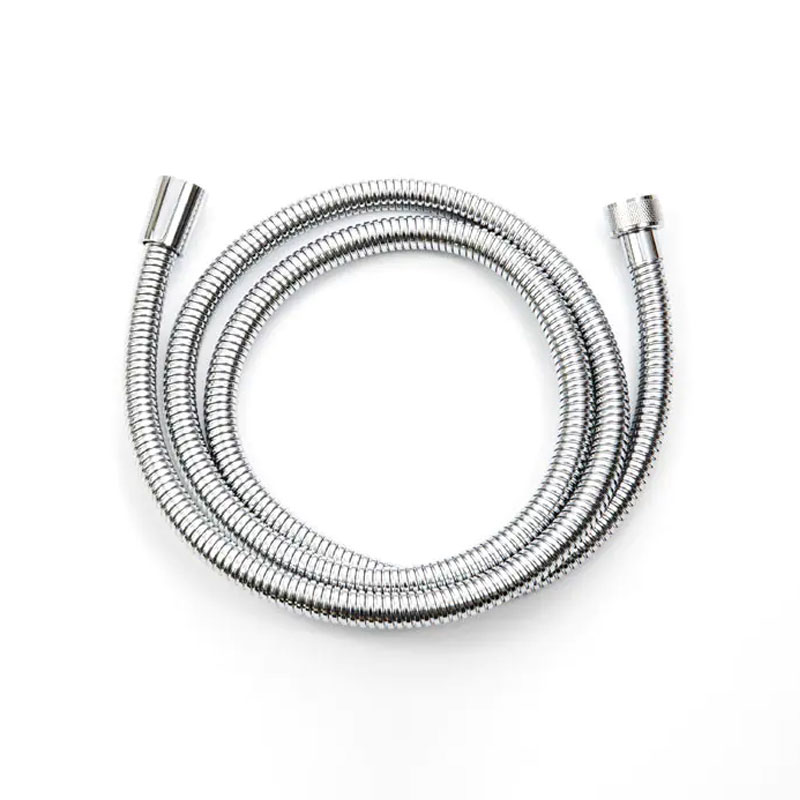
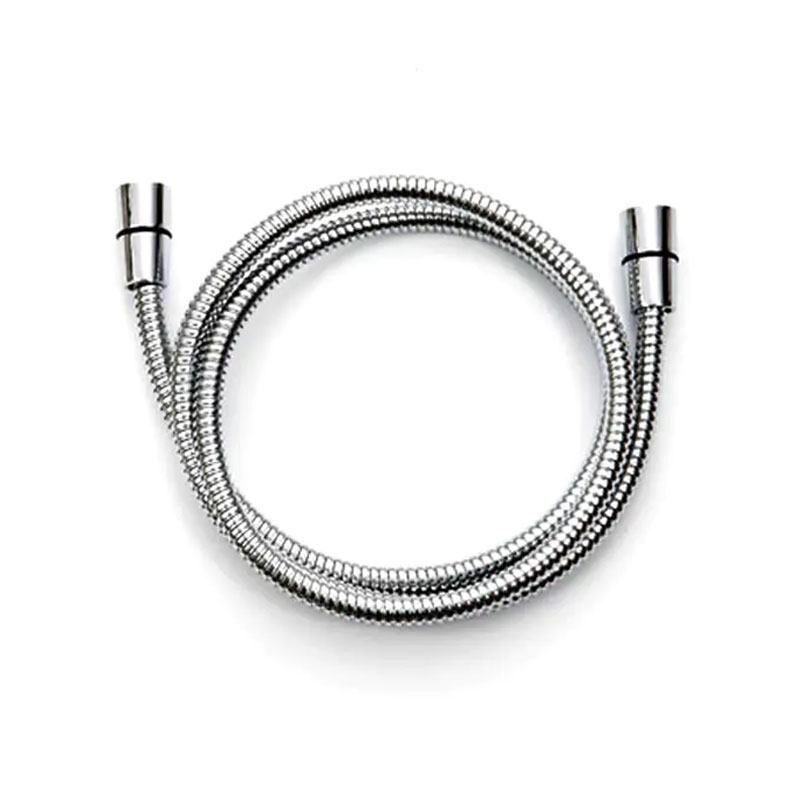
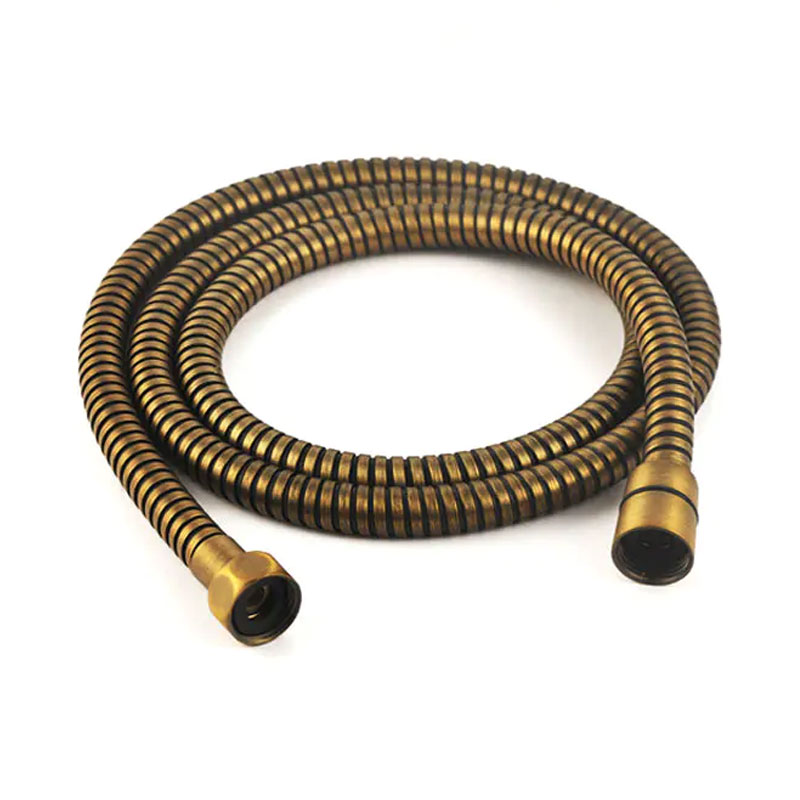
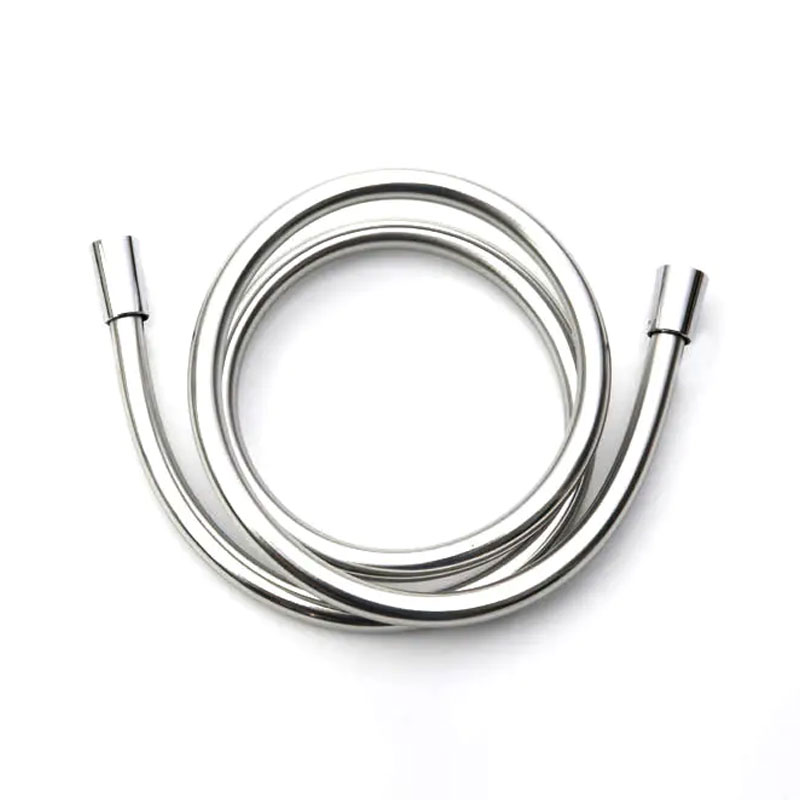
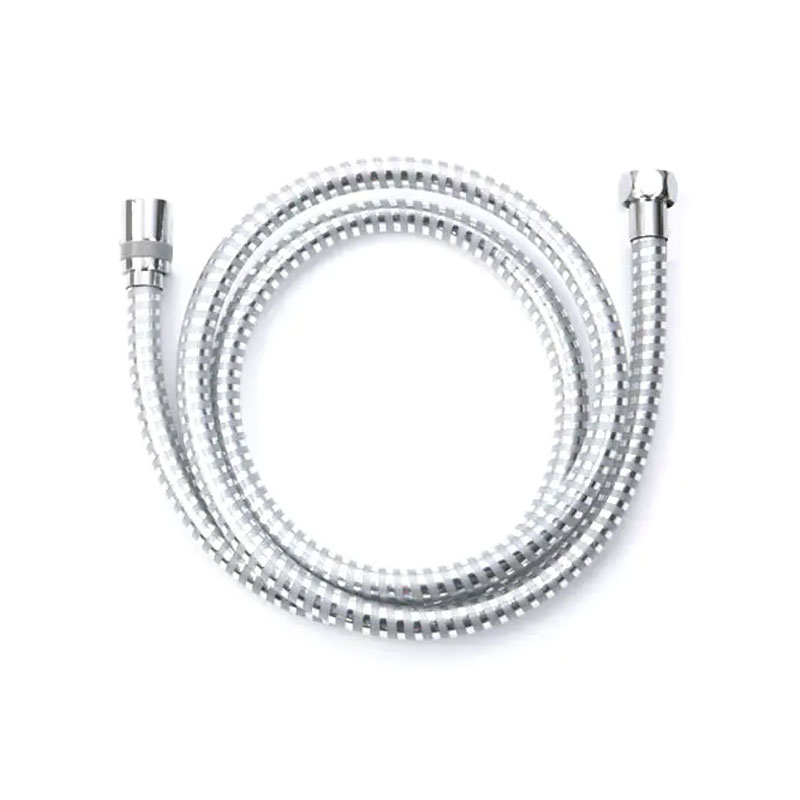
If you have ever stood in front of a shower hose display wondering whether any of them will fit your bathroom, you are not alone. A shower hose looks like a si...
READ MORE
news
How to Install a Shower System with Body Jets: A Practical Guide for Homes
Update:09-11-2026
Content
- 1 Start With a Realistic System Plan
- 2 Check Pressure, Flow, and Drain Capacity
- 3 Choose the Valve and Diverter Arrangement
- 4 Set Out Body Jet Heights and Spacing
- 5 Rough-In the Pipework and Waterproofing
- 6 Install the Valve, Jets, and Trim
- 7 Test, Commission, and Adjust
- 8 Maintenance and Hose Selection
- 9 Final Checks Before Closing the Wall
A shower with body jets can turn a daily rinse into something closer to a spa treatment, but the installation is not simply a matter of adding a few extra nozzles. Body jets involve pipe sizing, valve selection, waterproofing, and careful layout. As a manufacturer of shower hoses and connection lines, we often see where a beautiful installation succeeds or fails: at the planning stage and at the connections. This guide explains how to install a shower system with body jets in a practical sequence, from rough-in to the final leak test. Because concealed shower plumbing is regulated work in many regions, use it for planning and coordination with a licensed installer.
Start With a Realistic System Plan
Before cutting any wall, decide exactly how the shower will be used. A system may combine a rain head, a hand shower, and two to six body jets. Each outlet needs a water path and a control strategy. A single thermostatic valve with a diverter is common, but separate volume controls can be easier to balance. Confirm the manufacturer's required flow rate, minimum pressure, and rough-in depth for every component.
Plan the body jet layout around the people who will use the shower. Mark shoulder, waist, and hip heights on the wall. Check stud positions and allow blocking for every jet body. If the wall is shared with another room, keep the valve and pipework accessible through a service panel. A good plan also leaves room for the hand shower hose and its outlet, because cramped connections are a frequent source of leaks and twisting.
Check Pressure, Flow, and Drain Capacity
Body jets multiply the demand on the water supply. A single jet may use roughly 1 to 2.5 gallons per minute depending on its design, so six jets plus a rain head can easily exceed the capacity of a small supply line. Measure static and dynamic pressure at the shower location, then compare the total expected flow with the pipe size, valve capacity, and water heater output.
Low pressure is not solved by drilling out restrictors or forcing a larger pump into an undersized line. It may require a larger supply branch, a pressure-boosting system, or a design with fewer jets. Also think about drainage: a shower that delivers far more water than the drain can handle will disappoint quickly, even if the jets look impressive.
Choose the Valve and Diverter Arrangement
A thermostatic valve holds the water temperature steady, while a diverter sends water to the rain head, hand shower, or body jets. Some diverters allow only one outlet at a time; others permit two. Decide whether that behavior suits the household. For example, a user may want the hand shower and a lower set of jets at the same time. Separate volume controls for the jets can provide finer adjustment, but they also require more rough-in space.
Keep the control positions reachable from outside the spray zone. Nobody wants to step into cold water to change a setting. Confirm that the valve has enough outlet ports, or use a manifold with clearly labeled lines. Every concealed valve should have service access, even if it is only a removable trim plate or a small panel in an adjacent closet.
Set Out Body Jet Heights and Spacing
Body jets should be placed by function, not by a decorative grid. A typical layout uses upper jets for the shoulders, middle jets for the back, and lower jets for the lower back or legs. The exact height depends on the users, the jet spray pattern, and the manufacturer's instructions. The table below offers starting points for a conversation with the installer or homeowner, not fixed rules.
| Jet row | Typical finished height | Suggested purpose |
|---|---|---|
| Upper row | 54-60 in (137-152 cm) | Shoulders and upper back |
| Middle row | 42-48 in (107-122 cm) | Mid-back |
| Lower row | 30-36 in (76-91 cm) | Lower back and legs |
Check spacing between jets so spray patterns overlap comfortably without hitting the shower door or curtain. Mock up the layout with tape before rough-in. If the shower has a bench or a niche, confirm that the jet bodies and supply lines will not conflict with it.
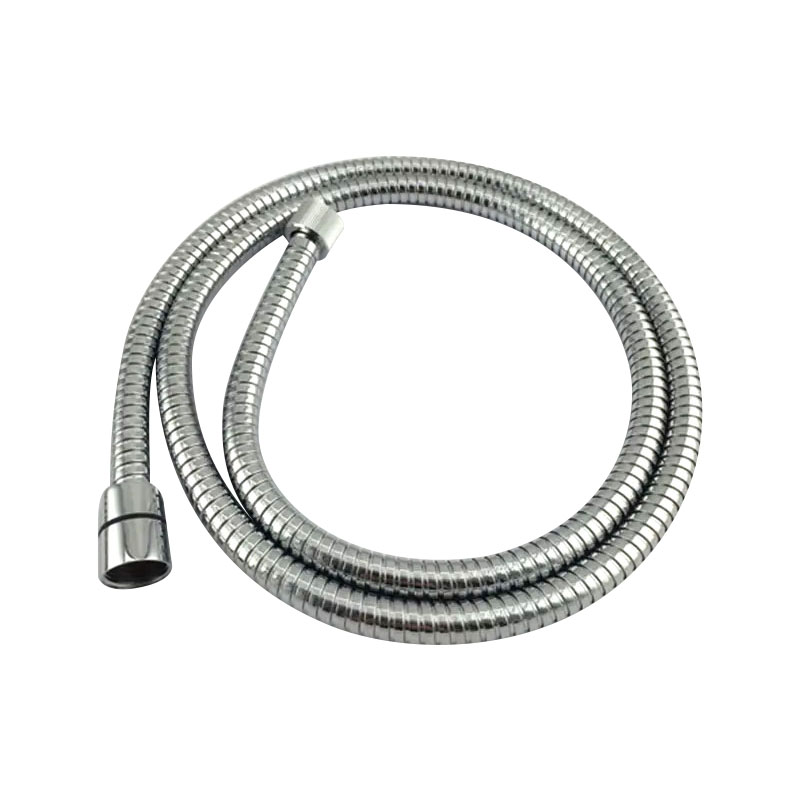 Anti-Twist Chrome Shower Hose, 1.5 mA 1.5 m chrome SUS201 hose with anti-twist brass nuts, suited to compact shower layouts where hose kinking is a concern.View Product →
More outlets also mean more hoses and connections near the hand shower. An anti-twist shower hose can be a practical choice when the outlet is close to a seat, valve, or body jet trim, because it reduces the chance of the hose kinking during use.
Rough-In the Pipework and Waterproofing
Use pipe sizes and fittings that match the valve manufacturer's requirements. Keep hot and cold lines parallel and insulated where condensation is possible. Secure every drop ear and rough-in body firmly to blocking; movement behind tile can crack a seal. Pressure-test the pipework before the wall is closed. A 24-hour test at the specified pressure is a sensible minimum if local rules allow it.
Waterproofing deserves the same care as the plumbing. Cement board alone is not a waterproof membrane. Apply a liquid or sheet membrane according to the system supplier's instructions, and reinforce the corners and jet penetrations. The body jet rough-in must sit at the correct depth for the finished tile thickness. If it protrudes too far, the trim will not seal; if it is recessed too deeply, the jet may not connect properly. Silicone is a sealant, not a substitute for a proper waterproofing detail.
Install the Valve, Jets, and Trim
Flush the supply lines before installing the trim. Debris trapped in a thermostatic cartridge can cause temperature swings or blocked jets. Mount the valve level, connect the outlets in the correct order, and follow the torque guidance rather than overtightening. Use thread sealant only on the fittings that require it, and keep it away from the cartridge and waterways.
When the tiling is finished, install the body jets and check their aim before final tightening. A slight adjustment now is easier than removing a tile later. For the hand shower, use the washers supplied with the hose and tighten by hand plus a small turn. Cross-threading is a common cause of drips at the hose connection. A slim shower hose can be useful in a compact enclosure where a bulky hose would rub against the body jets or glass.
 Slim Extensible Chrome Shower HoseA 1.5 m slim double-lock hose that extends to 1.80 m, useful in compact enclosures where a bulky hose could rub against jets or glass.View Product →
Test, Commission, and Adjust
Commission the system slowly. Open the cold supply first, then hot, and check every joint with a dry tissue before running the body jets at full flow. Test the thermostatic valve at several temperatures and confirm that the diverter moves fully between positions. Run each jet individually, then together, and watch for pressure drop. If a jet sprays unevenly, remove the nozzle and rinse it; debris from the pipework often settles there.
Check the shower enclosure for leaks, including the hose connection and the hand shower cradle. Let the system run for several minutes, then inspect the ceiling below and adjacent rooms if accessible. Label the valve and diverter positions for the homeowner. Keep the manufacturer's instructions, spare washers, and any special tools in a safe place.
Maintenance and Hose Selection
Body jets and hand showers benefit from routine care. In hard-water areas, soak removable nozzles in a mild descaling solution, then rinse well. Wipe metal trim dry after use, and check the hose for cracks, stiffness, or fraying at the crimp. Replace a damaged hose rather than repairing it with tape. For a longer service life, choose a hose with materials and certifications suited to the local water quality and market requirements. Silicone shower hoses remain flexible in hot water, which can be helpful in a busy family shower, while stainless-steel styles offer a different look and feel.
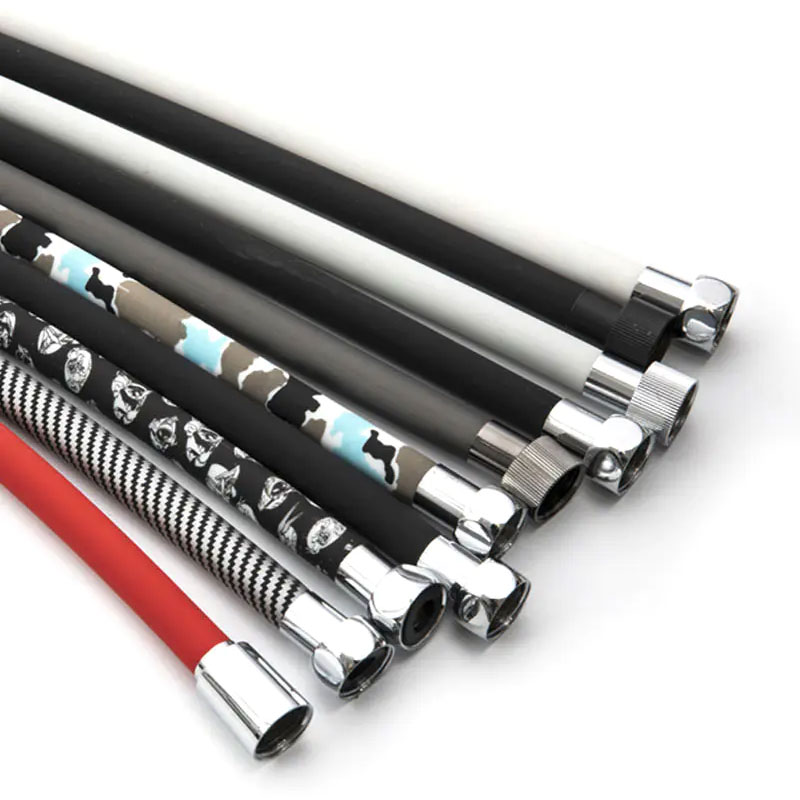 Silicone Shower Hose for Shower ApplicationsA silicone hose option for households that value flexibility in hot water; available with CE and ISO9001:2015 certifications and no minimum order.View Product →
If you are selecting the exposed hose for a new system, our complete guide to shower hose types, materials, and standards explains the trade-offs. You can also learn more about our manufacturing and certifications if you need a supply partner for shower hoses, kitchen hoses, or custom flexible tubing.
Final Checks Before Closing the Wall
- Confirm body jet heights against the users and the manufacturer's template.
- Pressure-test all concealed pipework and record the result.
- Verify waterproofing at every jet and valve penetration.
- Check that the valve and diverter have service access.
- Flush lines before fitting cartridges or trim.
- Test hot and cold, each outlet, and the hand shower hose for leaks.
- Keep spare washers and instructions with the project file.
A body jet shower is a system, not a collection of parts. When the layout, pressure, waterproofing, and connections are planned together, the finished installation feels simple: steady temperature, balanced spray, and no hidden leaks. That is the result worth planning for.
News
-
-
A slide bar, often called a slide rail or riser rail, fixes a small but annoying problem in almost every bathroom: a handshower holder sits at one fixed height...
READ MORE -
A handheld shower head is one of the easiest bathroom upgrades there is, and most installations take about fifteen minutes with an adjustable wrench and a roll...
READ MORE -
Choosing a new shower head sounds like one of the simplest bathroom upgrades, until you start comparing models. Fixed or handheld? Chrome or matte black? Rain ...
READ MORE -
How to Change a Shower Hose: Quick Answer Changing a shower hose takes about 10 minutes and rarely needs a plumber: unscrew the old hose from the shower head a...
READ MORE -
Attaching a shower hose is a five-minute job if you know where the water actually seals. Most people assume the metal threads create the watertight connection....
READ MORE

Contact us
-

-

+86-574-62321667
-

No.2 Chuangsheng West road, Wuma Industry Area, Lubu Town, Yuyao City, Zhejiang, China
Copyright © 2025 Yuyao Doflex Sanitary Ware Hose Co., Ltd. , All Rights Reserved.
 Wholesale Bathroom Shower Hose Manufacturers