
 English
 Español
 Deutsch
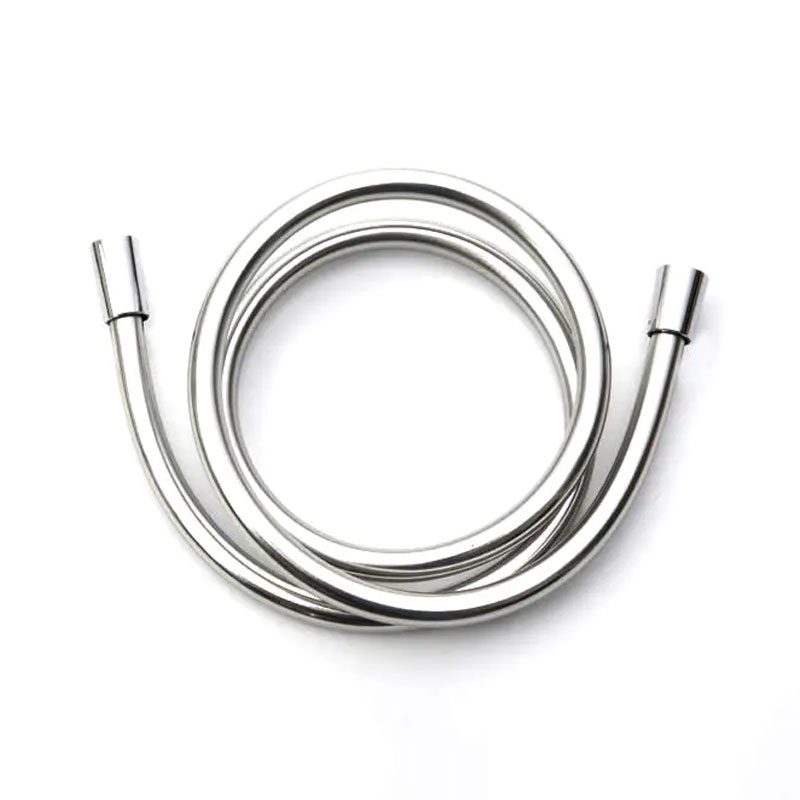
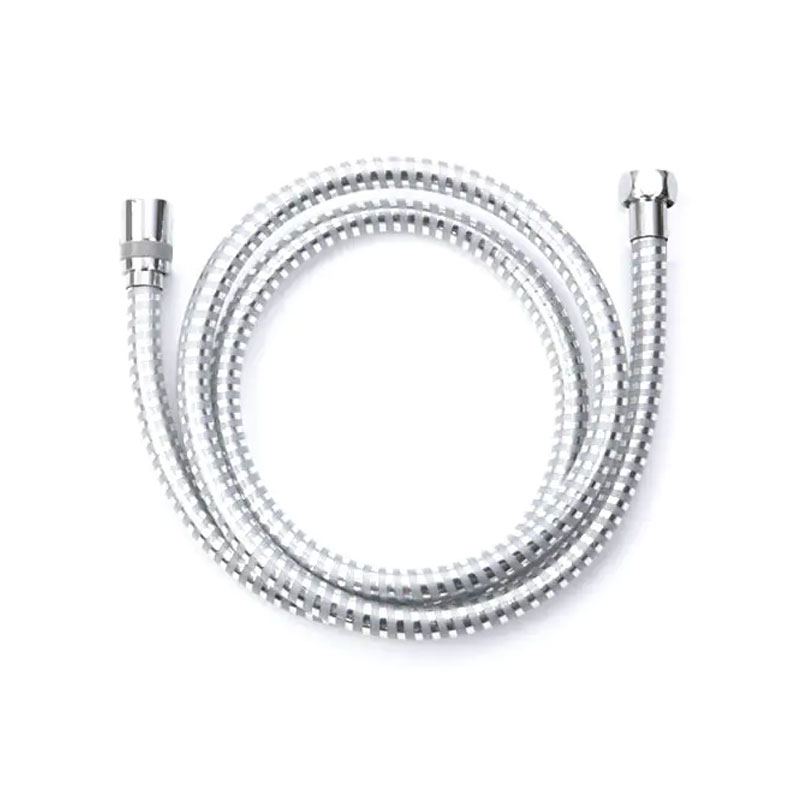
Usually, in addition to some commonly used bathroom furniture in the bathroom in the home, there are actually some small details that you have noticed, that is...
READ MORE
news
Kitchen Faucet Tube Guide: Sizing, Materials & Installation
Update:15-07-2026
Content
- 1 What a Faucet Supply Tube Actually Is
- 2 Why the Two Ends Are Different Sizes — And Why That's Normal
- 3 Installation Mistakes That Cause Most Supply Line Leaks
- 4 How to Know When a Supply Tube Needs Replacing
- 5 Choosing the Right Length and Fitting the First Time
- 6 Quick Checklist Before Buying or Installing a Supply Tube
The Kitchen Faucet Tube connecting a kitchen faucet to the water supply — usually called a supply line or supply hose — is almost always a flexible braided stainless steel hose with a 3/8-inch compression fitting on the faucet end and a 1/2-inch fitting on the shutoff valve end. That mismatch between the two ends isn't a mistake; it's the industry-standard configuration, since faucet tailpieces and household shutoff valves were built to two different sizing conventions. Most leaks and installation headaches trace back to one of two things: the wrong connector size at one end, or a fitting that's been over-tightened rather than properly seated.
Getting this one small, unglamorous part right is disproportionately important — a $6 supply line is what stands between a dry cabinet and a slow leak that can go unnoticed under a sink for months. The sections below cover the materials worth paying for, how sizing actually works, the installation habits that cause most leaks, and how to know when it's time to replace one before it fails.
What a Faucet Supply Tube Actually Is
A faucet supply line is the flexible or rigid connector that carries hot and cold water from the shutoff valves under the sink up to the faucet's inlet tailpieces. Every kitchen faucet needs two of them — one for hot, one for cold — running from the valve to the faucet body. On most modern faucets, these run separately and connect either directly to the faucet or to a single-lever mixing valve inside the faucet housing.
Three main tube types show up in kitchen installations, and it's worth knowing what separates them beyond just appearance:
| Material | Typical burst rating | Best suited for |
|---|---|---|
| Braided stainless steel | 800+ PSI | Permanent installations, hot and cold lines, long-term reliability |
| Braided nylon or polymer | Moderate, lower than steel | Budget installations, cold-water or low-stress applications |
| Flexible copper or plastic (PVC/PEX) | Varies by gauge | Older or factory-attached setups; less common in new installs |
That 800+ PSI figure for braided stainless steel is worth sitting with for a second: residential water systems typically run at 40 to 80 PSI. A quality braided steel line is rated to withstand roughly ten times the pressure it will ever actually see in normal use, which is why it's the default recommendation for any connection meant to last more than a few years without being revisited.
Why the Two Ends Are Different Sizes — And Why That's Normal
This is the single most common point of confusion for anyone replacing a kitchen faucet themselves. The faucet's tailpiece connector is typically 3/8-inch compression, while the shutoff valve underneath the sink is often threaded for a 1/2-inch female connection. These aren't competing standards — they reflect the fact that faucet manufacturers and valve manufacturers settled on different conventions decades ago, and both are still in wide use today.
Because of this, most supply lines sold specifically for kitchen use are labeled as "3/8-inch to 1/2-inch" — meaning one end is sized for the faucet, the other for the valve, built into a single hose. Buying a line sized identically on both ends (a "3/8 to 3/8," for instance) when the valve is actually 1/2-inch is one of the most frequent causes of a supply line simply not fitting once it's time to install.
A quick way to avoid a second trip to the store
Before buying, check both ends: the connector size on the faucet's own tailpiece (often stamped or visible where the factory line attaches) and the thread size on the shutoff valve itself. If they don't match, a supply line rated "3/8 x 1/2" almost always solves it without needing a separate adapter fitting. When they genuinely don't line up even with a hybrid-sized line — which does happen with older or mobile-home-style plastic valves — a threaded adapter bridges the gap, but it's an extra connection point and therefore one more place a leak can start.
Installation Mistakes That Cause Most Supply Line Leaks
A properly matched, correctly rated supply line still leaks constantly in the field — and the cause is almost always how it was installed, not a defect in the part itself. A few specific habits account for the overwhelming majority of callbacks:
- Over-tightening the fitting A firm hand-tight connection followed by a quarter to half turn with a wrench is the target. Cranking further can crush the internal rubber washer or crack a plastic thread — the exact damage it's meant to prevent.
- Using PTFE tape on compression threads Compression and straight threads seal through the washer, not the threads themselves. Wrapping tape here doesn't help and can actually prevent the fitting from seating correctly. Tape belongs only on tapered NPT threads.
- Reusing an old supply line A line that's already been shaped to a previous faucet's tailpiece won't conform cleanly to a new one. A fresh, cheap supply line is far less costly than the water damage from a slow leak months later.
- Cross-threading during installation Starting the nut at an angle instead of straight on damages the threads immediately. If it doesn't turn smoothly by hand from the start, back off and realign rather than forcing it with a wrench.
- Skipping the washer check Most compression fittings rely on a small rubber washer inside the nut. If it's missing, cracked, or sitting crooked, no amount of tightening will create a seal.
- Ignoring a slow leak at first A connection that's damp but not dripping is already failing. Left alone, cabinet leaks like this are a common cause of unnoticed water damage that isn't discovered until flooring or cabinetry needs replacing.
How to Know When a Supply Tube Needs Replacing
Supply lines don't last indefinitely, even when installed correctly. Rubber and internal seals degrade with time and repeated pressure cycling, and a hose that looked fine when installed can fail years later without warning. General guidance in the trade points to replacing supply lines roughly every 3 to 5 years as preventive maintenance, though visible warning signs justify earlier replacement regardless of age.
- Visible bulging or a swollen section of the hose under normal water pressure — a sign the internal reinforcement is compromised.
- Cracking or brittleness in the outer material, especially at the point where the hose bends near a fitting.
- Rust or corrosion staining on or around a stainless steel line, which can indicate the braid is deteriorating from the outside in.
- Dampness at the fitting even after re-tightening, which usually means an internal washer has failed rather than the connection simply being loose.
- Age alone, past the 3-5 year mark, particularly for a hose that was part of the original build and has never been inspected or replaced.
A simple check worth doing during any routine kitchen maintenance: lay a dry paper towel under both supply connections overnight. A damp towel by morning catches a slow leak long before it's visible as standing water or staining — and it costs nothing but a few minutes.
Choosing the Right Length and Fitting the First Time
Beyond material and end-size, length matters more than it might seem. Supply lines typically range from about 12 to 30 inches, and the goal is a line long enough to reach without strain but not so long that it kinks or coils excessively in the cabinet, since a sharp kink in a flexible line reduces flow and creates a stress point over time.
3/8" x 1/2" Most common kitchen faucet-to-valve size pairing
40-80 PSI Typical residential water pressure
800+ PSI Burst rating of quality braided steel supply lines
3-5 yrs General replacement interval as preventive maintenance
When shopping for a replacement, matching the connector type at both ends (compression vs. threaded vs. push-to-connect) is just as important as matching the size. Push-to-connect fittings have become more common on newer faucets and offer a genuinely simpler installation — the tube pushes directly into the fitting without a compression nut at all — but they require a compatible fitting on the other end, so mixing connector styles typically still calls for an adapter.
Quick Checklist Before Buying or Installing a Supply Tube
Running through these points before heading to the store — or before tightening the last fitting — catches the issues that cause most repeat trips and callbacks:
- Have you confirmed the connector size at both the faucet and the valve, rather than assuming both ends match?
- Are you buying braided stainless steel for a permanent installation, rather than a lower-rated material to save a few dollars?
- Is the length appropriate for the actual distance, avoiding both a strained reach and excess coiling?
- Will you hand-tighten first and add only a quarter to half turn with a wrench, rather than tightening until resistance simply stops?
- Have you checked that the internal washer is present and properly seated before final tightening?
- If replacing an old faucet, are you using new supply lines rather than reusing ones already shaped to the previous fixture?
News
-
-
A quality kitchen braided hose lasts 8 to 12 years under normal household conditions, and up to 15 years with excellent water quality and low usage stress — fa...
READ MORE -
A shower hose is one of the most frequently replaced yet most overlooked components in any bathroom system. From residential retrofits to large-scale hospitali...
READ MORE -
On a Tuesday morning, you pull the spray head on your kitchen faucet and watch a thin jet of water escape from the seam where the hose meets the fitting. The f...
READ MORE -
Choosing a new shower head sounds like one of the simplest bathroom upgrades, until you start comparing models. Fixed or handheld? Chrome or matte black? Rain ...
READ MORE -
If your kitchen braided hose is leaking, the fix usually takes under 30 minutes and costs $5–$30—depending on whether you need a washer replacement or a full h...
READ MORE

Contact us
-

-

+86-574-62321667
-

No.2 Chuangsheng West road, Wuma Industry Area, Lubu Town, Yuyao City, Zhejiang, China
Copyright © 2025 Yuyao Doflex Sanitary Ware Hose Co., Ltd. , All Rights Reserved.
 Wholesale Bathroom Shower Hose Manufacturers