
 English
 Español
 Deutsch
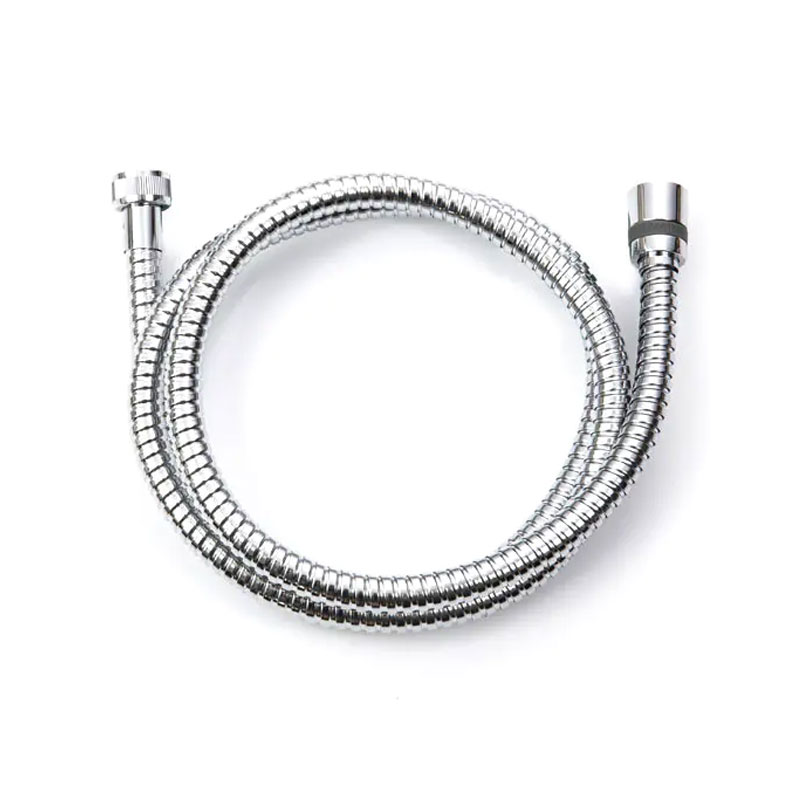
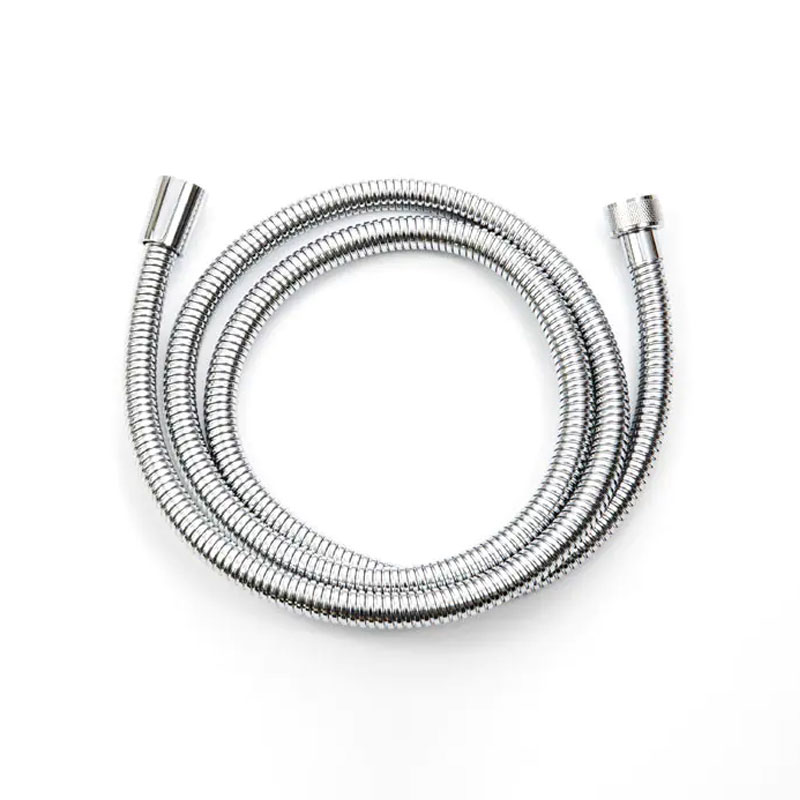
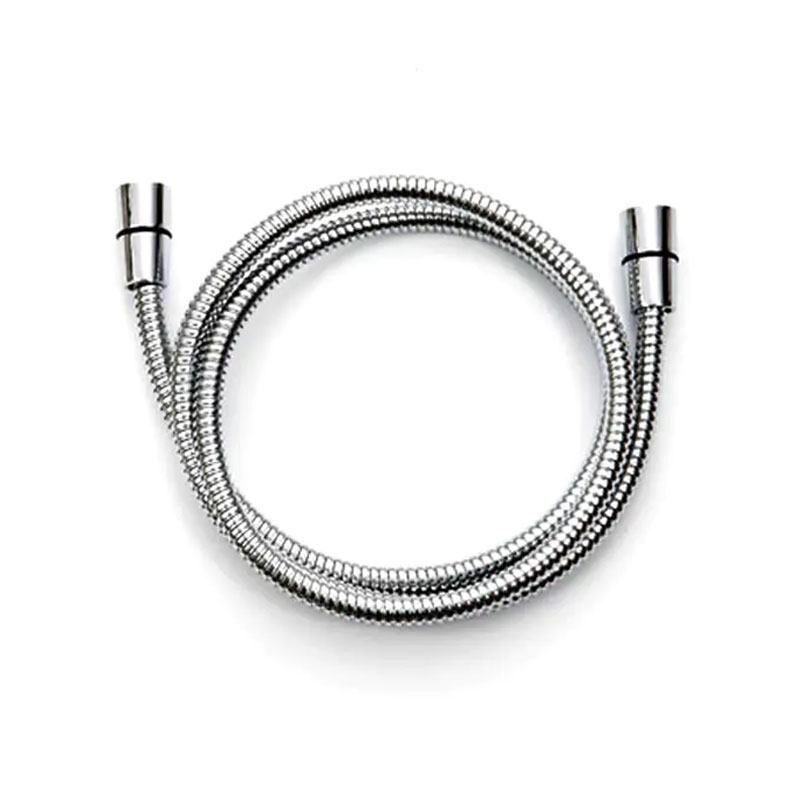
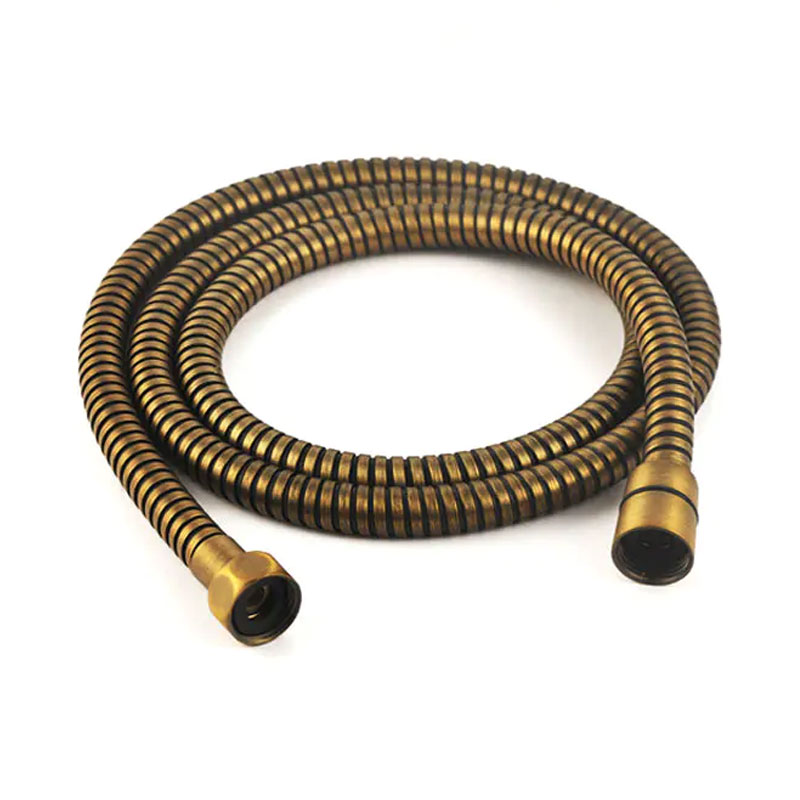
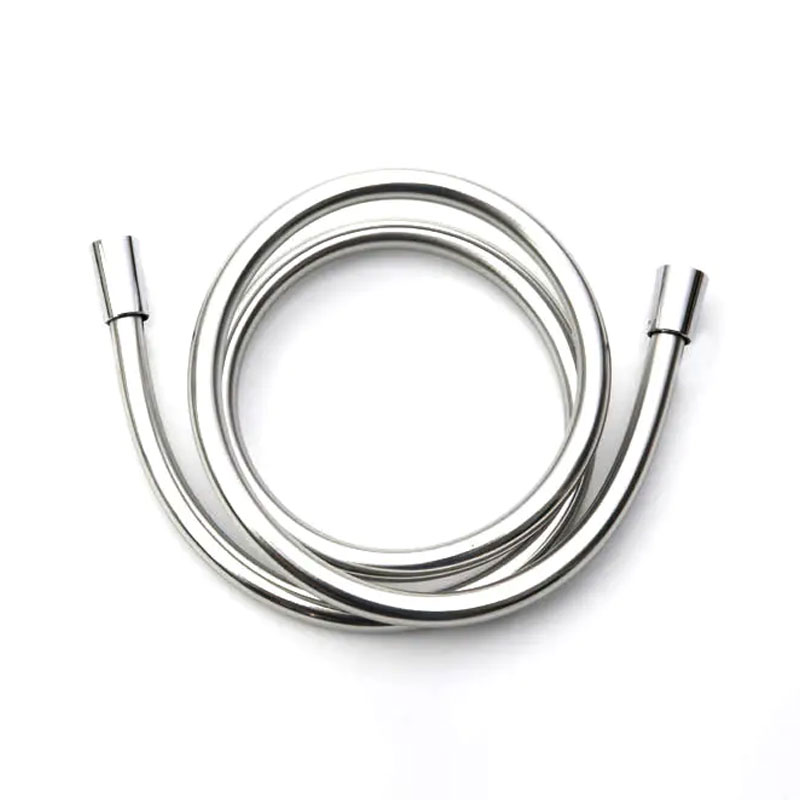
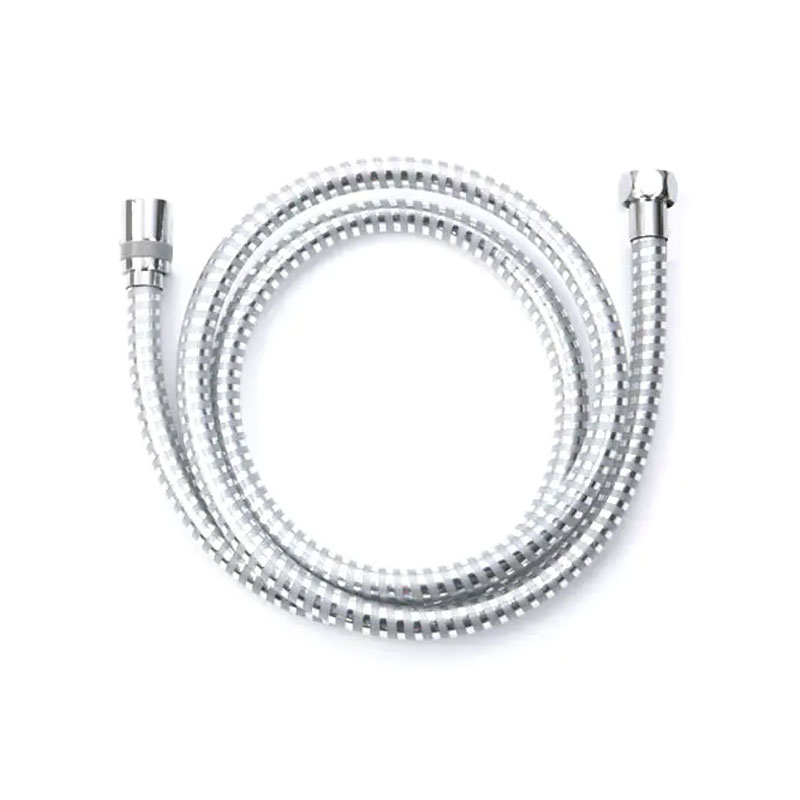
The short answer is mostly yes, but not always. Most shower hoses are built around a standard 1/2-inch BSP (British Standard Pipe) thread at both ends, so a re...
READ MORE
news
How to Measure a Shower Hose: Length, Thread Size and Connection Checks
Update:19-11-2026
Content
- 1 The three measurements that actually matter
- 2 Measuring length: follow the route, not the old hose
- 3 Reading the thread size at each end
- 4 Checking the hose body: diameter, bore and bend
- 5 Planning for twist and tight corners
- 6 A quick reference for the numbers you will write down
- 7 Common measuring mistakes
- 8 Specifying hoses for a product line
- 9 A five-minute checklist before you order
Measuring a shower hose takes about five minutes, and nearly every failed replacement we hear about comes down to skipping one of those five minutes. The hose looks right, the label says 1.5 m, and then it turns out the old one was 1.75 m, or the nut is a 3/8 inch fitting on an older riser, or the new hose body is too thick to slide through the handset holder.
We have been making shower hoses in Yuyao since 2004, and the questions buyers and installers send us before ordering are almost always measurement questions. What follows is the same set of checks we recommend to them: how to measure length along the real route, how to read the thread at each end, and how to look at the hose body itself.
The three measurements that actually matter
Before you reach for a tape, it helps to know what you are trying to capture. A shower hose has three measurable dimensions, and a replacement only works when all three line up.
- Working length — measured along the route the hose will actually travel, with a little slack, not simply copied from the old hose.
- Connection size and seat shape — the thread diameter at both ends, plus whether the nut has a conical or a flat seating face.
- Hose body profile — the outer diameter that has to pass through holders and guides, and the bore that decides flow.
If you want the wider background first, our guide to shower hose types, materials and standards covers how construction choices affect each of these numbers. For now, let us measure.
Measuring length: follow the route, not the old hose
The old hose is a useful sanity check but a poor template. It may have stretched, it may have been the wrong length to begin with, and once it is coiled on the floor it tells you very little. Measure the installation instead.
- Find both connection points. One end sits at the wall outlet elbow or the mixer outlet; the other sits at the handset. Note where each one physically is, not where the old hose happened to hang.
- Run a string along the route. A soft string follows the natural curve of a hanging hose far better than a rigid tape. Take it from the outlet, down through the low point of the loop, and up to the highest position the handset will reach — usually the top of the slide bar or the fixed holder.
- Mark the string and measure it flat. That figure is your working route. Anything shorter and the handset will not reach the top of the rail without tugging.
- Add slack. Twenty to thirty centimetres is the range we usually suggest. Enough for comfortable movement, not so much that the hose coils on the shower floor and collects soap residue.
- Separate fixed length from stretchable range. If you are choosing an extensible hose, the advertised figure is often the stretched maximum, not the resting length. Compare resting length to your route, then check that the stretched range still clears your fittings.
For reference, 1.5 m is the most common residential length, 1.75 m and 2 m suit larger enclosures and rain-shower rails, and longer hoses are usually specified where seated users or assisted bathing are involved.
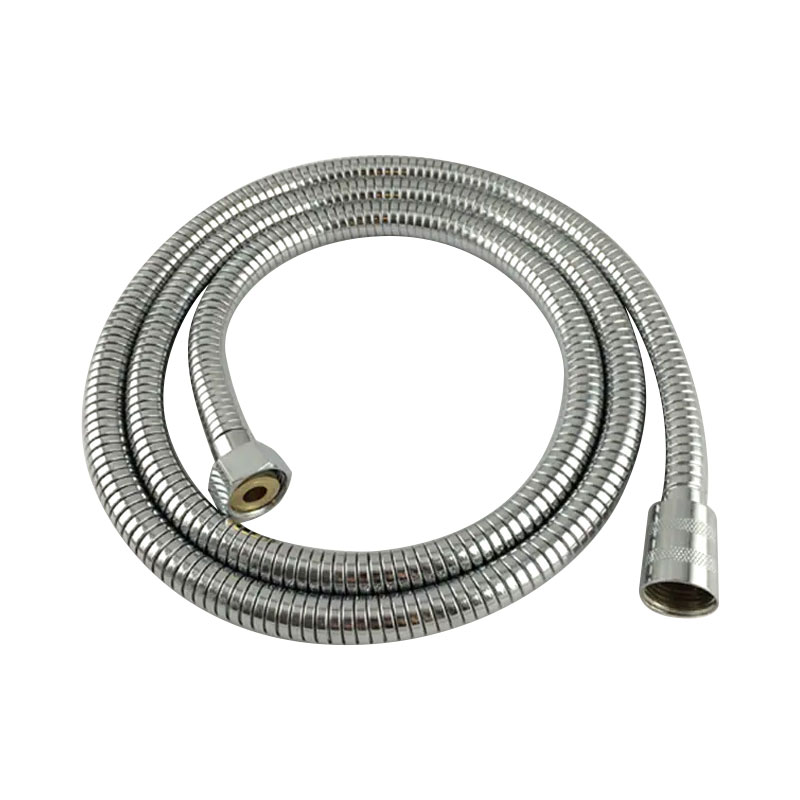 Doflex EX005CR Extensible Shower Hose, 1.5–2.1 mExtends from 1.5 m to 2.1 m with brass nuts and inserts, useful when checking hose length and end-fitting compatibility.View Product →
Reading the thread size at each end
Most residential shower hoses use a 1/2 inch BSP thread at both ends, also written G1/2 or DN15. That standard covers a large share of the market, but "most" is not "all", and a few millimetres of difference is the reason a new hose will not seal.
Measuring a male thread
Open a caliper across the crests of the thread — the outer tips, not the grooves. A 1/2 inch BSP male thread measures roughly 20.9 mm across. If you get about 16.6 mm, you are looking at 3/8 inch, which appears on some older risers and non-standard fittings.
Measuring a female nut
For a nut, measure the inside of the thread instead. A 1/2 inch BSP female nut reads approximately 18.6 to 19 mm internally. Measuring the outside of the nut tells you nothing useful, since the hex varies by design.
Check the seat, not just the thread
Two hoses can share identical threads and still refuse to seal. Look inside the nut: a cone-shaped interior takes a conical hose end, while a flat interior takes a flat washer. Matching thread with the wrong seat is one of the most common causes of a drip that will not go away. Also be careful with NPT threads, which measure close to BSP but run at a different pitch — they will start by hand and then bind. Never force a fitting to prove a point.
Checking the hose body: diameter, bore and bend
Close the caliper around the hose body itself, away from the nuts, and you have the figure that decides whether the hose slides cleanly through the handset holder or the guide ring. Slim bodies suit minimal, tightly guided installations; standard bodies suit general use and tend to feel more substantial in the hand.
Bore is harder to measure honestly, since you cannot see it without cutting the hose. Ask for the specification instead of guessing, and remember that bore affects flow rate, not pressure — a wider hose will not make a weak shower stronger.
One last check while you are there: bend the old hose behind the mixer. If it kinks sharply in that corner, a more flexible construction will serve you better than a stiffer one of the same length.
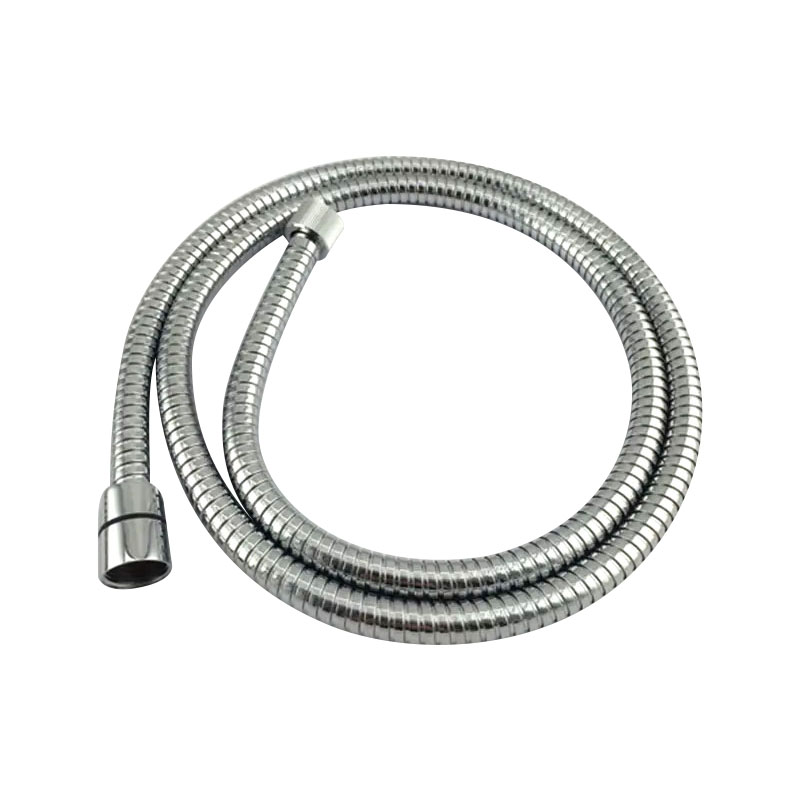
 Doflex EX004CR-A Slim Extensible Shower HoseA slim 1.5 m hose extending to 1.80 m, with conical brass nuts and inserts; worth considering when a compact, flexible route is needed.View Product →
Planning for twist and tight corners
A hose that twists during use is usually a hose that was measured slightly too long for its route, or one without a swivel at the nut. If your enclosure leaves little room and the handset gets rotated constantly, an anti-twist construction removes the problem at the source rather than asking users to untangle it every morning. It is worth deciding this before you fix the length, because the two choices interact.
 Doflex SH006CR Anti-Twist Shower Hose, 1.5 mA 1.5 m anti-twist hose with brass nuts and insert, suited to shower setups where the handset is rotated often and tangling is a concern.View Product →
A quick reference for the numbers you will write down
Keep these four figures on your phone when you shop, and the conversation at the counter becomes very short.
| What to measure | Tool | Typical reference | Watch out for |
|---|---|---|---|
| Working length | String plus tape | Route plus 20–30 cm slack | Do not include the threads |
| Male thread | Caliper across crests | About 20.9 mm for 1/2 inch BSP | 3/8 inch reads about 16.6 mm |
| Female nut | Caliper inside the thread | About 18.6–19 mm for 1/2 inch BSP | Check conical versus flat seat |
| Hose body | Caliper on the hose, not the nut | Slim or standard profile | Holder and guide clearance |
Common measuring mistakes
- Measuring nut to nut including the threads, which makes a hose read 30 to 40 mm longer than its true working length.
- Measuring a coiled or stretched old hose instead of the route.
- Forgetting slack, then discovering the handset will not reach the top of the rail.
- Assuming a longer hose improves pressure. It does not.
- Joining two hoses to gain reach — you add two joints and double the leak risk.
- Choosing by colour or finish before confirming the thread and seat.
Specifying hoses for a product line
If you are measuring for a batch rather than a single bathroom, the same three numbers become a specification: length, connection and body profile, plus the finish and any structural feature such as anti-twist or a double lock. Our team works from customer drawings and colour samples, and the hose ranges are backed by certifications including CE EN1113, WRAS, ACS, KTW and DVGW for drinking-water contact, along with REACH, RoHS and FDA compliance. You can read more about how we work and where those approvals apply.
A five-minute checklist before you order
- Measure the route with string, then add 20–30 cm.
- Measure both threads with a caliper and write the figures down.
- Look inside each nut and note conical or flat seating.
- Measure the hose body diameter and check it against the holder.
- Decide whether twist control or a stretchable range matters for your enclosure.
None of this is difficult, and most of it can be done with a tape, a length of string and a caliper borrowed from a toolbox. The reward is simple: the hose fits the first time, the nut seals without tape and hope, and nobody has to stand in the shower wondering why the handset will not quite reach the top of the rail.
News
-
-
Few things ruin a shower faster than a spray of water from a hole in the hose. The good news is that you do not have to live with it or call a plumber right aw...
READ MORE -
The shower is running, the handle will not budge, and the sound of water disappearing down the drain suddenly feels expensive. Almost every homeowner meets thi...
READ MORE -
Some shower heads are mounted too close to the wall, leaving you to squeeze into a narrow spray zone. Others sit at an awkward height, or you simply want the f...
READ MORE -
Whether you are replacing a cracked hose at home or specifying components for a new bathroom, the length of a standard shower hose is one of those details that...
READ MORE -
Choosing a new shower head sounds like one of the simplest bathroom upgrades, until you start comparing models. Fixed or handheld? Chrome or matte black? Rain ...
READ MORE

Contact us
-

-

+86-574-62321667
-

No.2 Chuangsheng West road, Wuma Industry Area, Lubu Town, Yuyao City, Zhejiang, China
Copyright © 2025 Yuyao Doflex Sanitary Ware Hose Co., Ltd. , All Rights Reserved.
 Wholesale Bathroom Shower Hose Manufacturers